
Free Pattern
Step-by-Step
Crochet
Granny SquaresArchery Target Granny Square – Free Crochet Pattern
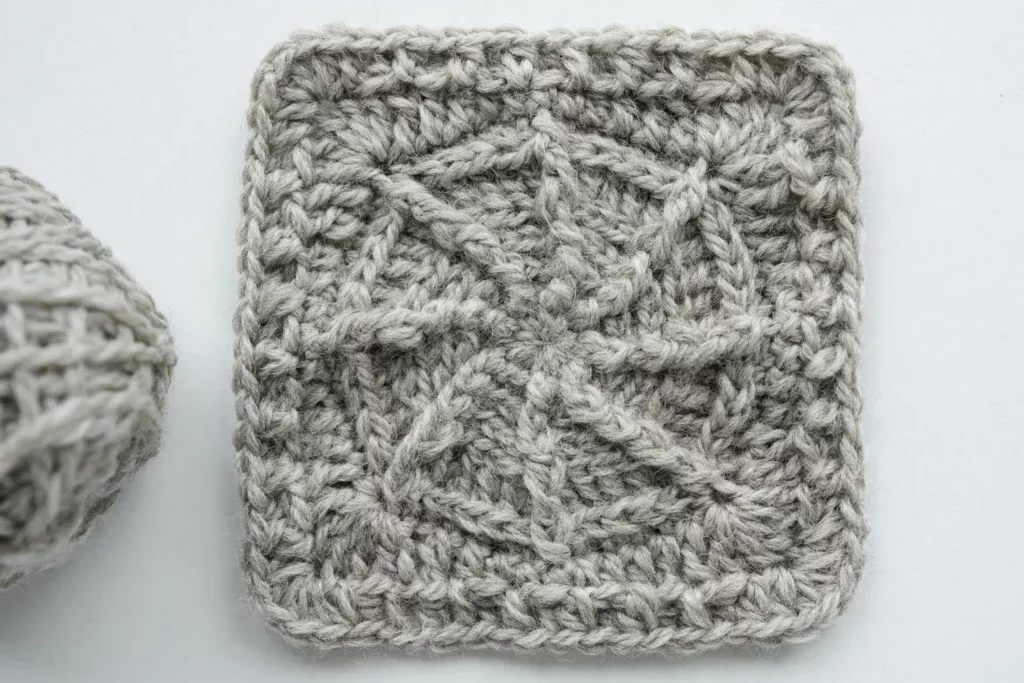
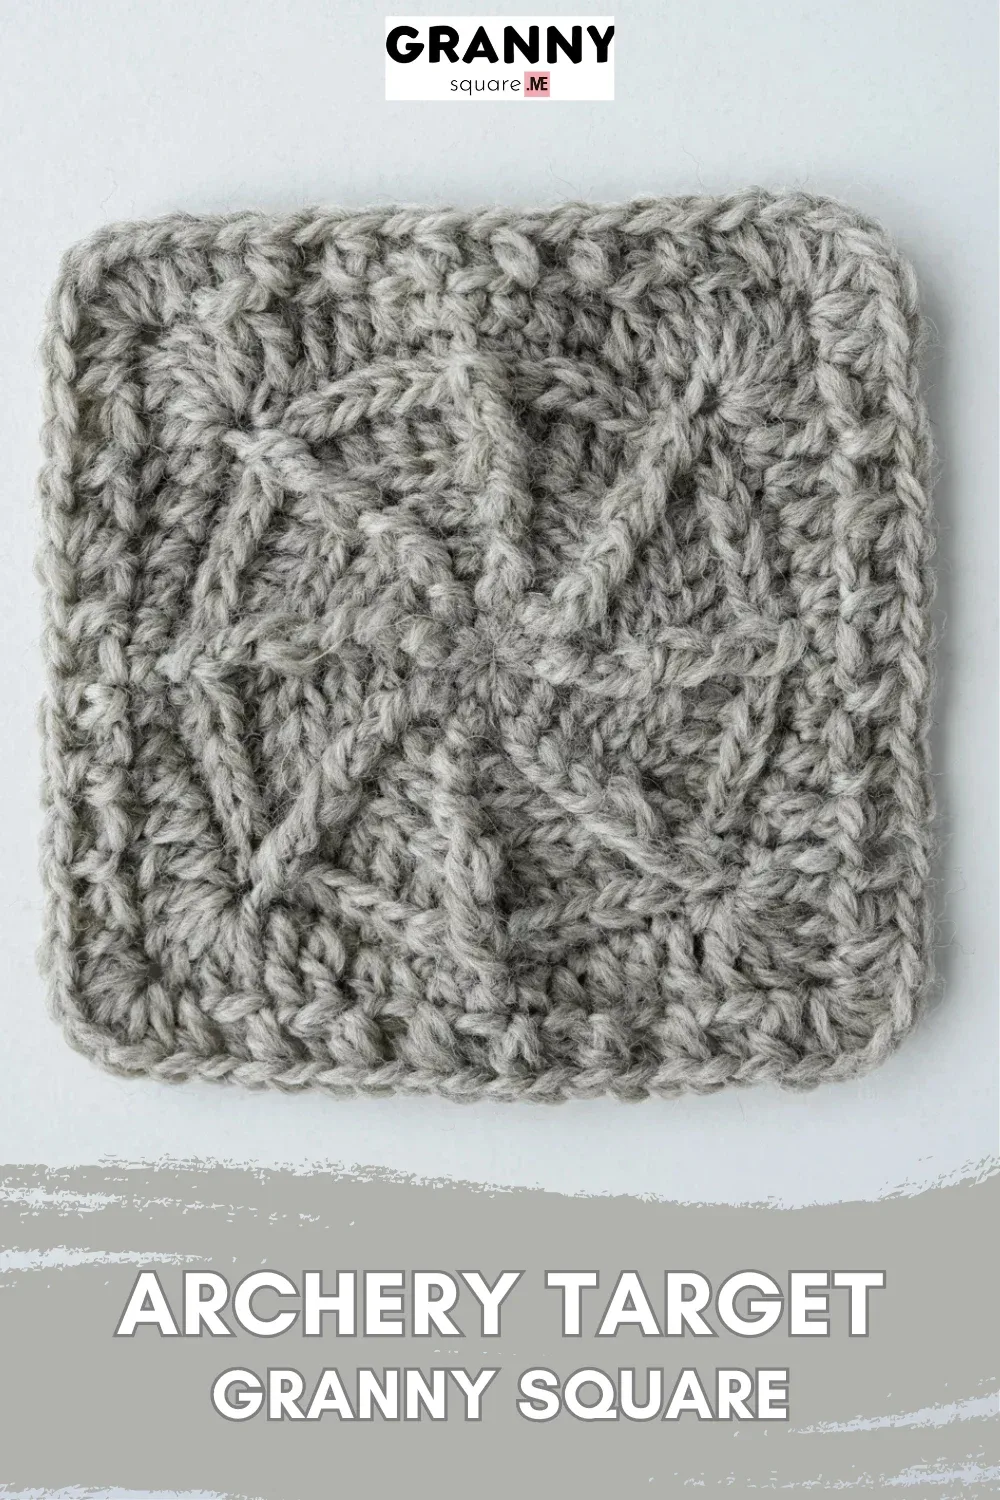
Crochet this free archery target granny square pattern with magic ring, third-loop stitches, and FPsc rings — a textured 3.74-inch bullseye square in one color
Level IntermediateTime 1-2 HoursYarn Worsted
About This Pattern
This free pattern turns the classic granny square into a miniature archery target, complete with crisp concentric rings that look almost painted on. Starting from a snug magic ring and growing outward over 8 rounds, the design uses clever stitch placement — not embroidery or surface crochet — to build bold, raised circles before the edges square off. It is perfect for sports lovers, novelty blanket makers, and anyone shopping for the archer or archery coach in their life who already owns every quiver accessory imaginable
The bullseye magic comes from two techniques working together: single crochet increases placed in the third loop of each stitch, and front post stitches worked around the stitches between them. The third-loop placement pushes a tidy ridge of yarn toward you while each front post stitch carves a groove of deep texture, so every round reads as its own distinct ring — the circles literally pop off the surface, creating shadows and depth that make the square look almost three-dimensional. If you can manage a magic ring and basic increases, the post stitches are very learnable, and the whole square is small enough to finish in a single sitting
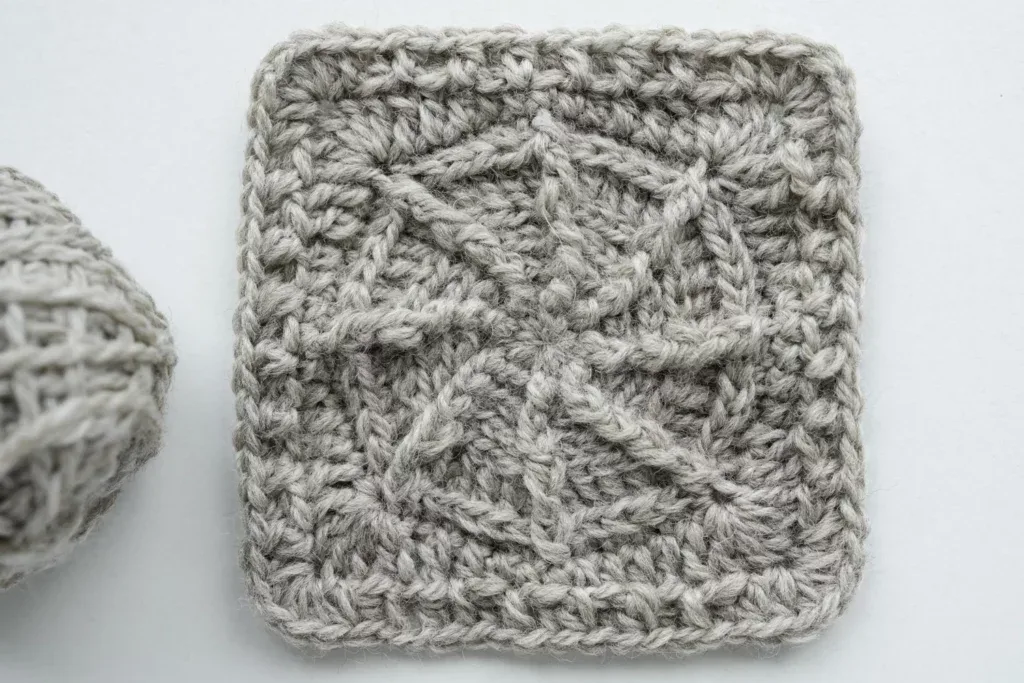
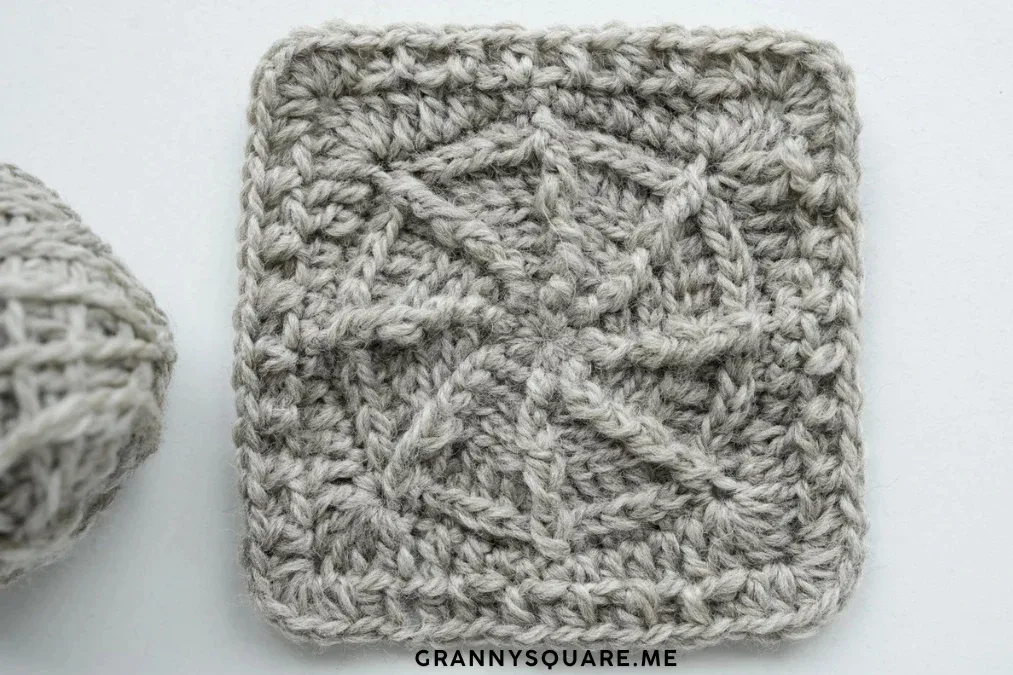
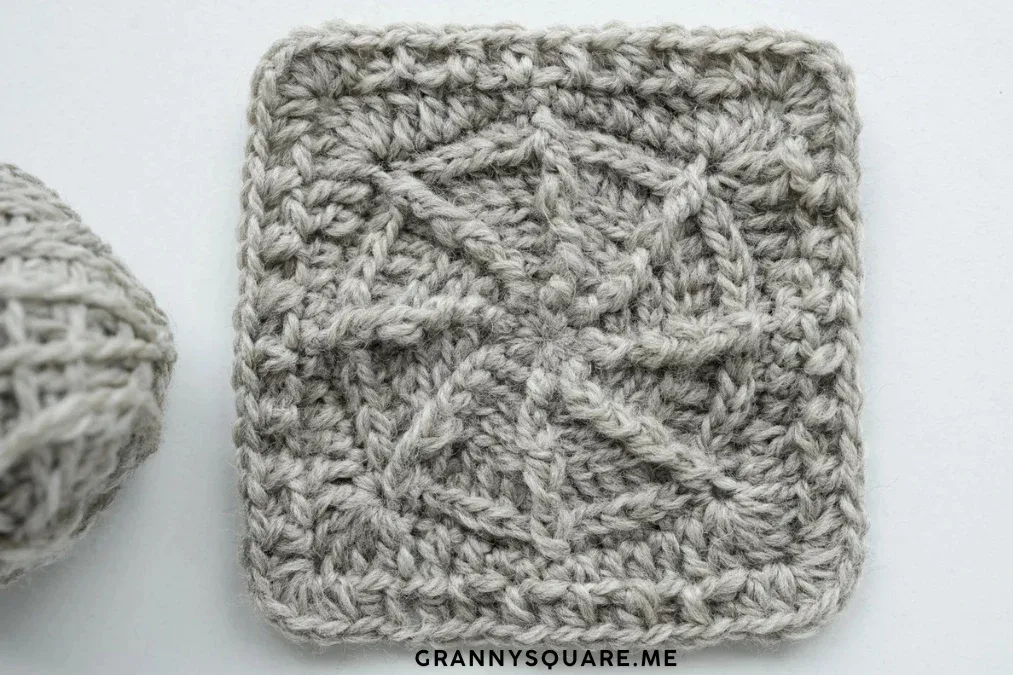
Finished, the square measures about 3.74 by 3.74 inches — a tidy size for coasters, mug rugs, appliques, or joining into a sports-themed throw. It is written for a single color, because the rings come from texture rather than yarn changes, and the layered ridges give the fabric a plush, dimensional feel that flat granny squares simply do not have. It holds its shape beautifully thanks to all those post stitches. Stitch up one as a quick gift topper, four for a coaster set, or sixteen for a lap blanket that looks like target practice in the coziest possible way
Variations
I will be honest — I started this square thinking it would be a quick novelty make, and it completely won me over. There is something deeply satisfying about the rhythm of this pattern: single crochet increase in the third loop, FPsc around the next stitch, again and again, while you watch each ring of the target literally rise up out of the fabric. The third-loop trick pushes a neat little ridge forward and the front post stitches carve the grooves between rings, so the bullseye effect appears in a single color, with zero sewing afterward. I also love how it opens — a tidy 16-stitch magic ring center that pulls up into a perfect bullseye point when you snug that tail. At about 3.74 inches, each square is a true one-sitting project, which makes it dangerously easy to tell yourself just one more ring. And when someone picks it up and asks how on earth you crocheted those circles? That moment never gets old
Common mistakes
- Working the increases under both top
- Tilt the top of the stitch toward you: behind the usual V you will see a horizontal bar running along the back — that is the third loop. Insert your hook there for every sc increase. Your first ridge should visibly pop toward you by the end of round 2; if the fabric looks flat, frog back and check your loop placement
- Placing the FPsc into the top of the
- each FPsc, insert the hook from the front of the fabric to the back and out to the front again around the vertical post of the stitch below, then complete a normal single crochet. The stitch should wrap the post like a little belt, pushing the top loops backward
- A loose magic ring that leaves a gaping
- Round 1 is one sc in the loop plus another 15 sc, for 16 sc in total. Once they are all worked, pull the tail firmly until the center closes completely, then join with a slip stitch to the top of the first sc — not the standing chain. Later, use your darning needle to weave the tail in a zigzag through several stitches so the ring can never loosen
- Losing count of the *sc inc in third
- Work the first increase-plus-FPsc pair, then repeat the sequence exactly 7 times around. Count 24 stitches at the end of round 2 before moving on. Counting at every join takes ten seconds and saves ripping out a whole ring
- Counting the standing chain as a
- The ch or ch1 at the start of rounds 1, 2, 3, 4 and 6 is only a standing chain — it never counts toward your stitch total, and your slip stitch join goes into the top of the first sc, skipping the chain entirely. Rounds 5, 7 and 8 are different: there the ch3 does count as a dc and the ch2 does count as a hdc, and you join to the top of that starting chain
- Front post stitches worked too tightly
- FPsc naturally condenses fabric, so pull your loop up a touch taller than usual when working around each post. If your square still cups after round 3, go up half a hook size — the ring definition will survive, and the fabric will relax flat


Intermediate
Materials
- Yarn of your choice - 1 color
- Crochet hook
- Darning Needle
- Scissors
Main Pattern
How it works The magic happens through the use of front post stitches that create perfectly concentric circles radiating from the center — just like a real archery target. By working stitches in the third loop and around specific stitches from previous rounds, and increasing as you go, you build raised rings that pop off the surface. Each circle stands proud, creating the shadows and depth that make this square look almost three-dimensional. All stitches use US terms.
- Round 1magic ring, ch, 15sc, pull the tail tightly, sl st to the top of the first sc, round 1 finished.Step by step Start with a magic loop. ch as a standing st. sc in the loop. make another 15sc in the loop, pull the tail tightly, sl st to the top of the first sc, round 1 finished.
- Round 2ch1, sc inc in the third loop of the same st, FPsc around next st, *sc inc(3rd loop), FPsc* rep 7 times, sl st to the top of the first sc, round 2 finished.Step by step ch1 as a standing st. sc inc in the third loop of this st. FPsc around next st. *sc inc(3rd loop), FPsc* rep 7 times, sl st to the top of the first sc, round 2 finished.
- Round 3all sts work in the third loop(tl), except the FPsc. ch, sc in this st, sc inc, FPsc around the next FPsc, *sc, sc inc, FPsc* rep 7 times, sl st to the top of the first sc, round 3 finished.Step by step all sts work in third loop(tl), except the FPsc. ch as a standing st. sc in this st. sc inc, FPsc around the next FPsc. *sc, sc inc, FPsc* rep 7 times, sl st to the top of the first sc, round 3 finished.
- Round 4all sts work in the third loop(tl), except the FPsc. ch, sc in this st, sc, sc inc, FPsc around the next FPsc, *2sc, sc inc, FPsc*rep 7 times, sl st to the top of the first sc, round 4 finished.Step by step all sts work in the third loop(tl), except the FPsc. ch as a standing st. sc in this st. sc, sc inc, FPsc around the next FPsc. *2sc, sc inc, FPsc*rep 7 times, sl st to the top of the first sc, round 4 finished.
- Round 5all sts work in the third loop(tl), except the FPdc. ch3(count as dc), 2dc, dc inc, FPdc around the next FPsc. [3dc, dc inc, FPdc around the next FPsc] rep 7 times, sl st to the top of the first ch3, round 5 finished.Step by step all sts work in the third loop(tl), except the FPdc. ch3 as a standing st(count as dc). 2dc, dc inc, FPdc around the next FPsc. [3dc, dc inc, FPdc around the next FPsc] rep 7 times, sl st to the top of the first ch3, round 5 finished.
- Round 6all sts work in the third loop(tl), except the FPsc. ch, sc in this st, 4sc, FPsc around the next FPdc, [5sc, FPsc around the next FPdc] rep 7 times, sl st to the top of the first sc, round 6 finished.Step by step all sts work in the third loop(tl), except the FPsc. ch as a standing st. sc in this st. 4sc, FPsc around the next FPdc. [5sc, FPsc around the next FPdc] rep 7 times, sl st to the top of the first sc, round 6 finished.
- Round 7ch3(count as dc), dc, 2hdc, 3sc, 2hdc, 2dc, make 5dc in next st, [2dc, 2hdc, 3sc, 2hdc, 2dc, 5dc in next st] rep 3 times, sl st to the top of the first dc, round 7 finished.Step by step ch3 as a standing st(count as dc). dc, 2hdc, 3sc, 2hdc, 2dc, make 5dc in next st. [2dc, 2hdc, 3sc, 2hdc, 2dc, 5dc in next st] rep 3 times, sl st to the top of the first ch3, round 7 finished. This is the round that turns the circle into a square: the 5dc worked into one stitch forms each corner, and the graded stitch heights (dc down to sc and back up to dc) flatten the sides between them.
- Round 8ch2(count as hdc), hdc in the third loop of the next st, *hdc in next st, hdc(3rd loop) in next st* rep 5 times, hdc, 4hdc in one st, hdc, hdc(3rd loop), [*hdc, hdc(3rd loop)*rep 6 times, hdc, 4hdc in one st, hdc, hdc(3rd loop)] rep 3 times, sl st to the top of the first ch2, fasten off, round 8 finished.Step by step all sts work in the third loop(tl). ch2 as a standing st(count as hdc). hdc in the third loop of next st, *hdc in next st, hdc(3rd loop) in next st* rep 5 times, hdc, 4hdc in one st, hdc, hdc(3rd loop). [*hdc, hdc(3rd loop)*rep 6 times, hdc, 4hdc in one st, hdc, hdc(3rd loop)] rep 3 times, sl st to the top of the first ch2, fasten off, round 8 finished.
Important notes
The finished archery target granny square is about 3.74 x 3.74 inches
💡 Post stitches tighten fabric noticeably, so if your target starts cupping, size up half a hook rather than fighting your tension — the third-loop ridges will stay crisp either way
💡 Drop a stitch marker into the very first sc of every round. The standing chain makes the join spot easy to lose in all that texture, and on rounds 1, 2, 3, 4 and 6 your slip stitch join must land in the first sc, not the chain
💡 To find the third loop quickly, tip the round toward you after each join and run your finger along the back of the stitches — the horizontal bars line up like a little ladder behind the front Vs
💡 Block every square to about 3.74 inches before joining a set — pin it flat, mist with water, and let it dry. Post-stitch fabric is dense and will hold whatever shape it dries in, for better or worse
💡 Keep your darning needle handy from round 1: securing the magic ring tail early keeps the bullseye center tight, and weaving tails as you go beats facing them all at the finish
More photos
FAQ
What is the third loop of a single crochet, and why does this pattern use it?
Behind the two top loops of every single crochet there is a horizontal bar called the third loop. Working the increases into it pushes the front loops forward into a raised ridge, which is exactly what draws each ring of the archery target — no embroidery needed
Do I need five colors to make the target rings show up?
No — the pattern is written for a single color, and the sample is worked in one soft gray. The rings come entirely from texture: the third-loop increases push a ridge forward while each front post stitch carves a groove between them, so the target reads clearly in one solid shade. If you would rather have colored rings, every round ends with a slip stitch join, which gives you a clean spot to change yarn
I have never worked a front post single crochet — can I still make this?
Absolutely. FPsc is the friendliest post stitch there is: you insert the hook around the vertical post of the stitch below instead of into its top, then single crochet as normal. After the first repeat of round 2 your hands will have the motion memorized, and round 5 uses the same idea worked as a double crochet (FPdc)
How do I join these squares into a coaster set or blanket?
Block each square to about 3.74 inches first so they match, then whip stitch them together through the back loops with your darning needle for a flat seam. A single crochet join also looks great and echoes the pattern's raised texture
Made your own square?
This site belongs to every crocheter. Share your design with the world — we’ll math-check the counts, polish it up, and publish it free for everyone, credited to you.
🧵 Share your pattern →
0 / 0 rounds