
Free Pattern
Step-by-Step
Crochet
Granny SquaresBasic Granny Square with Double Crochet — The Classic 4-Round Motif
Learn to crochet a classic granny square with double crochet stitches. This beginner-friendly 4-round motif finishes at 5x5 inches—perfect for blankets
Level BeginnerTime 30-45 MinutesHook 3.00 mmYarn DK
About This Pattern
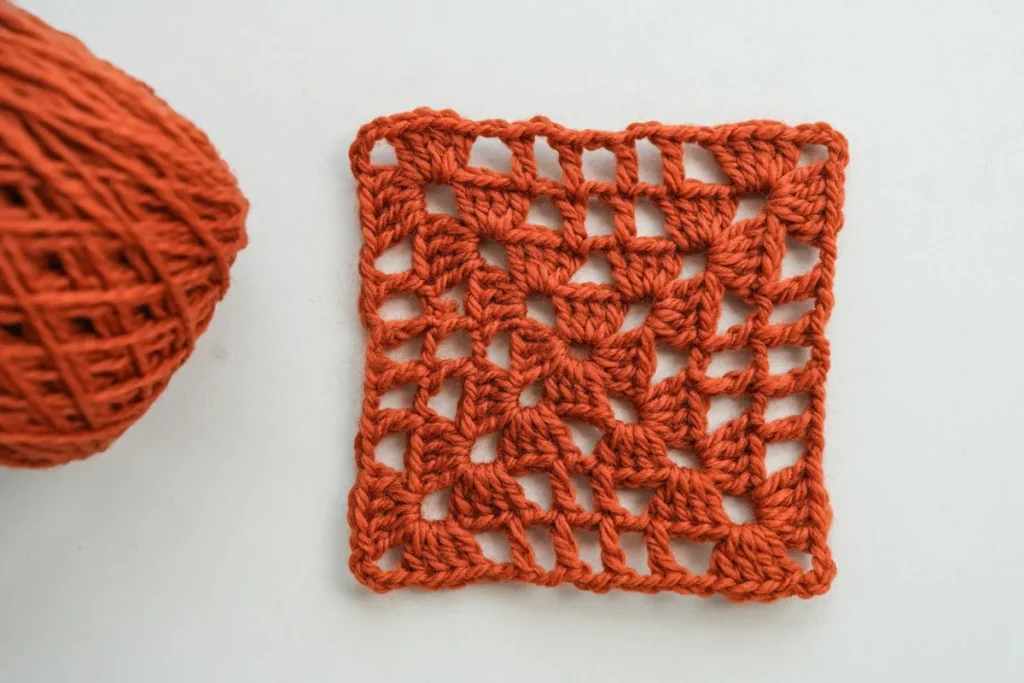
This pattern creates the truest crochet classic of them all — the humble granny square, worked in nothing but chains and clusters of double crochet. What makes it special is how forgiving and rhythmic it is: three double crochet, chain-one, three double crochet, over and over until a crisp little square appears in your hands. It's the ideal starting point for absolute beginners, a satisfying palette-cleanser for seasoned makers, and the building block behind countless blankets, cardigans, and totes
The only techniques you'll use here are the double crochet stitch, chain stitches, slip stitches to join each round, and the classic three-double-crochet cluster that forms the 'grandma' texture. Because it's only four rounds, there are no complicated increases to track and no shaping to worry about — the corners grow all on their own. Beginners comfortable with a basic chain and double crochet can finish this square in about 30 to 45 minutes, making it a lovely afternoon confidence-builder
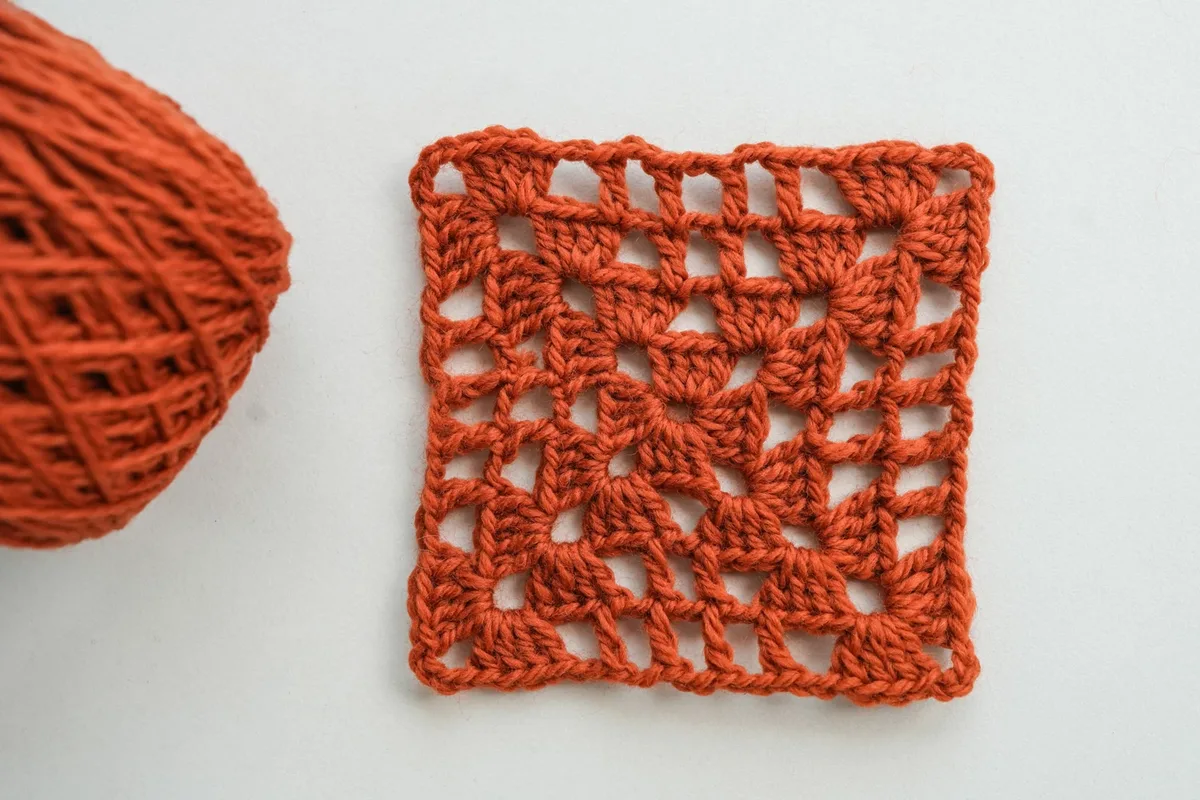
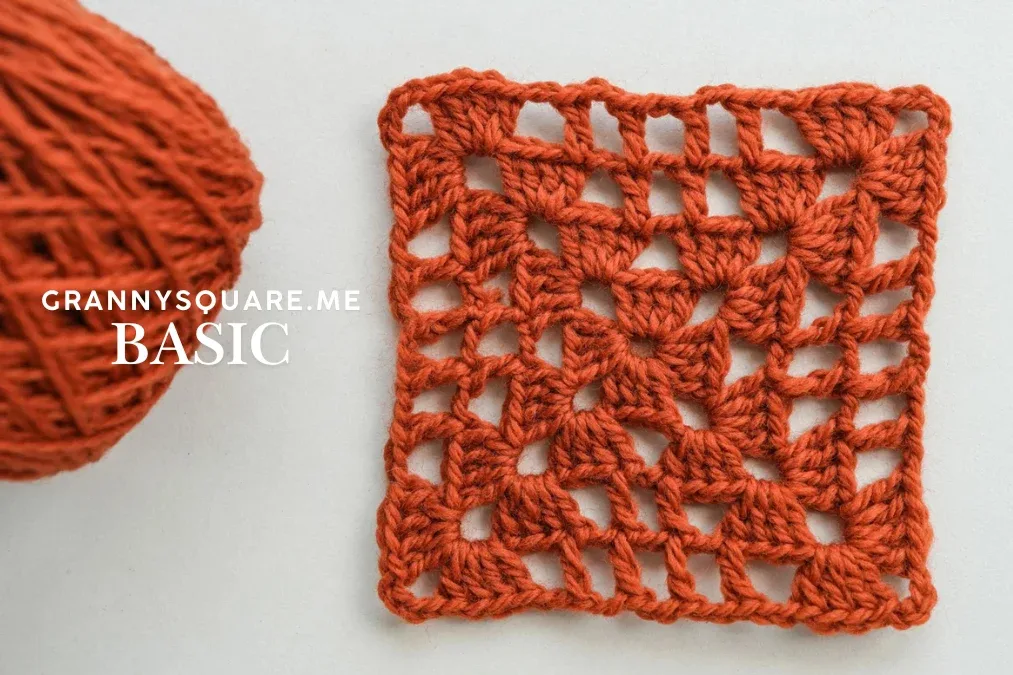
The finished granny square measures a tidy 5 inches by 5 inches, with a slightly open, lacy texture created by the chain spaces between clusters. It feels soft and drapey in DK weight yarn, has that unmistakable cozy, nostalgic look, and blocks into a perfectly flat little tile. On its own it makes a sweet coaster or dishcloth; multiplied and joined, it becomes a heirloom-worthy blanket — a genuinely giftable make in any color you love
Variations
The beauty of this square is how easily it bends to your imagination. For a rainbow scrap-buster, change color at the start of every round — join a new shade with a slip stitch into the first corner space and let each ring pop against the last. For a soft ombré, work all four rounds in graduating tones of one family, like blush, rose, and deep berry, for a modern twist on the classic. Keeping it in a single color instead? A crisp cream or moody charcoal makes the double crochet texture read as elegant rather than retro. To resize, simply keep repeating the round pattern: each additional round adds roughly an inch, so a sixth round gets you close to a 7-inch square, while stopping at Round 3 gives a dainty 3.5-inch coaster. Swap the DK and 3.00mm hook for a chunky worsted and a 5.00mm hook to make a jumbo square for a floor cushion, or drop to a 4-ply cotton like Paintbox Cotton DK for crisp, washable dishcloths. Try seasonal palettes — sage and cream for spring, rust and mustard for autumn, or icy blue and white for a wintry throw. You can also make each cluster five double crochet instead of four for a denser, warmer fabric, just remember to keep the count consistent on every side so your corners stay square
I have made hundreds of granny squares over the years, and I still reach for this exact one whenever I want a quick, meditative make. There's something so soothing about the rhythm of the repeating clusters and chain spaces working around and around — my hands practically do it on their own while I chat or watch the evening go by. I love how the corner spaces in Rounds 2, 3, and 4 quietly build the shape for you, so you never have to count increases or measure anything mid-round. The chain gaps between each cluster give the square its pretty, airy little windows, and slip-stitching to close each round gives you these satisfying, tidy checkpoints along the way. In just four rounds you go from a wobbly center ring to a crisp 5-inch tile, and that fast finish is honestly addictive — I never make just one. Whether I'm using up leftover DK scraps or starting a color-coordinated blanket, this square is the pattern I trust to look neat every single time
Common mistakes
- Skipping the chain spaces between
- Those chain gaps between each double-crochet cluster are structural — they create the 'windows' that let the square breathe. After every cluster along a side, always chain before starting the next cluster, and work your next clusters into the spaces, not into the tops of stitches
- Forgetting to work two clusters into
- Corners need a (4 dc, ch 4, 4 dc) grouping worked into the same corner chain space to turn the angle. If your square is looking like a circle, you've likely put only one cluster in the corners — go back and make sure each corner space holds two clusters with a chain-four between them
- Miscounting the starting chain-three
- the start of each round, the beginning chain-three stands in for your first double crochet. Count it as the first stitch of that opening cluster, so you only add two more double crochet to complete it — not three
- Joining each round into the wrong
- Close every round with a slip stitch into the top of the beginning chain-three (or the first double crochet), not into a chain space. Joining consistently in the same spot keeps your seam straight and your square symmetrical
- Pulling the double crochet stitches too
- Granny squares like a relaxed, even tension. If your finished square is well under 5x5 inches, loosen your grip or go up half a hook size to 3.25mm. Blocking the finished square with a little steam also opens the stitches back up to size


Beginner
Materials
- Yarn of your choice- 1 colors, the sample is made with DK sports
- Crochet hook – we are using a 3.00mm hook
- Darning Needle
- Scissors
How to Crochet Basic Granny Square with Double Crochet
An airy filet-style granny square showcases a mesmerizing grid of open spaces that dance between clusters of stitches.
- Round 1magic ring, ch3(count as dc), 2dc, ch4, [4dc, ch4] repeat repeat 3 times, slst to top of ch3 (15).(15)
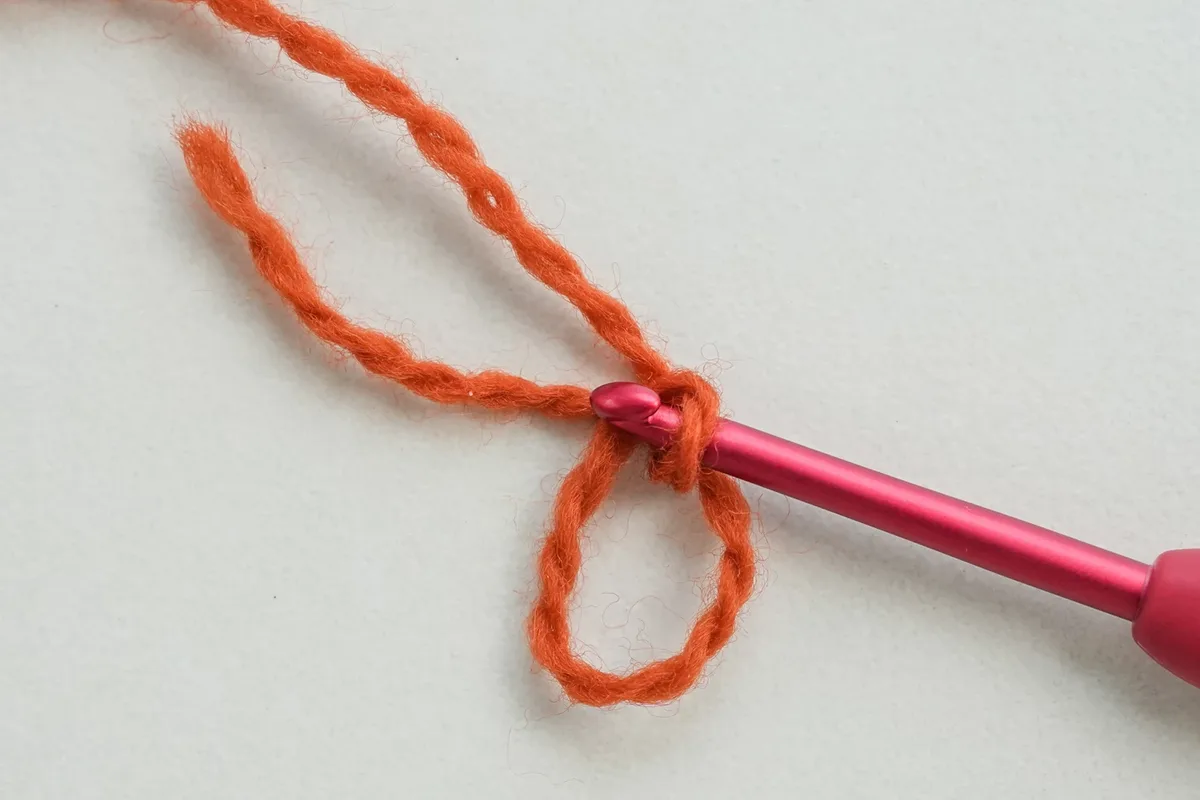
Step by step Step by step: Start with a magic ring; make 3 chain stitches as standing stitch, dc; then make 2dc and ch4; [4dc, ch4] repeat 3 times, slst to top of ch3. Round 1 finished.
- Round 2ch6, sk 3 st, 4dc ch4 4dc in corner space, ch2, [sk 3 st, 4dc ch4 4dc in corner space, ch2] repeat 2 times, sk 3 st, 4dc ch4 4dc in corner space, slst to top of ch3 (33).(33)
Step by step Step by step: make 6 chain stitches; skip 3 stitches, 4dc ch4 4dc in corner space, ch2; [skip 3 stitches, 4dc ch4 4dc in corner space, ch2] repeat 2 times, skip 3 stitches, 4dc ch4 4dc in corner space, slst to top of ch3. Round 2 finished.
- Round 35ch(3ch as dc), sk 2 ch-sp, dc in next st, ch2, skip 3 st, 4dc ch4 4dc in corner sp, ch2, [sk 3 st, dc in next st, ch2, sk 2 ch-sp, dc in next st, ch2, sk 3 st, 4dc ch4 4dc in corner sp, ch2] repeat 3 times, slst to top of ch3 (40).(40)
Step by step Step by step: make 5 chain stitches (3ch as dc); skip 2 chain space, dc in next stitch; ch2, skip 3 stitches, 4dc ch4 4dc in corner space, ch2; [skip 3 stitches, dc in next stitch, ch2, skip 2 ch-sp, dc in next stitch, ch2, skip 3 stitches, 4dc ch4 4dc in corner space, ch2] repeat 3 times, slst to top of ch3. Round 3 finished.
- Round 45ch(3ch as dc), [sk 2 ch-sp, dc in next st, ch2] repeat 2 times, sk 3 st, 4dc ch4 4dc in corner sp, ch2, sk 3 st, dc in next st, [*(sk 2 ch-sp, dc in next st) repeat* 3 times, ch2, sk 3 st, 4dc ch4 4dc in corner sp, ch2, sk 3 st, dc in next st] repeat 3 times, ch2, slst to top of ch3, fasten off (48).(48)
Step by step Step by step: make 5 chain stitches (3ch as dc); [skip 2 chain space, dc in next stitch, ch2] repeat 2 times, skip 3 stitches, 4dc ch4 4dc in corner space, ch2, skip 3 stitches, dc in next stitch; [*(skip 2 chain space, dc in next stitch) repeat* 3 times, ch2, skip 3 stitches, 4dc ch4 4dc in corner space, ch2, skip 3 stitches, dc in next stitch] repeat 3 times, ch2, slst to top of ch3, fasten off, weave in ends and cut off extra yarn. Then we finished the basic granny square with double crochet.
Important notes
💡 Gauge: the finished granny square is 5 inches by 5 inches. A 3.00mm hook with DK weight yarn gives you the sample's exact 5x5 inch square. If your gauge runs tight, nudge up to a 3.25mm hook; if it runs loose and floppy, drop to a 2.75mm
💡 Color suggestion: try a rainbow effect by changing colors every round, or create an ombré look with graduating shades of the same color family for a modern twist on this classic
💡 Start with a chain-four joined into a ring rather than a magic ring if you're brand new — it's more forgiving, and the small center hole hides nicely once the square is joined into a project
💡 Drop a stitch marker into the beginning chain-three of each round. It makes finding your join point effortless and stops you from accidentally working past the end of the round
💡 For multi-color squares, wind small bobbins or bracelet-loop your leftover DK by color before you start — it keeps tangles out of the way when you're joining a fresh shade at each round
💡 Block your finished square by pinning it to 5x5 inches on a foam mat and giving it a light steam or spritz. This squares up the corners and makes joining multiple squares into a blanket far neater
💡 Keep a consistent turning-and-joining direction on every square you make. When you later join them into a blanket, matching orientation keeps the double crochet texture flowing the same way across the whole piece
More photos
FAQ
How much yarn do I need for one granny square?
A single 5x5 inch square in DK weight uses only about 8 to 12 yards of yarn, so it's a wonderful scrap-buster. One standard 100g ball will make roughly 20 to 25 squares depending on your tension
Can I make this square bigger than 5 inches?
Absolutely — just keep repeating the round pattern. Each extra round adds about one inch all around, so a fifth round gives you roughly a 6-inch square and a sixth round about 7 inches. Keep your corner clusters consistent as you grow
What do the chain spaces between clusters do?
The chain spaces create the little open 'windows' that give the granny square its signature airy texture and let it lie flat. In the next round you'll work your clusters into those spaces rather than into individual stitches
Is this pattern suitable for a complete beginner?
Yes, it's one of the best first projects there is. As long as you can make a chain and a double crochet, you have every skill you need — there are no complicated increases, and each of the four rounds ends with a simple slip-stitch join
How do I join several squares into a blanket?
Once you have a stack of blocked squares, you can whip-stitch or slip-stitch them together through the back loops, or crochet them with a single crochet seam for a raised ridge. Working all squares in the same orientation keeps the finished blanket looking tidy and even
Made your own square?
This site belongs to every crocheter. Share your design with the world — we’ll math-check the counts, polish it up, and publish it free for everyone, credited to you.
🧵 Share your pattern →
0 / 0 rounds