
Free Pattern
Step-by-Step
Crochet
Granny SquaresButterfly Granny Square – Free Crochet Pattern
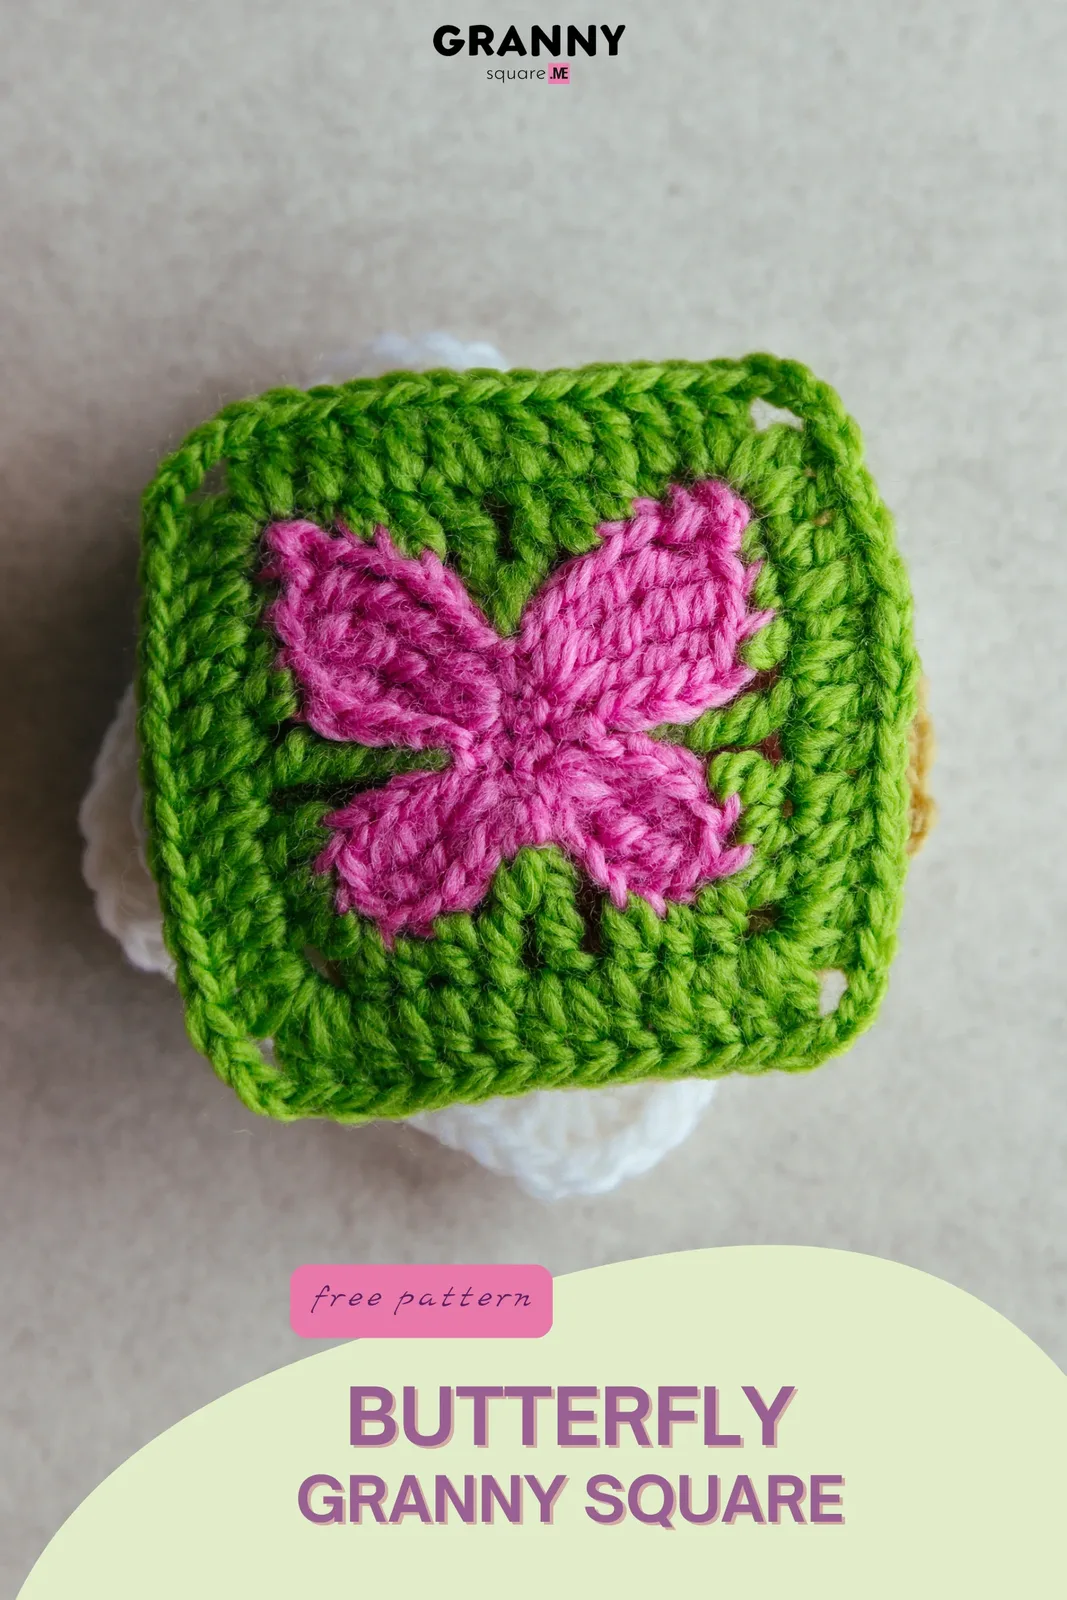
Crochet an adorable butterfly granny square in just 4 rounds with 2 colors. Free pattern perfect for nature-themed blankets and quick stash-busting
Level EasyTime About 1 HourHook 2.50 mmYarn DK
About This Pattern
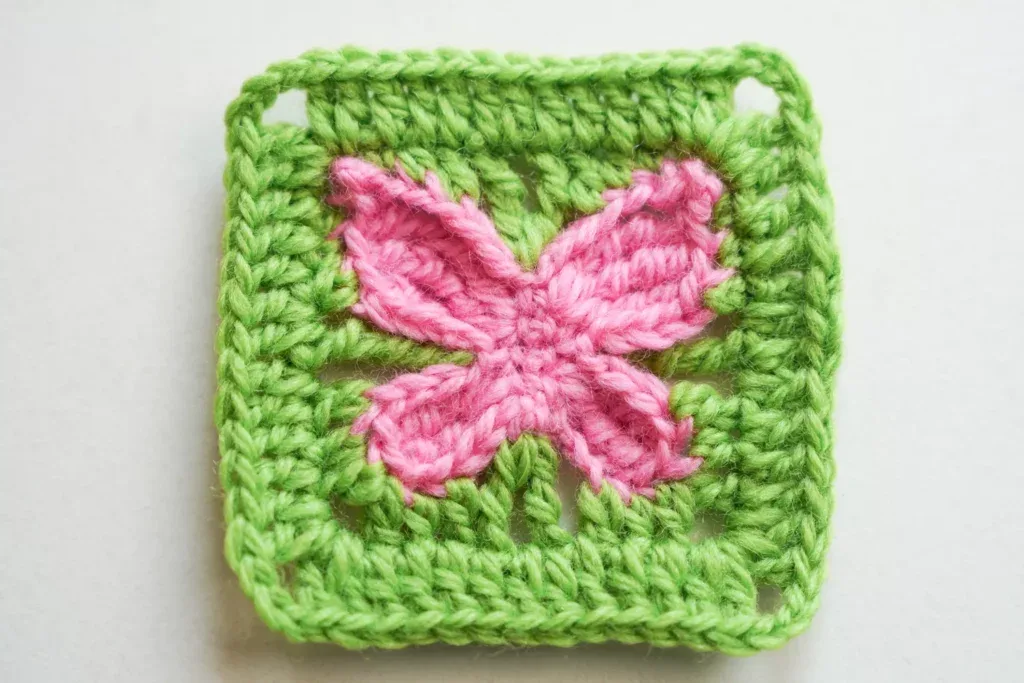
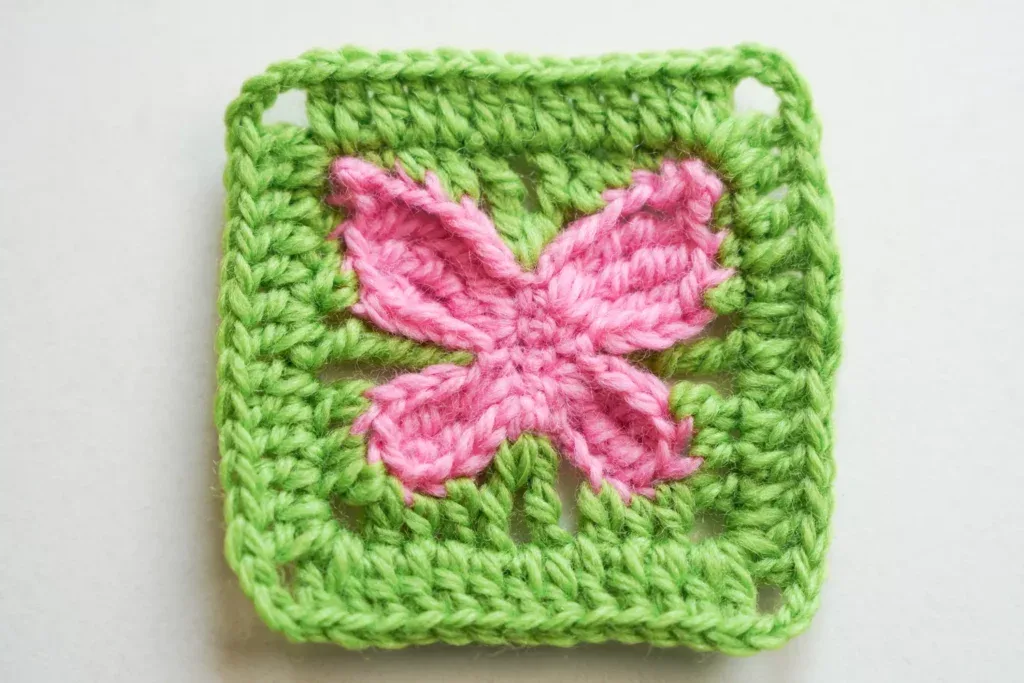
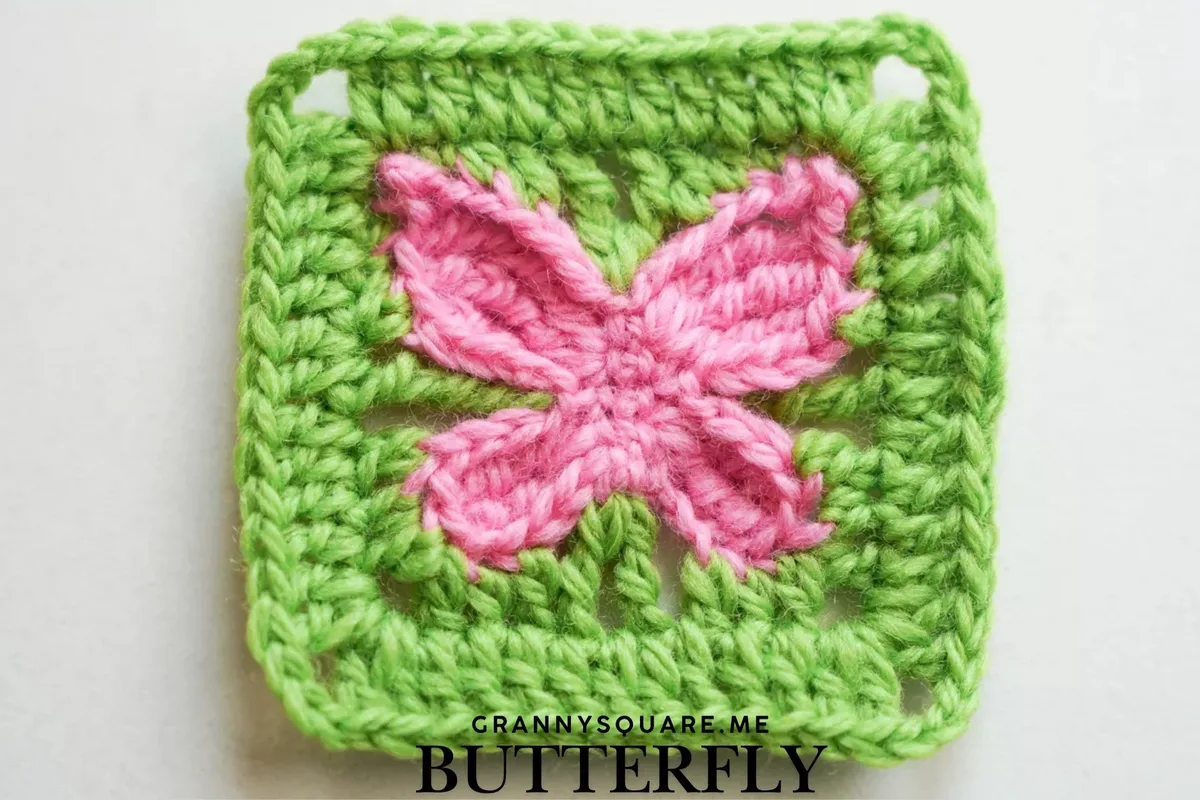
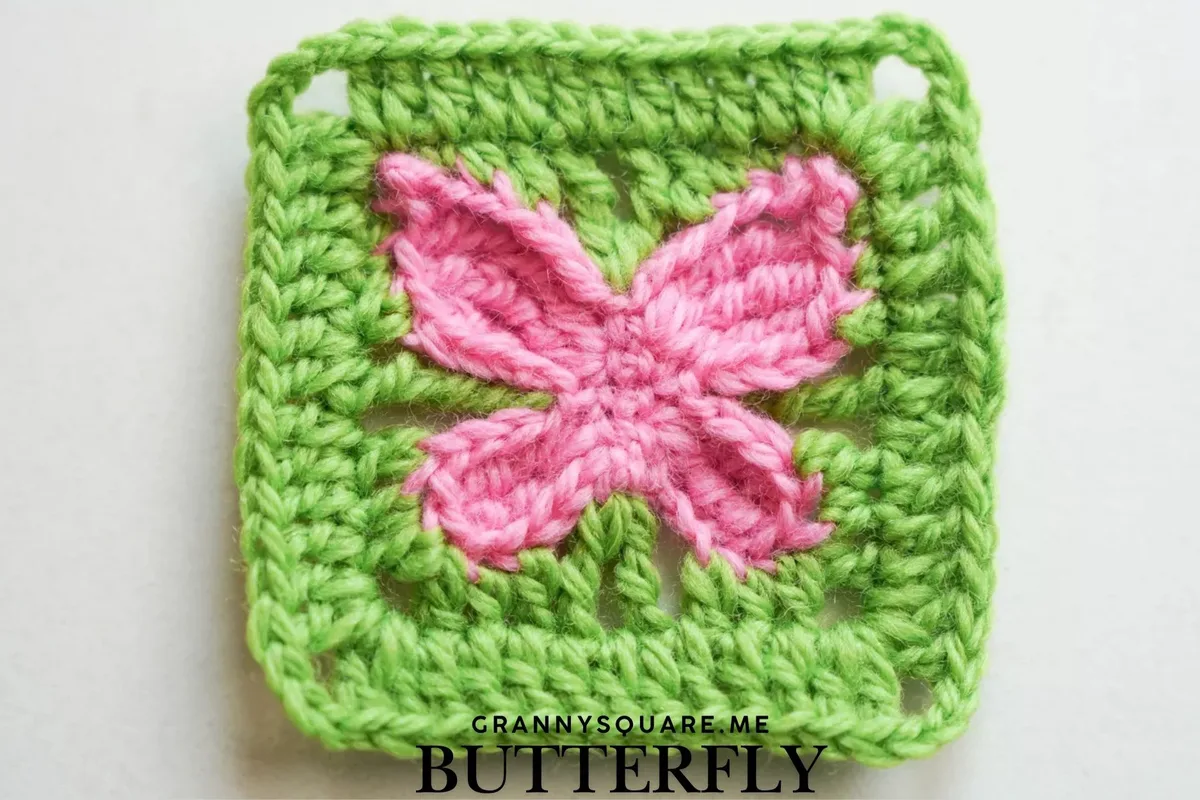
This butterfly granny square turns a simple two-color square into a little piece of garden magic. Over just four rounds, a sweet butterfly with open, mirrored wings takes shape in the center, framed by a classic granny-style border. It's a wonderful motif for anyone who loves nature-inspired crochet — perfect for children's blankets, spring cushion covers, or as a companion piece to bee and ladybug squares in an insect-themed sampler. Because it only needs two colors and small amounts of yarn, it's also a lovely way to use up leftover DK from bigger projects
The finished square measures roughly 2.95 x 2.95 inches when worked in DK or sport-weight yarn, so it's petite, portable, and quick to multiply. The butterfly sits slightly raised against the flat background, giving the square a lovely tactile quality that little fingers can't resist tracing. Stitch a whole flock into a baby blanket, sew a single square onto a tote or cardigan pocket, or frame one in a tiny embroidery hoop for a handmade gift that costs pennies to make but looks completely charming
Variations
The two-color recipe makes this square endlessly customizable. For a classic garden feel, try soft lilac wings on a cream background, or buttery yellow on sage green. If you want drama, coral or hot pink wings on navy make the butterfly absolutely glow. My favorite trick for blankets: keep one consistent background color across every square and give each butterfly different wings — raid your scrap basket and you'll end up with a whole meadow of one-of-a-kind butterflies that still reads as a cohesive set. Yarn choice changes the personality completely. A crisp mercerized cotton like Scheepjes Catona gives beautifully sharp stitch definition on the wings, while a soft acrylic like Stylecraft Special DK or Paintbox Simply DK keeps a blanket cozy and washable. Want bigger squares without changing the pattern? Simply size up: the same four rounds in worsted weight with a 4.0mm hook grow the square to roughly 4 inches, perfect for a faster throw. Or keep your DK yarn and add one extra border round — 3-dc groups along each side with (3 dc, ch 2, 3 dc) in every corner — to give the butterfly more breathing room. For seasonal sets, work spring squares in pastels, summer ones in bright turquoise and white, and autumn versions with rust or mustard wings on deep teal. And since you'll already have your darning needle out for the ends, consider embroidering a slim body line and two tiny antennae down the center of the butterfly — it takes two minutes and makes the motif absolutely unmistakable
I have a soft spot for motif squares that look far more complicated than they actually are, and this butterfly is exactly that. The whole butterfly appears in the first couple of rounds — you watch the wings bloom out of the center ring in mirrored pairs, and there's something genuinely delightful about the moment the shape suddenly reads as 'butterfly.' Then the background color comes in and does all the tidying up, filling in around the wings and squaring off the corners so the motif floats neatly in the middle of a proper granny square. What I find most satisfying is the contrast: the wings have a slightly raised, dimensional look, while the border sits smooth and flat, so the butterfly really pops off the fabric. I also love that it takes just two colors and barely any yarn — I've been making mine entirely from the odds and ends in my scrap basket. And because each square is under three inches, you get that 'I finished something!' feeling in under an hour. Fair warning: it is very hard to make just one
Common mistakes
- Leaving the center ring too loose before working the wings
- The butterfly's wings all anchor into the starting ring, so a loose center leaves an obvious hole right at the butterfly's body. Snug the ring closed after the first round while you can still reach the tail easily, then lock it in place when you weave that tail through the back of the center stitches
- Miscounting the chain spaces between wing sections
- The wings are built in mirrored pairs, and one missed or extra chain makes the butterfly noticeably lopsided. Pause at the end of each butterfly round and check that the left and right sides match exactly — if they don't, it's far quicker to frog one round now than to discover it when you square off
- Placing the corners unevenly on the squaring-off round
- The round that turns the circular butterfly into a square depends on the four corner groups landing evenly around the motif. Before you start it, drop a stitch marker in each spot where a corner will sit — the four markers should form an X across the square — so the butterfly ends up centered instead of drifting toward one edge
- Crocheting too loosely with the small 2.50mm hook
- DK yarn on a 2.50mm hook is intentionally snug so this tiny square holds its shape when joined into a blanket. If your chain spaces gape or the square feels floppy, tighten your tension or drop down a hook size — a firm little square now saves a wavy blanket later
- Skipping blocking because the square is small
- Small motif squares are the worst curlers, and unblocked butterflies tend to cup around the raised wings. Pin each square out to a true 3-inch square and give it a light steam or wet block — the corners sharpen up, the wings flatten just enough, and joining becomes dramatically easier


Easy
Materials
- Yarn of your choice- 2 colors
- Crochet hook- we are using a 2.50mm hook
- Darning Needle
- Scissors
Main Pattern
This round creates the foundation.
- Round 1ch5, BLO , sc in each ch from 4th to 1st ch.Step by step: Start with a knot. ch5. sc in BL of each ch from 4th ch back to 1st ch.
In this round, we will shape the body of the butterfly.
- Round 2Wrong side, ch4, dtr inc, ch4, sl st to next st, ch4, dtr+2trtr, ch-3 pic, ch6, sl st to next st, ch6, ch-3 pic, 2trtr+dtr, ch4, sl st to next st, ch4, dtr inc, ch4, sl st to next st, fasten off.
Step by step: Flip the workpiece to the wrong side, then work ch4. dtr inc in next st, ch4, sl st to the next st, ch4, dtr+2trtr, ch3, now insert the hook into the third loop of the first ch. Then, complete a sl st to finish a ch-3 pic. ch6, sl st to the next st, ch6, then work another ch3, insert the hook in the third loop of the first ch. Complete a sl st to finish a ch-3 pic. 2trtr+dtr, ch4, sl st to the next st, ch4, dtr inc, ch4, sl st to next st, fasten off. Round 2 finished.
In this round, we will add the first layer of the granny square.
- Round 3BLO. New yarn in top of the 3rd ch4, ch2(count as hdc), 2sc, ch3, sk the pic, sc, hdc, dc, sk3, tr+ch1+tr, sk3, dc, hdc, sc, ch3, sk pic, 2sc, hdc, ch1, sk3, dtr, ch1, sk4, dc, hdc, dc+ch3+dc, hdc, dc, sk2, tr+ch1+tr, sk2, dc, hdc, dc+ch3+dc, hdc, dc, ch1, sk3, dtr, ch1, sl st to the top of the first ch2.Step by step: Back loop only for this round. Add new yarn in top of the third ch4. ch2 as a standing st (count as hdc). 2sc, ch3, sk the pic, sc, hdc, dc, sk3, tr+ch1+tr, sk3, dc, hdc, sc, ch3, sk pic, 2sc, hdc, ch1, sk3, dtr, ch1, sk4, dc, hdc, dc+ch3+dc, hdc, dc, sk2, tr+ch1+tr, sk2, dc, hdc, dc+ch3+dc, hdc, dc, ch1, sk3, dtr, ch1, sl st to the top of the first ch2. Round 3 finished.
In this round, we will work another round of border.
- Round 4ch3(count as dc), 2dc, 2dc+ch2+2dc in next corner, 6dc.[3dc, 2dc+ch2+2dc in corner, 6dc] repeat 3 times, sl st to the top of the first ch3, fasten off (52).Step by step: ch3 as a standing st (count as dc). 2dc, 2dc+ch2+2dc in the next corner space, 6dc. [3dc, 2dc+ch2+2dc in corner space, 6dc] repeat 3 times, sl st to the top of the first ch3, fasten off. Round 4 finished.(52)
Important notes
💡 Your hook choice controls the finished size: the sample measures about 2.95 x 2.95 inches in DK/sport yarn with a 3.00mm hook, while the listed 2.50mm hook gives a slightly smaller, denser square. Either works — just use the same hook for every square in a project so they all match
💡 Place stitch markers in the four corner spaces on the final round. When you later join squares or add a border, finding the true corners of such a small square without markers is surprisingly fiddly
💡 Leave a 6–8 inch tail when you fasten off the background color. That tail is exactly what you'll want on your darning needle for whip-stitching squares together without joining new yarn
💡 Don't carry the wing color behind the background rounds — fasten it off after the butterfly is complete. With only two colors and four rounds, you'll have just a handful of ends, and the back of the square stays clean enough to use double-sided
💡 Count your stitches at the end of every round. With only four rounds total, a single missed stitch has nowhere to hide and will visibly tilt the butterfly or round off a corner
💡 Pick your fiber for the job: crisp cotton shows off the wing texture beautifully for appliqués and framed squares, while soft acrylic is the better choice for baby blankets that need frequent machine washing
💡 The key tip for this square is to use a smaller hook than usual. A 3.00mm hook suits most granny squares, but for this one a 2.50mm or 2.00mm hook is recommended — the smaller hook will sharpen the shape of the butterfly
💡 To make the butterfly pop out from the background, always use high-contrast colors
More photos
FAQ
How much yarn does one butterfly granny square use?
Very little — roughly 5 to 8 grams of each color in DK weight. This makes it a fantastic scrap-buster: a single 100g ball of background yarn will carry you through a dozen or more squares, with the wings coming entirely from leftovers
What size is the finished square?
About 2.95 x 2.95 inches worked in DK or sport-weight yarn with a 3.00mm hook. Using the 2.50mm hook listed in the materials gives a slightly smaller, firmer square, so pick one hook and stick with it across a whole project
Can I make this in worsted-weight yarn instead?
Absolutely — work the same four rounds in worsted with a 4.0mm hook and the square grows to roughly 4 inches. It's a great option if you want a blanket to come together faster with fewer squares
How many squares do I need for a baby blanket?
just under 3 inches per square, a 30 x 36 inch baby blanket takes about 120 squares (10 across by 12 down). If that sounds like a lot, add an extra granny border round to each square to enlarge them and cut the count significantly
What's the best way to join the finished squares?
Whip-stitching through the back loops with your darning needle and the background color gives the flattest, most invisible seam. If you prefer crocheting them together, a slip-stitch or single-crochet join in the background color also works beautifully and adds a subtle ridge
Made your own square?
This site belongs to every crocheter. Share your design with the world — we’ll math-check the counts, polish it up, and publish it free for everyone, credited to you.
🧵 Share your pattern →
0 / 0 rounds