
Free Pattern
Step-by-Step
Crochet
Granny SquaresChicken granny square crochet pattern: two farmyard designs
Free chicken granny square crochet pattern with two designs — a pink-crested hen and a red-crested rooster with 3D crests and tail feathers
Level IntermediateTime 2-3 HoursHook 3.00 mmYarn Worsted
About This Pattern
This pattern gives you two chicken granny squares in one go — a pink-crested hen and a red-crested rooster, each perched inside a tidy square frame. The chickens aren't printed on or appliquéd; their oval bodies are built right into the fabric using stitches of different heights, then squared off around them. It's perfect for anyone who loves farmhouse charm, collects character squares for a sampler blanket, or wants a small project that looks far more complicated than it actually is
You'll work a magic loop, mix single, half double and double crochet in a single round to shape the oval body and head, then turn to the wrong side and square the piece in back loop only. The crests use invisible slip stitches worked alternately to the front and back of the fabric, which creates a real three-dimensional tuft, and the chest feathers are simple chain-and-slip-stitch clusters. Expect an intermediate afternoon: roughly an hour per square, plus a little embroidery time for eyes, beaks and feet
Each finished square measures about 2.83 × 2.83 inches with a 3.00 mm hook, so they stack up beautifully into blankets, cushion fronts or a garland. The chickens sit slightly proud of the background thanks to the raised crests, tail feather and chest tuft, giving the squares a soft, touchable texture that photographs wonderfully. Made in a set, they're a charming baby-blanket panel, a housewarming gift for a farmhouse kitchen, or a sweet handmade coaster for someone who keeps hens
Variations
The most obvious variation is a full flock. Keep the body construction identical and swap only the body colour: buff orange for an Orpington, speckled grey for a Plymouth Rock, glossy black with a bright red crest for an Australorp, and pure white with a yellow beak for a Leghorn. A blanket of twelve mismatched hens against a cream background reads like a proper farmyard. If you'd rather keep it calm, work every chicken in the same soft ecru and change only the crest and beak colours — the texture still carries the design. For a nursery, try the whole set in pastels: mint bodies with peach crests, lilac with butter yellow, dusty pink with cream. Background colours matter more than you'd think, so test a light body on a dark frame and vice versa before committing to forty squares. Size is easy to adjust. Move up to a 4.00 mm hook with worsted yarn and each square grows to roughly 3.5 inches; go to chunky yarn with a 6.00 mm hook for a fast cushion panel. To make a larger square without changing the chicken, simply add one or two extra plain dc border rounds after the final round — the chicken stays the same size and floats in more negative space, which actually looks rather elegant. You can also skip the tail feather on the rooster for a rounder hen shape, or add a second tail in a contrast colour for a showier bird. Chicks are fun too: work only round 1, skip round 2, then square directly and top with a tiny yellow tuft
I have a soft spot for granny squares that hide a character inside them, and these two chickens are the best example I've found. What I love most is how the body appears out of nowhere in round one — you're just working a magic loop with dc, hdc and sc in a specific order, and suddenly there's an unmistakable chicken shape sitting in your hand. That moment never gets old for me. Then the squaring round on the wrong side in BLO gives you this crisp, professional frame with almost no fuss. The crests are my favourite part to make. Those invisible slip stitches that alternate to the wrong side and right side create a tuft that genuinely stands up off the fabric, and the red rooster's segmented crown has real personality next to the hen's dainty pink comb. Add two French knot eyes and a tiny triangular beak, and the whole thing suddenly looks at you. I made a stack of six in one weekend and could not stop lining them up on the table
Common mistakes
- Losing count in round 1 because the
- The round is a repeat of 1dc, 2hdc, 1dc, 1hdc, 2sc, 1hdc worked twice into the magic loop. Say the sequence out loud as you go, or place a marker after the first repeat so you can check the second matches exactly. If the shape looks lumpy rather than oval, one of the hdc or sc positions has almost certainly drifted
- Working the squaring round on the right
- After fastening off round 2, turn the piece over before joining for the squaring round. Working in BLO on the wrong side is what pushes the front loops forward and creates the raised outline around the chicken's body. On the right side you'll get a flat, muddy edge with no definition
- Joining the squaring round in the wrong
- Count downward and join in the 2nd hdc within the two hdc-increase groups at the top right. If you join even one stitch off, all four corners shift and the chicken ends up tilted in its frame. Check the chicken sits level before you commit to the border round
- Making the crest slip stitches too
- The invisible slip stitches need to stay loose enough for the ch2 loops to pop forward. Work them with a relaxed hand, and after each pair gently push the loop toward the right side with your fingertip. A flattened crest usually means the yarn was pulled snug at the join rather than the technique being wrong
- Placing the crest off-centre on the head
- Find the centre 3 stitches at the top of the head before joining any yarn and mark the middle one. Work in FLO starting from the rightmost of those three. It's worth pinning the position first, because a comb sitting one stitch to the side changes the whole expression of the bird
- Embroidering the French knot eyes too far apart or too high
- Place the two eyes close together toward the upper front of the head, with the beak triangle centred just below and between them. Thread the yarn loosely first, look at the face from a distance, and only then pull the knots tight. Wide-set eyes read as startled rather than sweet
- Squares coming out different sizes across a batch
- Tension drifts across a long session, especially on the border round. Measure every square against 2.83 inches as you finish it, and if one runs small add a slightly looser border round rather than reworking the chicken. Blocking each square to the same size before joining fixes the rest


Intermediate
Materials
- Yarn of Your Choice — 6 colors for the pink-crested chicken, 7 colors for the red-crested chicken; the sample is made with wool yarn
- Crochet Hook — 3.00 mm used in the sample
- Darning Needle
- Scissors
Pink-Crested Chicken (Female Chicken) — Body & Head
Use two rounds of stitches with different heights to form an oval for the chicken's body and head.
Both finished granny squares measure approximately 2.83 × 2.83 inches, worked in wool yarn with a 3.00 mm hook.
- Round 1Magic loop, ch3 (count as 1dc), 2hdc, 1dc, 1hdc, 2sc, 1hdc; [1dc, 2hdc, 1dc, 1hdc, 2sc, 1hdc] once more, slst to the top of the first ch3.
- Round 2Ch2 (count as 1hdc), 1hdc in the same st to get the first hdc inc, 2hdc, hdc inc; [hdc inc, 2hdc, hdc inc] × 3, slst to the top of the first ch2. Fasten off.
Step by step: Turn to the WS, and work in BLO. Join yarn in the 2nd hdc (counting downward) within two hdc-inc groups on the top right.
- SquaringTurn to the WS, and work in BLO. Join yarn in the 2nd hdc (counting downward) within two hdc-inc groups on the top right. Ch3 (count as 1dc), 1dc in the same st to complete the first dc inc, 4hdc, dc inc, ch3; [dc inc, 4hdc, dc inc, ch3] × 3, omit the final ch3. Instead, work ch1, then 1hdc into the top of the first ch3 to join.
- BorderCh3 (count as 1dc), 1dc in the same corner, 1dc in each st around, 2dc+ch3+2dc in each corner as you go. When you return to the starting corner: work 2dc+ch3, then slst to the top of the first true dc. Fasten off.
Pink Crest
Create a three-dimensional tuft by alternating slip stitches between the front and back of the fabric.
The female has a smaller pink comb.
Step by step: Locate the center 3 stitches at the top of the chicken head, work in FLO. Join pink yarn in the rightmost st of these three.
[Ch2, invisible slst in the same st to the WS, invisible slst in the next st to the RS] repeat 2 times, ch2, invisible slst in the same st to the WS. Fasten off and weave in the ends.
Fluffy Chest Feathers
Create three fluffy clusters using chains and slip stitches to represent chest feathers.
Tie a knot to begin. [Ch4, return, sk3, slst] repeat 3 times. Fasten off, leaving a tail for sewing.
Red Chicken Crest
The body and head of this chicken follow the same pattern as the previous Pink-Crested Female Chicken.
For this version, we will use red yarn for a larger crest and add a plump tail at the bottom left for extra character.
The male has a long, dark red comb.
Step by step: Add new yarn in the st immediately right to the top two individual hdc, and work in FLO.
Segment 1: (ch1, 1hdc), (1hdc, ch1, invisible slst to the WS), invisible slst to the RS in next st.
Segment 2: (ch2, 1dc), (1dc, ch2, invisible slst to the WS), invisible slst to the RS in next st.
Segment 3: (ch1, 1hdc), (1hdc, ch1, invisible slst to the WS).
Finish: Fasten off and weave in ends.
Tail Feather
Now, let's crochet the male chicken's tail feathers.
Ch2, return, sk1, 1sc in the remaining ch (BLO).
Turn over, (ch3, 2dc, ch3, slst) in the skipped ch from the foundation. Fasten off, leaving a long tail for sewing.
Assembly
- Step 1Pink-Crested Chicken — Facial Details: Embroider two French knots for eyes. Stitch a small triangular beak centered between them.
- Step 2Pink-Crested Chicken — Chest Tuft: Sew the chest feathers below the beak.
- Step 3Pink-Crested Chicken — Feet: Embroider two feet at the body's bottom.
- Step 4Red-Crested Chicken — Facial Details: Embroider two black French knots for eyes and a small orange beak centered below.
- Step 5Red-Crested Chicken — Tail Feather: Sew the white tail to the bottom-left of the body, angled slightly outward.
- Step 6Red-Crested Chicken — Pink Cheeks: Add a small pink stitch (blush) on each side of the face, just below the eyes.
- Step 7Red-Crested Chicken — Feet: Attach two dark brown feet to the body's bottom.
Important notes
US crochet terms are used throughout, so sc is a single crochet worked as one loop-through-loop stitch. If you normally work in UK terms, translate before you start or the entire body shape will come out wrong
The sample uses wool yarn with a 3.00 mm hook and both finished squares measure approximately 2.83 × 2.83 inches, which gives a firm fabric that holds the oval body shape well. Wool blocks beautifully too, which matters when you're squaring up dozens of pieces for a blanket
You'll need 6 colours for the pink-crested hen and 7 for the red-crested rooster, counting body, crest, beak, eyes, feet, background and tail. Pull your full palette before starting so you're not hunting for a beak colour mid-round
Leave a generous tail when fastening off the chest feathers — that tail is what you'll use to sew the cluster onto the body, so a short one means an extra join you didn't need
The two squares are designed to be mixed with plain solid granny squares in the same yarn. Work a few solid squares first to confirm they land at the same 2.83 inches, since your plain-square tension may differ from your chicken tension
Weave in ends on the wrong side as you finish each part rather than saving them all for the end. With six or seven colours per square, a batch of twelve chickens turns into a genuinely daunting pile of tails otherwise
The crest and tail feather are worked into the finished square rather than as separate pieces, so don't block the square hard after they're attached — steam gently around them and let the 3D texture stay lofted
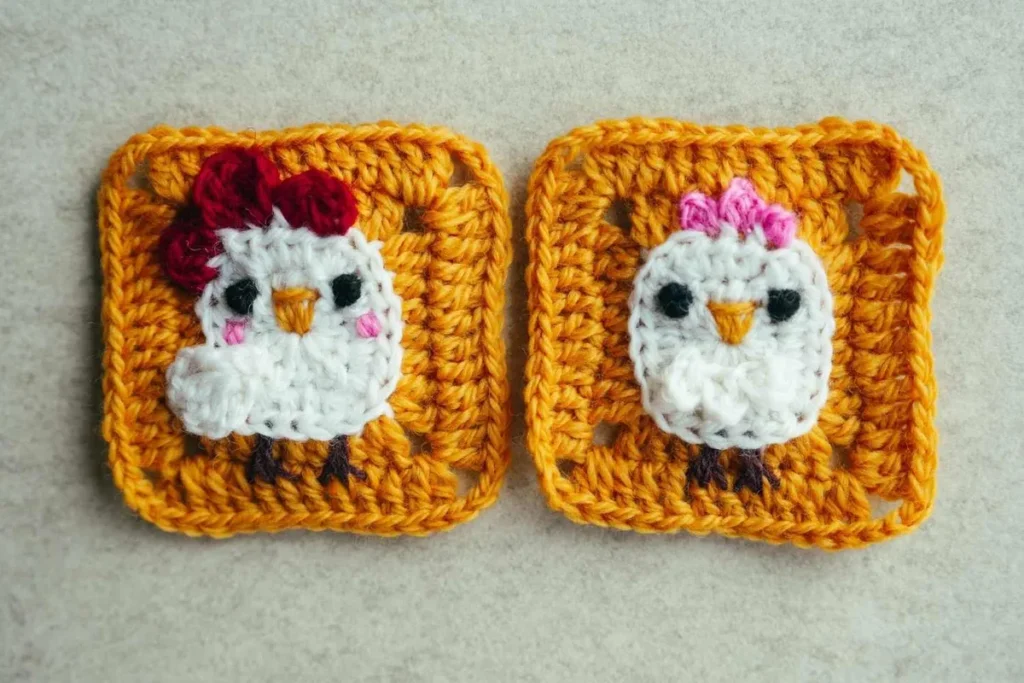
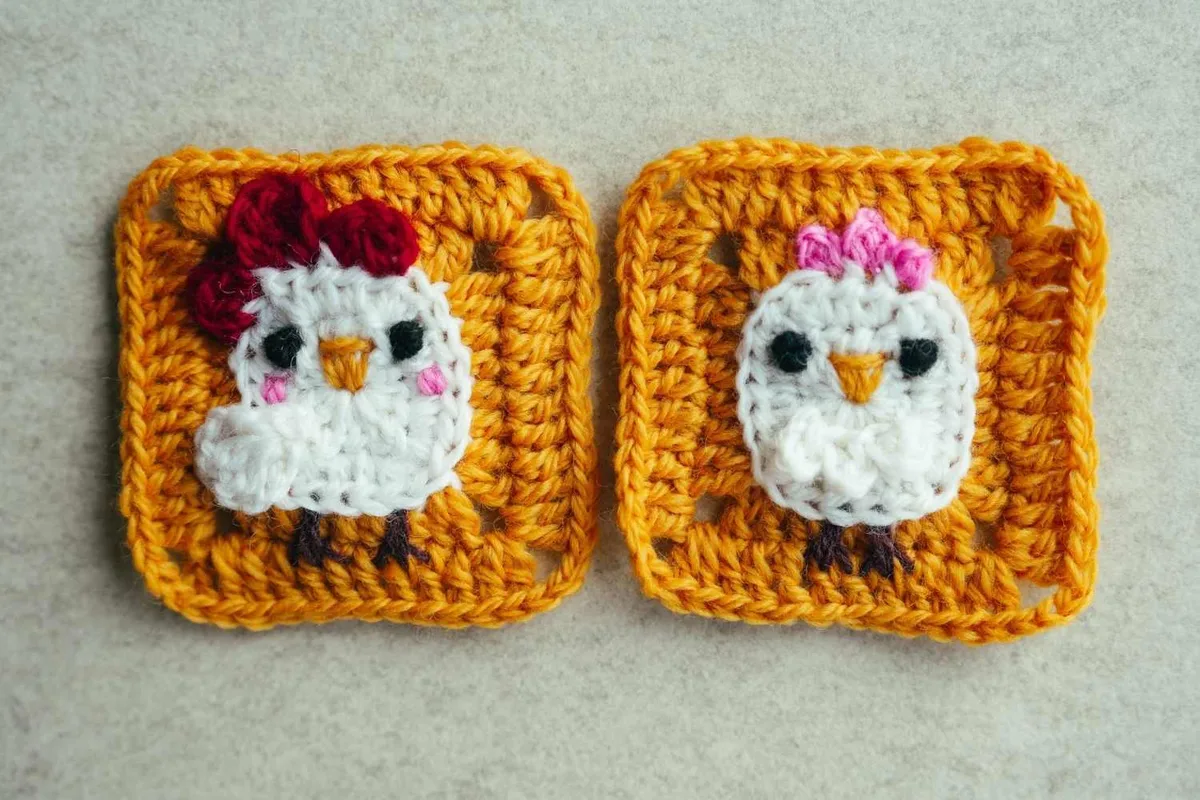
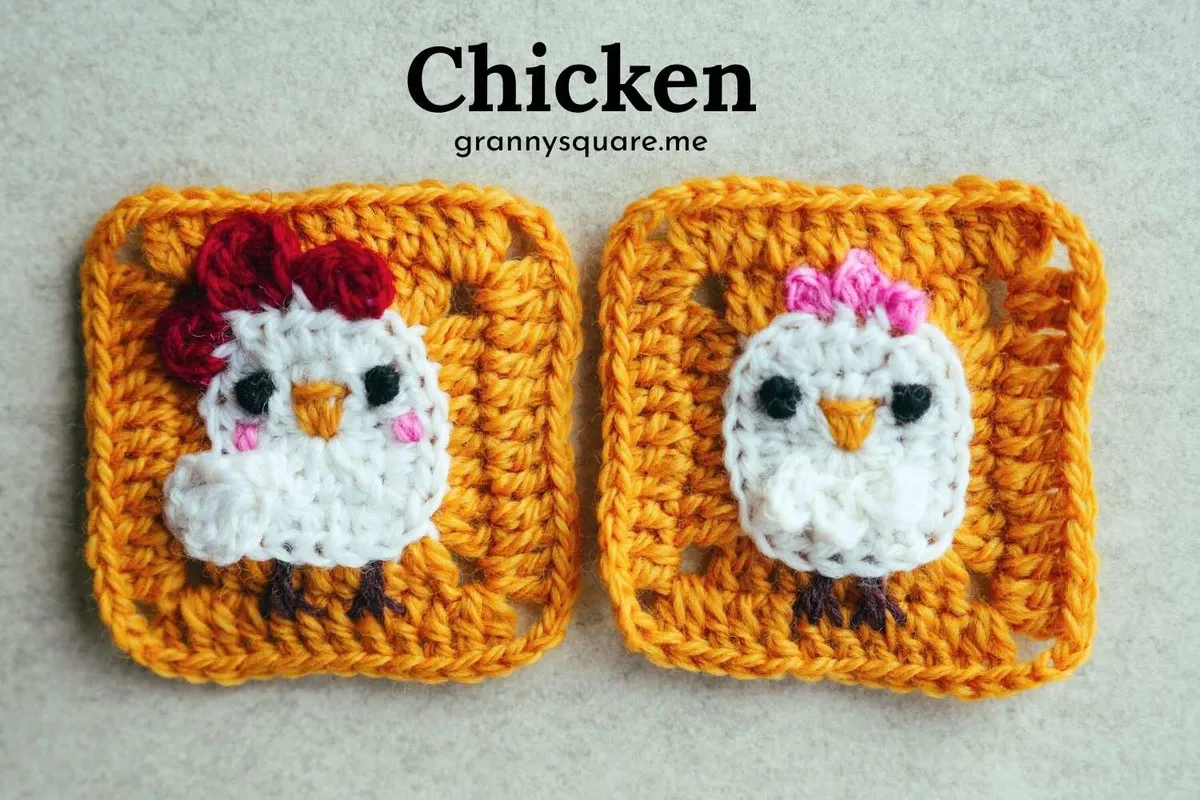
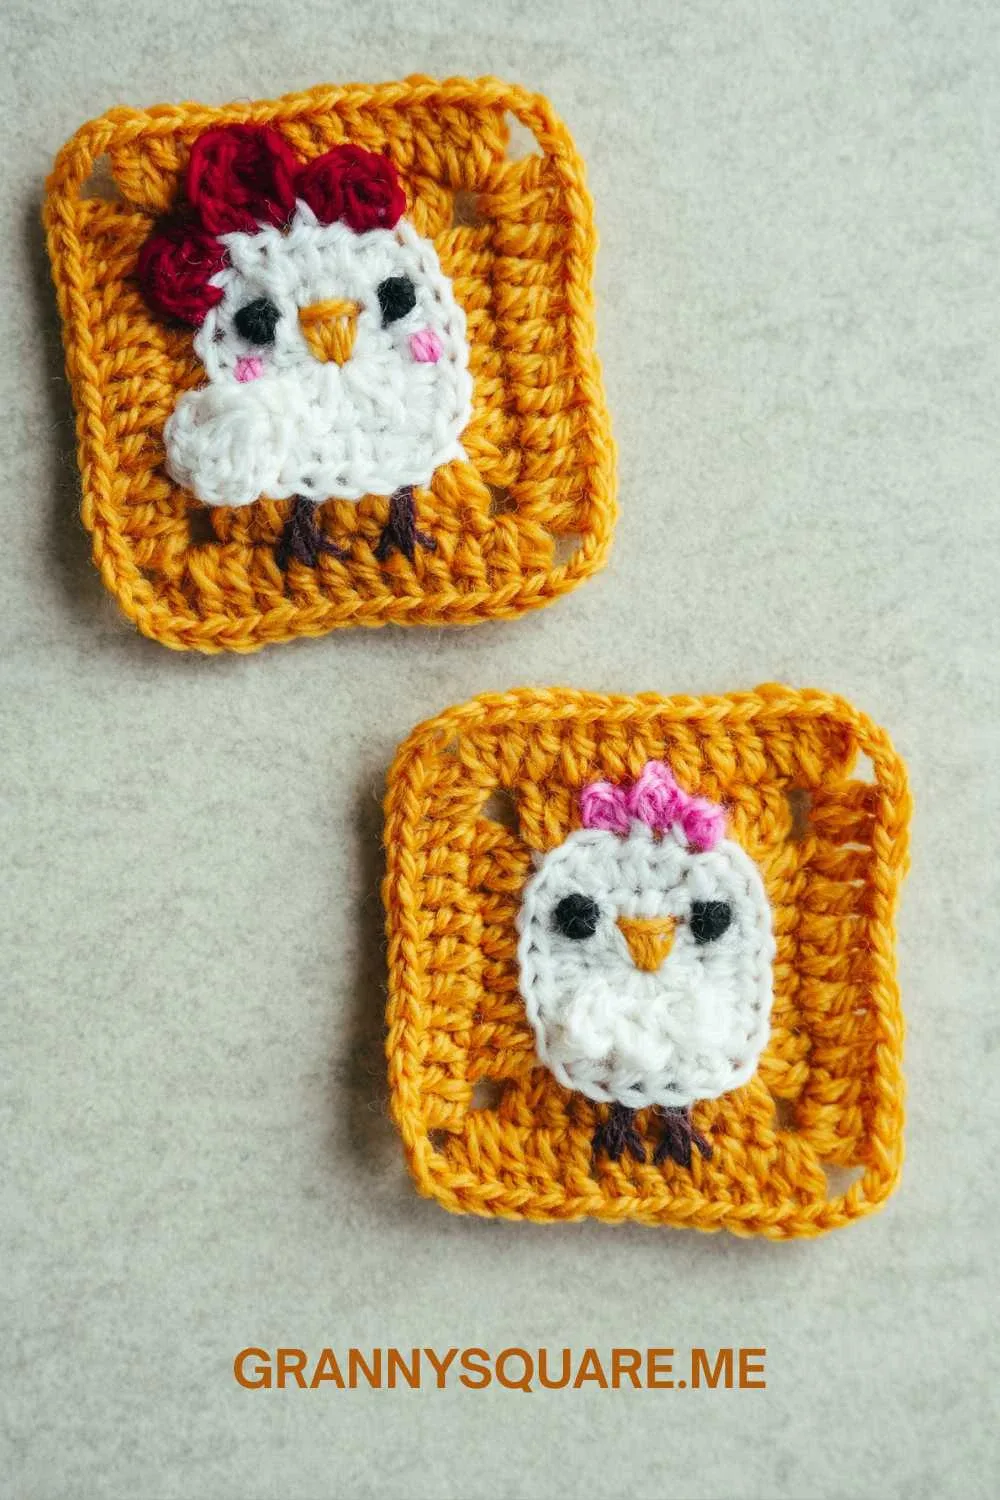
Two lovely granny squares, both featuring two distinct, 3D chickens — one with a pink crest and one with a red-peaked crown and tail
There are male and female versions of the chicken granny square pattern; you can mix them together to make a chicken blanket with solid granny squares
More photos
FAQ
Do I have to make both chickens, or can I just make one?
Each chicken is completely self-contained, so you can make only the hen or only the rooster. The body and head construction is the same for both — the difference is the crest, the tail feather and the chest tuft. Many people make a whole blanket of just hens
What size are the finished squares and can I make them bigger?
Both squares finish at approximately 2.83 × 2.83 inches with wool yarn and a 3.00 mm hook. To size up without redesigning the chicken, add one or two extra plain double crochet border rounds, or move up to a 4.00 mm hook and worsted yarn for roughly 3.5 inches
Why does the squaring round say to work on the wrong side in BLO?
Working back loop only from the wrong side leaves the front loops raised on the right side, which outlines the chicken's body with a subtle ridge. It's what separates the bird from the background so cleanly. Working it on the right side flattens that definition
How do I stop the crest from lying flat against the head?
The invisible slip stitches must alternate between the wrong side and the right side, and they need to stay loose. After each ch2 and slip stitch pair, nudge the loop forward with your finger so it stands up. Tight tension is the usual culprit when a crest goes flat
Can I use acrylic or cotton instead of wool?
Yes. Cotton gives crisp stitch definition and holds the square shape well, though it blocks less obligingly than wool. Acrylic is softer and great for a baby blanket, but keep your tension a little firmer since acrylic tends to stretch under the weight of a joined blanket
How many squares do I need for a blanket?
about 2.83 inches each, a baby blanket of roughly 30 × 36 inches needs around 110 to 130 squares including joining. Most people alternate chicken squares with plain solid squares in a two-to-one ratio, which keeps the flock charming rather than overwhelming
Made your own square?
This site belongs to every crocheter. Share your design with the world — we’ll math-check the counts, polish it up, and publish it free for everyone, credited to you.
🧵 Share your pattern →
0 / 0 rounds