
Free Pattern
Step-by-Step
Crochet
Granny SquaresCloud Granny Square — Free Crochet Pattern with a 3D Layered Cloud
Free cloud granny square crochet pattern with a dimensional 3D cloud motif on a detachable base. DK yarn, 3mm hook, modular sky-scene squares
Level IntermediateTime 1-2 HoursHook 3.00 mmYarn DK / Sport
About This Pattern
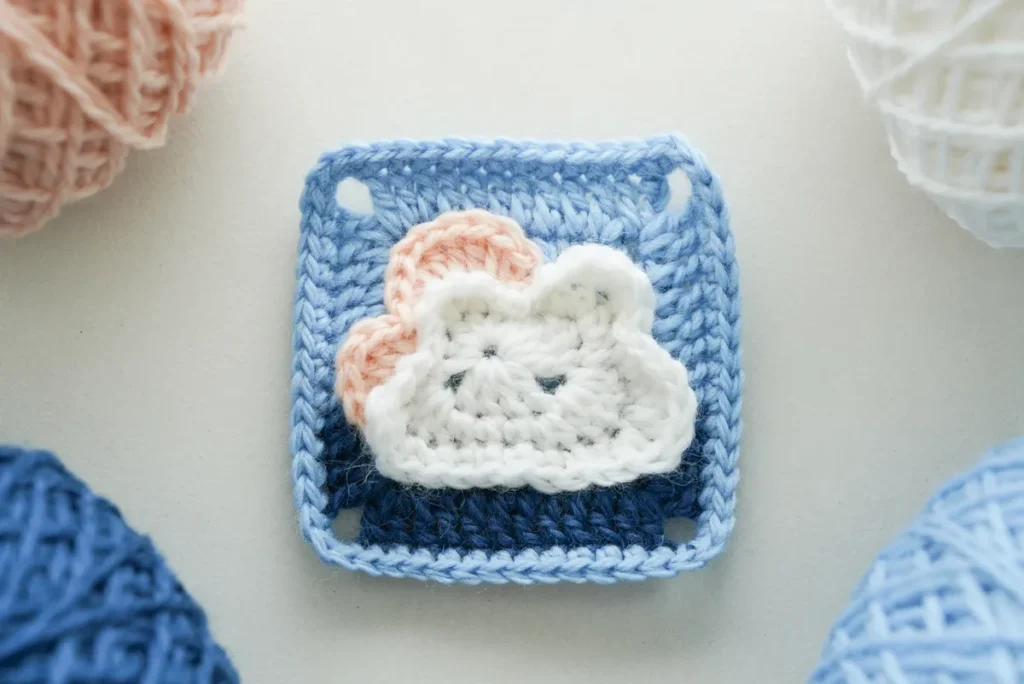
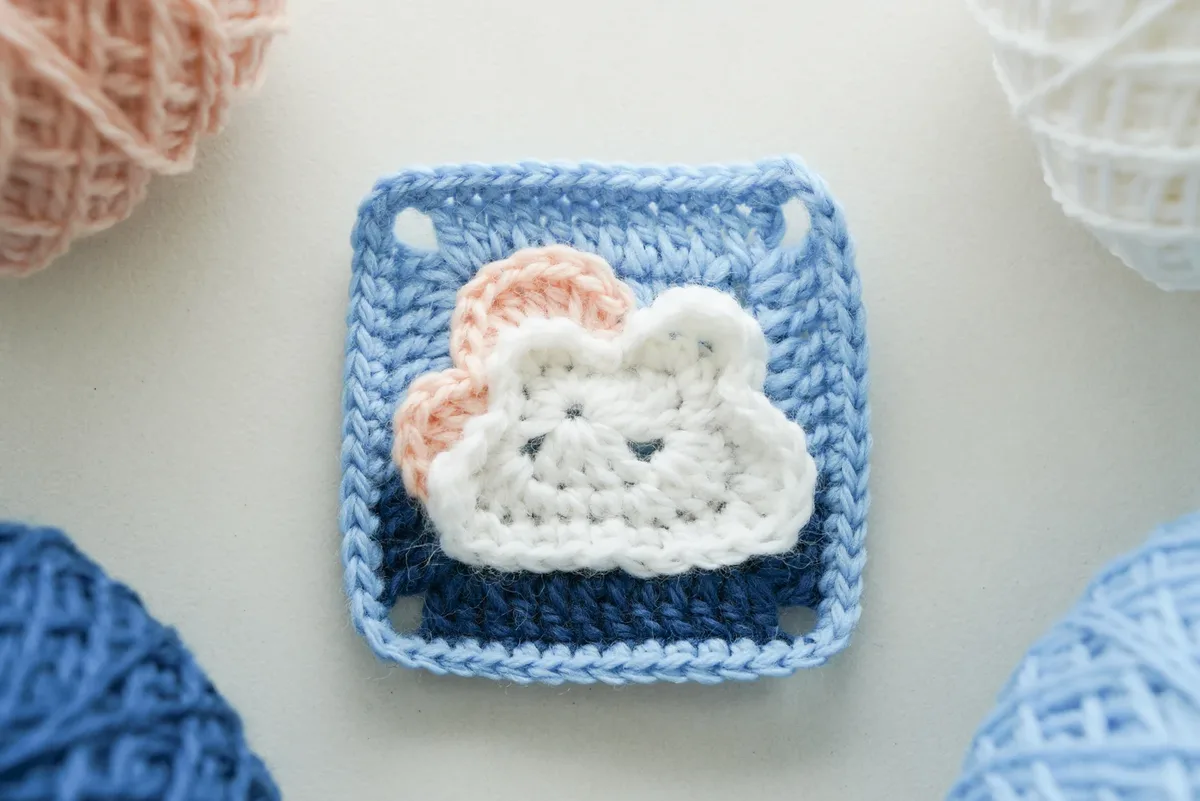
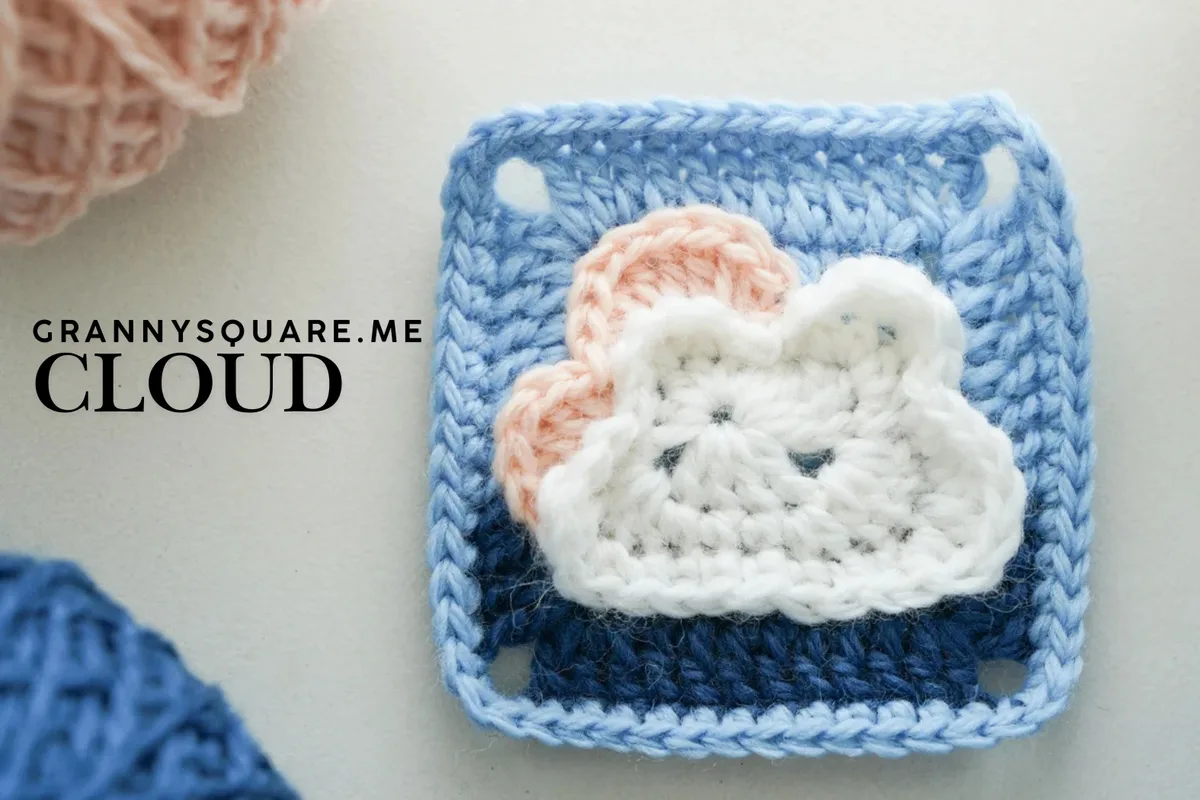
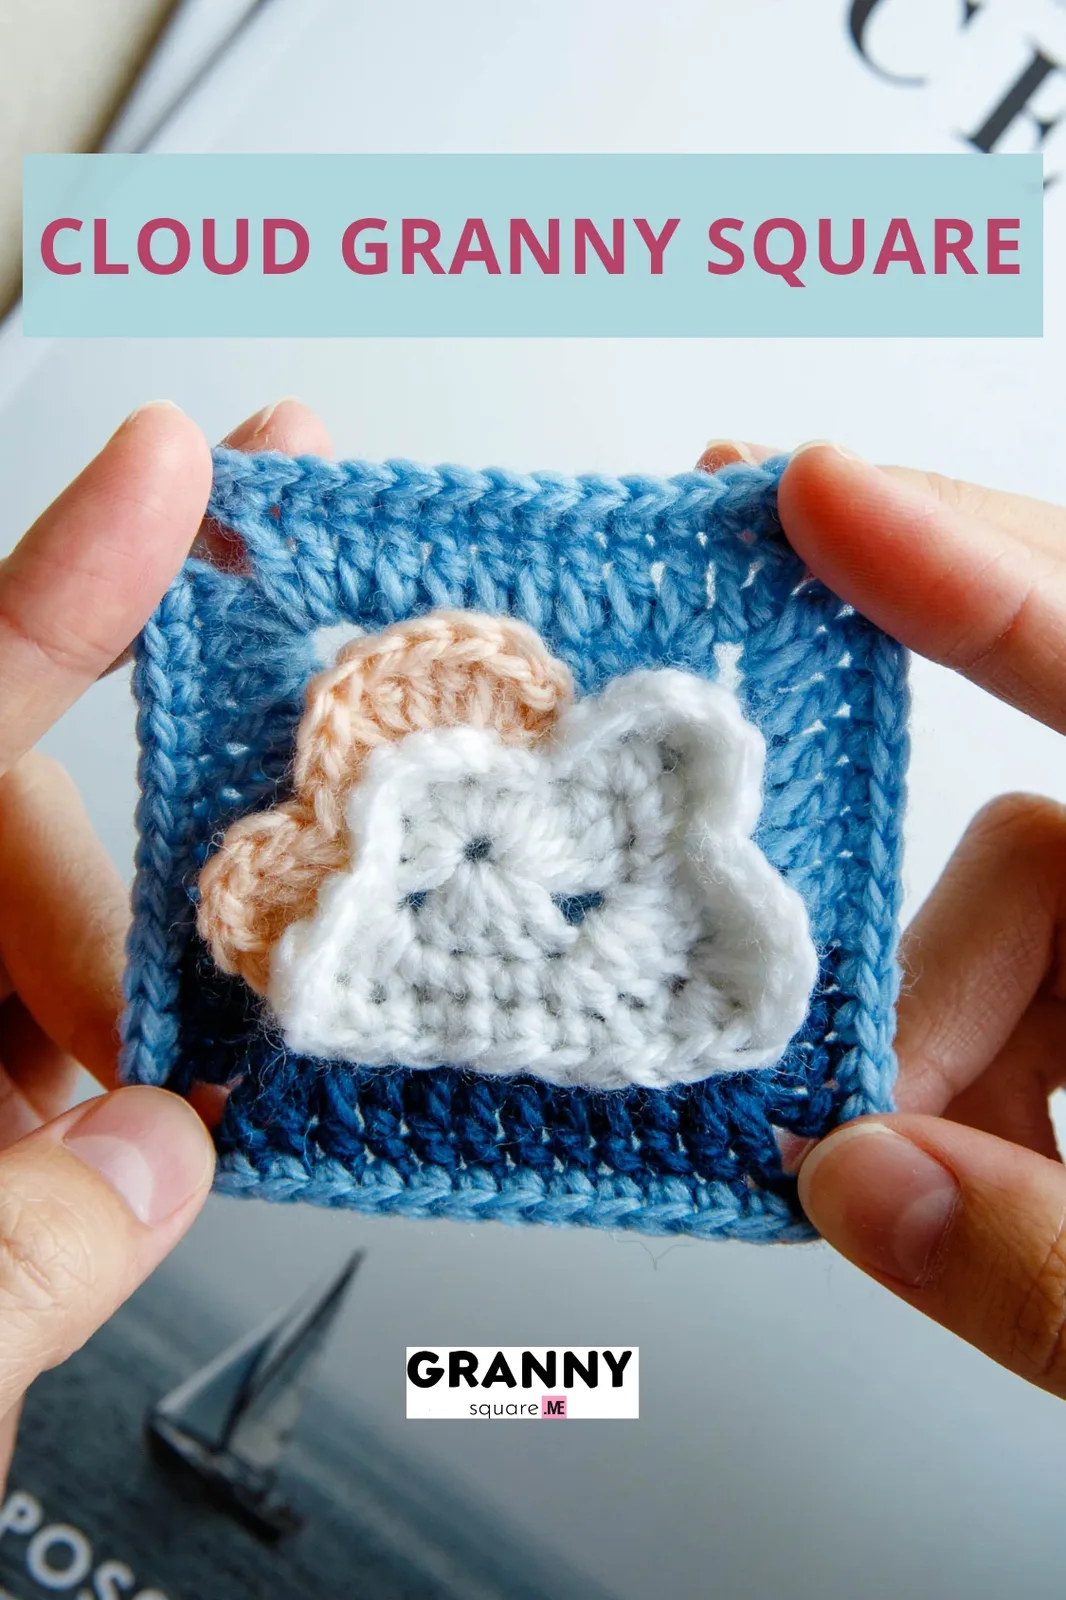
This pattern makes a small, wonderfully dimensional cloud granny square built from two separate attachable pieces: a puffy layered cloud motif and a structured base square. Because the cloud is worked on its own and stitched down afterward, you are never locked into the traditional flat granny format. You can leave the clouds loose and scatter them across a finished blanket, or seat them on the base for a tidy 2.9-inch square. It is a joy for crocheters who love motifs with actual depth instead of flat surface texture
The techniques here are the fun kind of fiddly. You begin with a magic loop and a chain-1 standing stitch, then work a run of mixed-height stitches — 1sc, 3hdc, 1sc, ch2, 4dc, ch2, 1dc, 2tr, 1dc — straight into that loop to shape the first cloud bumps. Round 3 is worked in the front loops only and Round 4 in the back loops only, which is exactly what separates the leading cloud from the shadow cloud behind it. Expect intermediate comfort with stitch heights and loop placement; each square takes roughly one to two hours
Finished in DK or sport weight on a 3.00mm hook, the completed cloud granny square measures about 2.9 inches by 2.9 inches — small, dense, and satisfyingly firm in the hand. The cloud sits proud of the base, catching light along its upper edge and casting a soft shadow from the second layer beneath. Worked in four colors it reads instantly as sky, and a small stack of them makes a charming baby shower gift, a nursery garland, or a set of coasters for someone who loves quiet, dreamy things
Variations
The four-color structure is where this pattern gets playful, and the source designer is right that color contrast in the base square is the whole trick — combining light and dark sky tones is what makes the cloud appear to float. For a classic daytime sky, try a cornflower base with a bright white leading cloud and a soft dove grey shadow layer; the grey is doing real work, so do not skip it or the depth flattens. For sunset, swap the base to a peach or dusty coral and make the leading cloud cream with a lavender shadow. For a nighttime version, go navy or deep indigo on the base, pale silver-grey clouds, and add a metallic thread held alongside your DK for a faint starlight shimmer. Size is easy to change because the base is independent of the cloud. Add one extra round to the base to jump from 2.9 inches to roughly 4 inches, or add two to three rounds for a 6-inch blanket square that gives your cloud plenty of open sky above it. Working the base rounds in standard granny clusters keeps the growth predictable. Yarn swaps work beautifully: a cotton DK gives crisp stitch definition for coasters, a budget acrylic DK is friendly for a full blanket, and a soft merino DK makes a squishier nursery version. For themed sets, make clouds only and pair them with a crocheted moon, stars, or sun for a dawn-to-dusk wall hanging. A moody storm version wants charcoal clouds on a burnt-orange base; a spring version wants pale mint with white. Scatter loose clouds across a finished cardigan yoke or a tote bag and let them be pure decoration
Common mistakes
- Working Round 3 into both loops instead
- FLO in Round 3 is what leaves the back loops free for Round 4 to grab. If you work through both loops, the shadow cloud has nothing to sit on and the motif stays flat. Before starting Round 3, tilt the work toward you and confirm you can clearly see the front loop as a separate strand — if you cannot, your tension is too tight. Go up a quarter hook size or loosen your yarn hand for that round
- Losing count in the magic loop run of
- That is thirteen stitches plus two chain-2 spaces crammed into one small loop, and the mixed heights make miscounts easy to miss. Place a removable stitch marker after each height change — after the 3hdc group, after the 4dc group, and after the 2tr. If your cloud looks lopsided at the end, count each group individually rather than the total; the 3hdc and 4dc groups are the usual culprits
- Pulling the magic loop closed before
- Once you cinch that loop tight, adjusting stitch spacing is nearly impossible. Work all the stitches, lay the piece flat, and check that the cloud bumps sit in a natural uneven line before you tug the tail. If a group looks crowded, ease the stitches around the loop with your fingertips first, then close it. Only after the shape looks right should you pull firmly and weave the tail in
- Treating Round 4's BLO as optional decoration
- Round 4 worked in back loops only — and only on the left side of the main cloud from Round 2 — is the entire reason the leading cloud reads as being in front. Worked through both loops, the two layers merge and you lose the shadow effect the pattern is built around. Keep the front loops from Round 3 pushed toward you and out of the way, and insert your hook only under the single back strand. If you catch a front loop by accident, frog back — this is not one to fudge
- Sewing the cloud to the base with tight, visible stitches
- A dimensional cloud flattened by aggressive seaming defeats the whole design, and the pattern specifically asks you to leave the brims of both cloud layers unsewn. Use your darning needle with a matching-color yarn and take small stitches under the outer edge loops of the cloud only, keeping the tension loose enough that the cloud still domes slightly. Pin or clip the cloud in position first, check the placement from a distance, then sew. Never pull the seaming yarn taut between stitches
- Using a hook too large for DK, so the
- The 3.00mm hook is deliberately small for DK weight — it creates the dense, firm fabric that holds the 2.9-inch dimension and keeps the cloud from sagging through the base. If your square comes out noticeably larger or feels loose and drapey, drop to a 2.75mm rather than adding rounds to compensate. Make one test square and measure before committing to a full blanket's worth


Intermediate
Materials
- Yarn of your choice —4 colors; the sample is made with DK Sports. The finished cloud granny square is about 2.9 inches by 2.9 inches.
- Crochet hook- we are using a 3.00mm hook
- Darning Needle
- Scissors
Crochet the Cloud
By working stitches at varying heights and using specific loops only — FLO (Round 3) and BLO (Round 4) — we will create dimensional cloud layers. In Round 4, the leading cloud with its subtle shadow behind emerges naturally, giving this design realistic depth and visual interest.
Round 1 — the white piece of cloud.
- Round 1Start with a magic loop, ch1 as a standing st. work in this loop, 1sc, 3hdc, 1sc, ch2, 4dc, ch2, 1dc, 2tr, 1dc, sl st to the top of the first sc.Step by step: start with a magic loop, ch1 as a standing st; then work 1sc, 3hdc, 1sc, ch2, 4dc, ch2, 1dc, 2tr, 1dc, sl st to the top of the first sc.Round 2 — enlarge the cloud with another round.
- Round 2sc-inc in each of next 3 hdc, sl st to the next sc, (1sc+1hdc+2dc)in next ch-2 sp, (1hdc+1sc), 2sc, (1sc+1hdc), 4dc in next ch-2 sp, 1sc, hdc-inc in each of next 2 st, 1sc, sl st to the final slst from Round 1 (26).(26)
Round 3 — shape the cloud edges. This round is worked in the front loops only, which leaves the back loops free for the shadow cloud in Round 4.
- Round 3FLO for this round . sl st to the FL of the current slst, sl st in next sc, 4sc, make 2 slst, 2sc, (hdc-inc)×2, 6sc, 1hdc, (1hdc+1dc), dc-inc, (1dc+1hdc), 1sc, slst. (1hdc+1dc), dc-inc, (1hdc+1sc), sl st in the final sc from Round 2, join to the first slst. fasten off.Round 4 — add the bottom layer of cloud. Work only on the left side of the main cloud in Round 2, using back loop only (BLO) for every stitch. This strategic loop selection creates a perfectly hidden effect that allows your shadow cloud to emerge seamlessly, adding dimension without disrupting the main cloud's shape.
- Round 4BLO . Join new yarn to the first sc of the first sc-inc from Round 2. ch2 as a standing st(count as 1hdc), 1hdc in the same st to form a hdc-inc, (dc-inc)×2, (1dc+1hdc), 1sc, make 1 slst, (1hdc+1dc), dc-inc, (1hdc+1sc), sl st to the next st, fasten off.Step by step: BLO — join the new yarn to the first sc of the first sc-inc from Round 2; then ch2 as a standing st (count as 1hdc), 1hdc in the same st to form a hdc-inc, (dc-inc)×2, (1dc+1hdc), 1sc, make 1 slst, (1hdc+1dc), dc-inc, (1hdc+1sc), sl st to the next st, fasten off.
Base Solid Granny Square
The key to harmonizing but specializing this cloud granny square is the color contrast in the base solid granny square. Combining light and dark sky tones makes your cloud appear to float realistically.
- Round 1Start with a magic ring, ch3 as a standing st(count as 1dc), 3dc, ch3. *4dc, ch3* rep 2 times, 4dc, ch1, make 1hdc connects back to the first ch3 .
- Round 2Ch3(count as 1dc), 1dc in same corner sp, 4dc, (2dc, ch3) in next corner sp, 2dc in current corner sp, 4dc(Make the last dc an incomplete st, join new color yarn, yo and pull through to complete the st and the color change ). (2dc, ch3, 2dc) in next corner sp, 4dc, (2dc, ch3, 2dc) in next corner sp: change color when final yo of final dc . 4dc, 2dc in next corner sp, ch1, 1hdc connects back to the first ch3.
Note: The way to change the color of the yarn is the same.
- Round 3ch3 to start(count as a dc), make another dc in the same corner sp, 8dc. *(2dc+ch3+2dc)in next corner sp, 8dc* rep 3 times, 2dc in next corner sp, ch1, 1hdc connects back to your starting ch3 .
Note: Perform your yarn color change exactly as you did in Round 2—same position, same technique.
- Round 4ch1 to start, 1sc in the same corner sp, 1sc in each remaining st, 3sc in each remaining corner sp. finish with 2sc in the original corner, sl st to the first sc.
Assemble Sew the cloud piece to the center of the base square, leaving the brims of both cloud layers unsewn so the textured edges remain open and dimensional.
Important notes
💡 The ch1 at the start is a standing stitch, not a turning chain — it does not count as a stitch and you should not work into it at the end of the round. Slip stitching to the top of that first sc is your closing point, so mark that sc with a contrasting stitch marker the moment you make it
💡 Wind your four colors onto separate bobbins or small butterfly bundles before you start. With a motif this small you are changing colors within a few rounds, and loose skeins tangle fast — bobbins also make it easy to keep tail lengths short so you are not weaving in six inches of yarn on a 2.9-inch square
💡 Block the base square before attaching the cloud, not after. A quick spray block and pin to a 2.9-inch measurement squares up the corners while you still have flat access to the fabric — once the dimensional cloud is sewn on, you cannot press the piece without crushing it
💡 Use a stitch marker in the free front loops after Round 3 if you tend to lose track. Slip one marker into the first free front loop so you can instantly find your Round 4 starting point, and so you have a visual reference for which strand you are meant to skip
💡 Leave a generous 8-10 inch tail when fastening off the cloud piece — that tail becomes your seaming yarn, which means no extra color-matched thread and no additional ends to weave in. Thread it straight onto the darning needle when you are ready to attach
💡 If you are making a batch for a blanket, make all the base squares first in one sitting, then all the clouds. Working in production runs keeps your tension consistent across the set, which matters enormously when the squares are this small and any size drift shows up immediately when you join them
💡 Finished size: the sample measures about 2.9 inches by 2.9 inches worked in DK sport weight on a 3.00mm hook. You can easily enlarge the pattern by adding more rounds of the solid granny square background — the cloud motif itself stays exactly as written
More photos
FAQ
Can I make the cloud without the base square?
Absolutely — that is one of the best features of this modular design. Work only the cloud piece and sew it directly onto a finished blanket, pillow, bag, or garment as a dimensional appliqué. Each cloud becomes a portable design element you can place wherever it looks best
What does FLO and BLO mean, and why does this pattern use them?
FLO means front loop only and BLO means back loop only — you insert your hook under just one strand of the stitch top rather than both. Round 3 uses FLO and Round 4 uses BLO, which leaves the unused loops free to form a second layer. That layering is exactly what creates the leading cloud with its shadow behind it
Can I use worsted weight yarn instead of DK?
Yes, though your square will finish noticeably larger than 2.9 inches — expect closer to 3.5 to 4 inches with a 4.00mm or 4.5mm hook. Worsted also softens the fine detail in the mixed-height cloud stitches slightly, so if you want crisp definition, stick with DK or sport. Make one test square either way before starting a full project
How do I make a bigger square for a blanket?
Keep the cloud motif exactly as written and simply add extra rounds to the base square — the designer notes you can easily enlarge the pattern this way. One additional round brings you to roughly 4 inches and two or three rounds gets you to a standard 6-inch blanket square with generous sky around the cloud. The cloud stays the same size, which actually looks lovely against a larger background
Will the cloud stay dimensional after washing?
It holds up well because the dimension comes from stitch structure rather than stuffing. Hand wash gently in cool water and lay flat to dry without pressing the cloud area — never machine dry, and never iron the cloud itself. If it looks slightly relaxed after drying, gently reshape the layers with your fingers while damp
Made your own square?
This site belongs to every crocheter. Share your design with the world — we’ll math-check the counts, polish it up, and publish it free for everyone, credited to you.
🧵 Share your pattern →
0 / 0 rounds