
Free Pattern
Step-by-Step
Crochet
Granny SquaresCompass Star Granny Square – Free Crochet Pattern
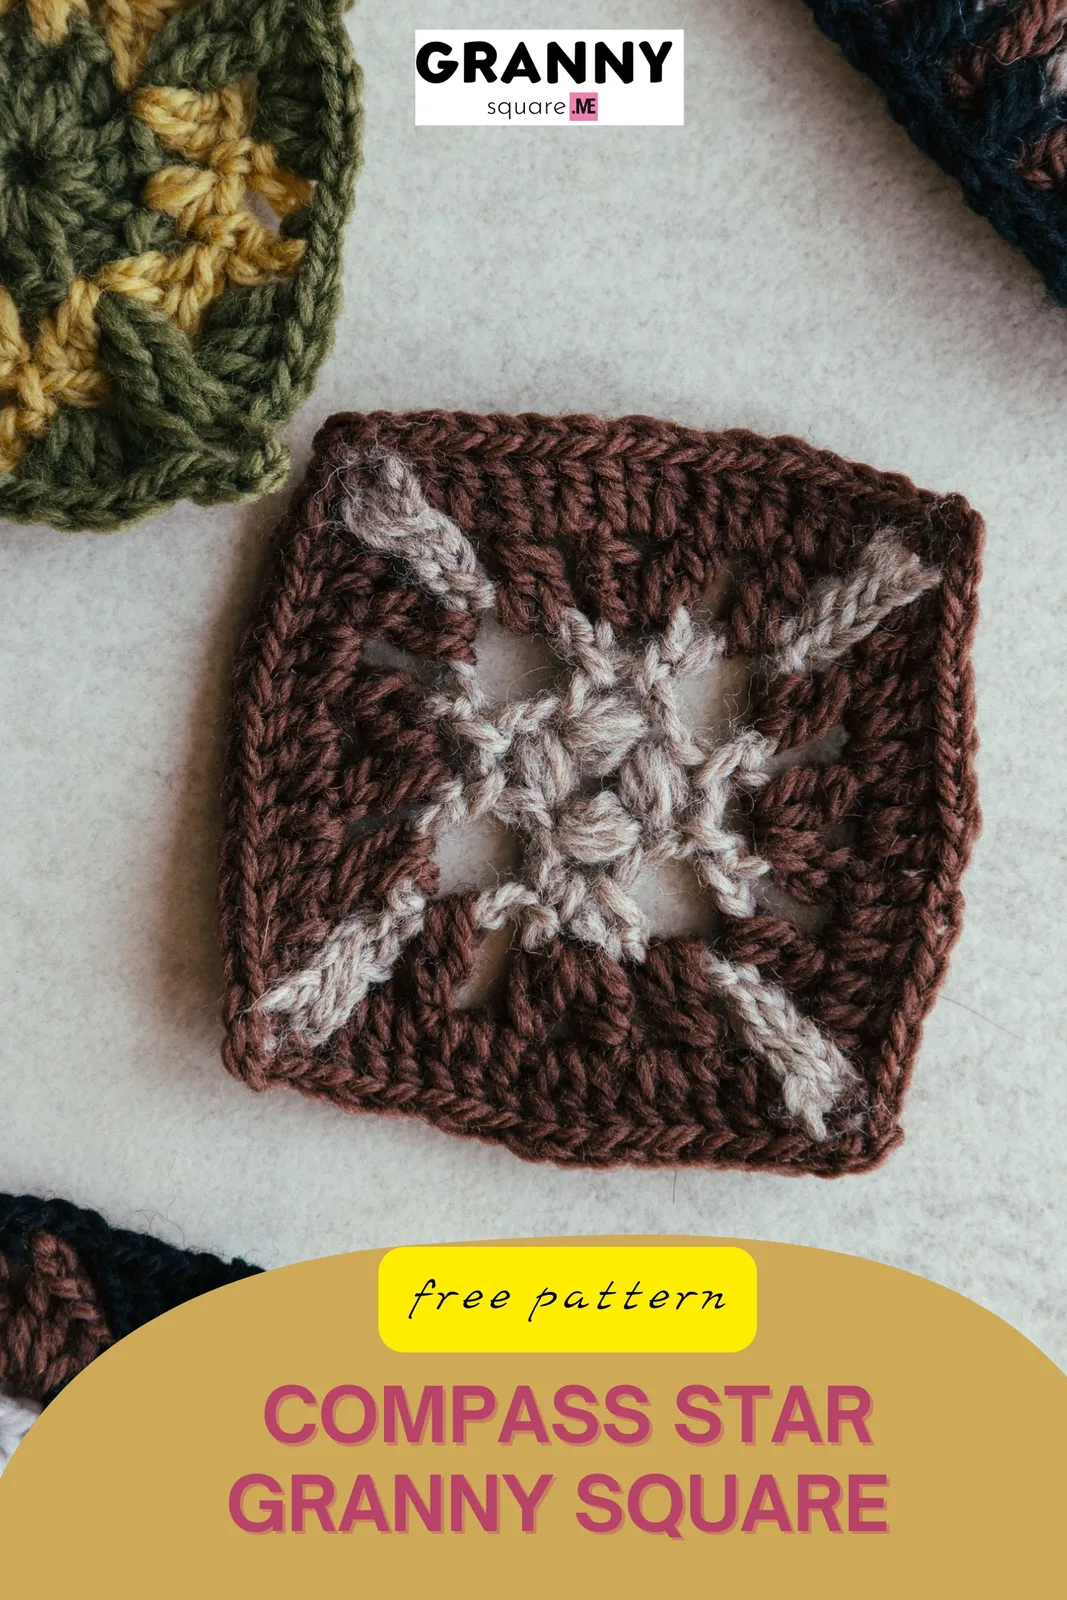
Crochet the Compass Star Granny Square with puff stitches and dramatic ch-16 star points. A free 4-round, two-color pattern that finishes at 3.35 inches
Level IntermediateTime 30-45 MinutesYarn Worsted
About This Pattern
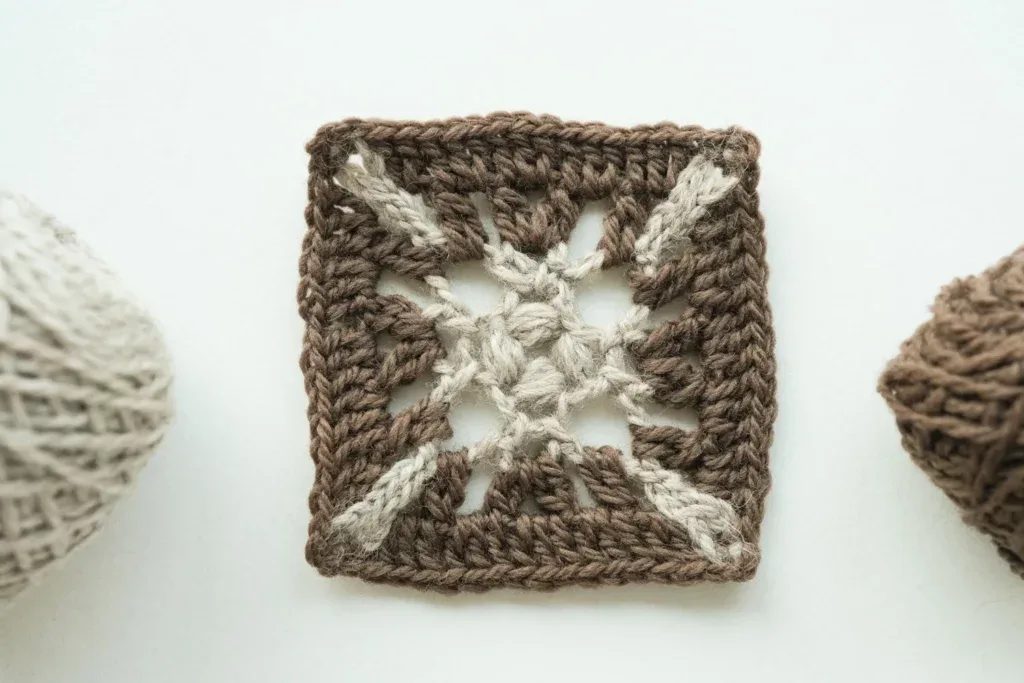
The Compass Star Granny Square is a small motif with a big personality. Instead of the usual cluster-of-three granny look, this square builds an eight-point star from the center outward: four chunky 3-hdc puffs anchor the middle, and long ch-16 chains shoot out like the cardinal points on an old ship's compass. It's perfect for crocheters who are a little bored of classic grannies and want something graphic, modern, and surprisingly quick, whether for a full blanket, a pillow front, or a single framed motif
Two techniques carry the whole design: the 3-hdc puff stitch and working into the third loop of a chain. That third loop trick shows up right from Round 1, where the designer marks it with a darning needle so you can find it, and again when each ch-16 point is folded back and secured with a slip stitch. You'll also use a ch-4 picot pair (sc, ch4, sc) between points and standing stitches (a ch-1 in Round 2, a ch-2 when the new color joins in Round 3) to start rounds cleanly. Rounds 3 and 4 then fill in the square with 2-dc bobbles and dc increases, slip-stitching into the star points along the way. I'd call it confident-beginner to intermediate; expect 30 to 45 minutes once the puffs click
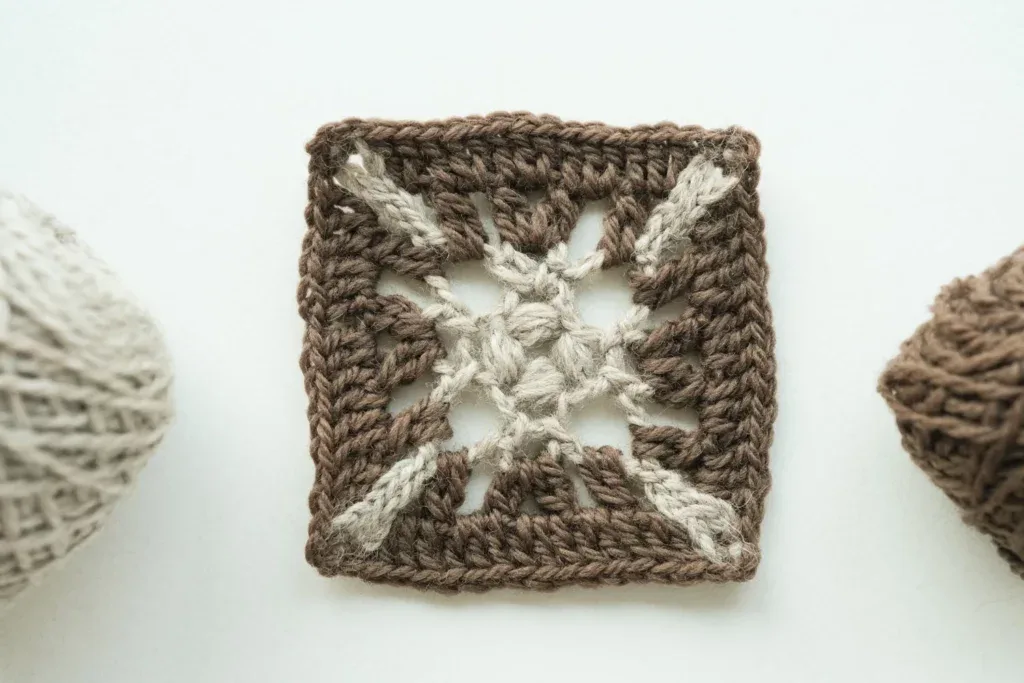
When you fasten off, you're holding a 3.35 by 3.35 inch square with a dense, slightly raised puff center and airy, lacy star arms. The contrast between the two colors is what makes it sing: a dark center and bright points reads instantly as a compass rose. Because the square is small and fast, it's a wonderful gift motif: stitch four for a set of coasters, join nine for a nautical-themed baby lovey, or tuck a single square into a card for a sailor, traveler, or anyone who loves star shapes
Variations
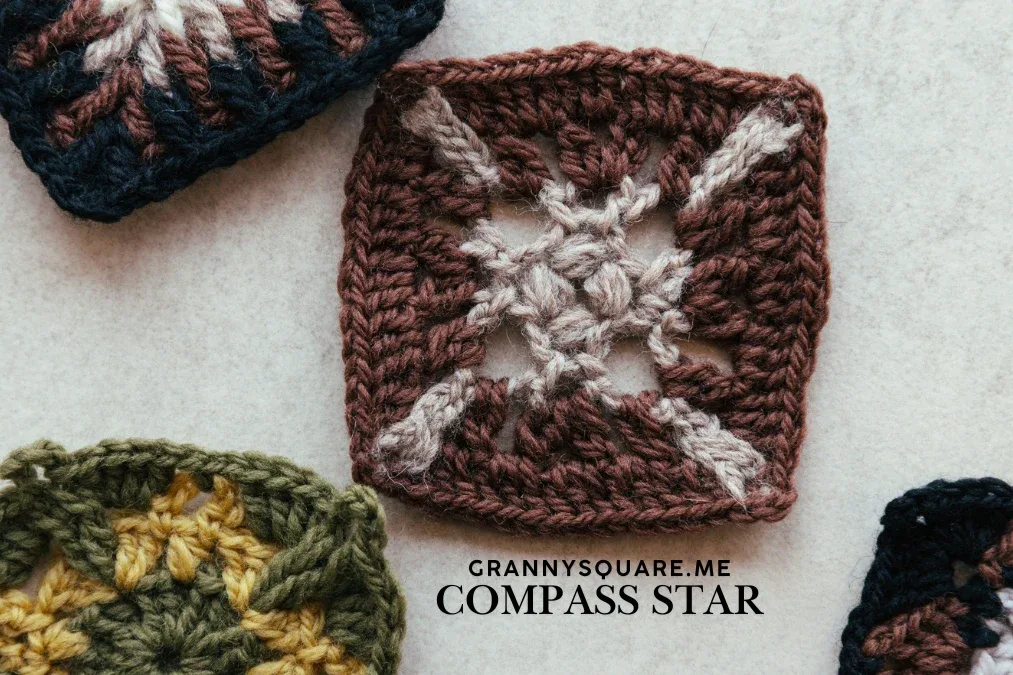
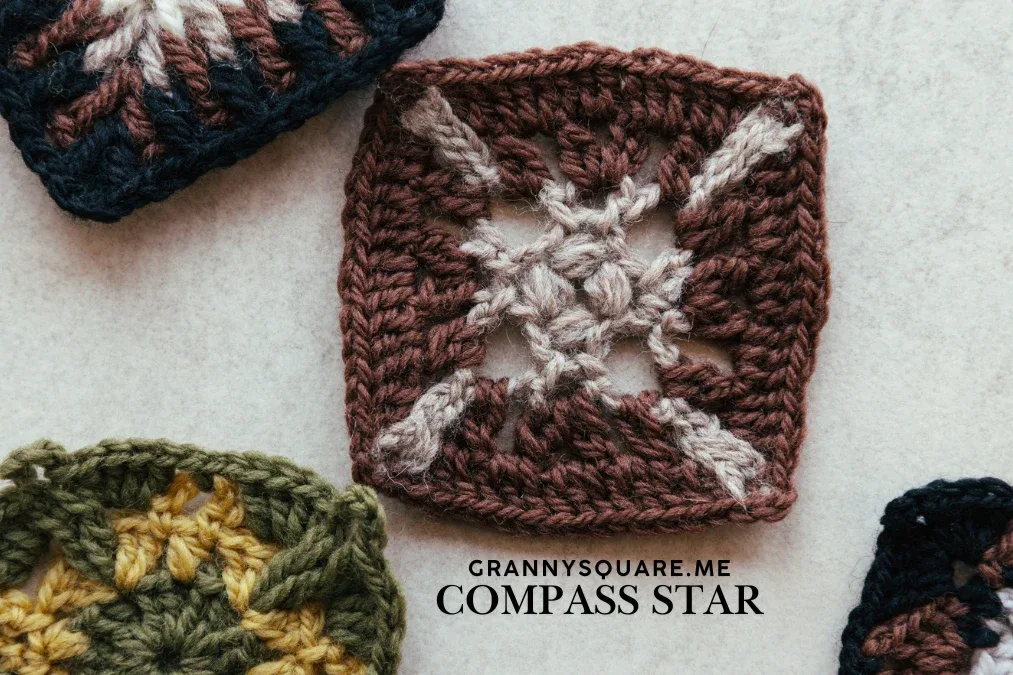
Color is where this square really plays. The designer suggests deep navy puffs with crisp white star points for a true nautical compass, and I'd add a sandy cream border if you join squares, so it looks like a chart on parchment. Mustard yellow with charcoal gray gives a modern Scandinavian look, while coral puffs, peach points, and cream joining reads like a sunset over the water. For a festive winter star, try forest green puffs with red points, or burgundy and gold for a rich Eid or autumn table runner. Size is easy to tweak because the points are just chains. Shorten each ch-16 to ch-12 and slip into the third loop of the 3rd ch for a compact roughly 2.75 inch square, or stretch to ch-20 for a lacier 4 inch version; just keep the ch-3 return the same so the base of each point stays stable. For a bolder center, swap the 3-hdc puffs for 4-hdc puffs, but pull your ch-4 spaces a touch looser so the square still lies flat. Yarn-wise, the square works in any weight since no yarn weight is specified. Worsted cotton like Lily Sugar'n Cream or Paintbox Cotton Aran gives the sharpest star points and makes great coasters. For a blanket, Stylecraft Special DK or Paintbox Simply DK in two colors is soft and affordable and shows the puffs beautifully. For a sparkly ornament, try Scheepjes Catona in a metallic-adjacent shade for the points, or stiffen a cotton version with a starch solution and hang it as a star ornament. Eight squares joined in a ring make a lovely compass-rose wall hanging
I'll be honest, the moment I worked that first ch-16 chain and slipped it back into the third loop of the third chain, I was hooked. Watching a floppy chain suddenly snap into a crisp star point feels like a tiny magic trick, and you get to do it four times per square. I also love how Round 1 starts: no magic ring, just a ch-4 with a darning needle parked in the third loop so you can't lose your place. The four 3-hdc puffs stack into a plump little center that feels almost like a button under your thumb. Then the sc, ch4, sc picots between the points add just enough lace to keep the square from feeling heavy. The whole thing is only four rounds, so I can finish one while my tea is still hot, and the new color joins with a standing ch-2 in Round 3, so there's no awkward slip-stitch bump where the second color begins. It's quick, it's graphic, and every square looks intentional, which is exactly what I want from a motif I plan to make thirty of
Common mistakes
- Working Round 1 into the wrong loop of
- Before you make any puffs, turn your ch-4 over and slide the darning needle or a stitch marker under that back bump on the very first chain. Work all four 3-hdc puffs into that same marked loop so the center stays tight and round instead of stretching into an oval
- Puffs coming out loose and sloppy. A
- Pull each of the three loops up to the same height, about the height of a hdc, and keep your hook level as you work. When you yarn over and pull through all seven loops, give the working yarn a gentle tug so the puff snugs up. Some crocheters add a ch-1 to close, but this pattern does not, so close firmly with the pull-through alone
- Slip-stitching the ch-16 point into the
- After you chain 16, count three chains from where the chain started (the base near the picot), not from the hook. Flip the chain so the back bumps face you and slip into that third bump. If your points look like loops instead of pointed spikes, you have most likely counted from the hook instead of the base
- Forgetting the ch-3 after each point
- Say the sequence out loud as you go: picot, sixteen, slip, three. The ch-3 travels you back to the ring and gives the next picot room to sit flat. If the square cups, rip back to the last point and check that every point is followed by exactly three chains
- A visible bump at the color change
- Follow the pattern and start the new color with a standing stitch: pull up a loop of the new color directly in any ch-4 space, ch 2 (counts as an incomplete dc), then work another incomplete dc in the same space to finish the first 2-dc bobble. Leave a 6 inch tail and weave it into the back of the puffs so the join disappears
- Misreading ch-ap as something new. The
- Both mean the ch-4 space between puffs from Round 1. Slip stitch over to the nearest one, then work the sc, ch4, sc picot into that space. Four spaces, four picots, four points, and Round 2 is done


Intermediate
Materials
- Yarn of your choice- 2 colors
- Crochet hook
- Darning Needle
- Scissors
Main Pattern
- Round 1[ch4, 3-hdc-puff in the third loop of the first ch] repeat 4 times, sl st to the top of the first puff.Step by step Start with a knot. ch4. The third loop (tl) of the first ch is the one to work into; mark it with a darning needle. Work 3-hdc-puff in this tl. [ch4, 3-hdc-puff in the third loop of the first chain] repeat 3 times. sl st to the top of the first puff. Round 1 finished.
Note While the square is rated intermediate, don't let that scare you: the main challenge is just this round, where the star points and shining lights form. Only basic stitches are used throughout, so follow the steps carefully and you'll master it.
- Round 2sl st to the next ch-ap, ch1+sc+ch4+sc, ch16, sl st in the third loop of the 3rd ch from the beginning, ch3, [sc+ch4+sc in next ch-sp, ch16, sl st in the third loop of the third ch, ch3] repeat 3 times, sl st to the first sc, fasten off.
Step by step sl st to the next ch-sp. ch1 as a standing st. sc in this ch-sp. ch4+sc in the same ch-sp. ch16. Find the third loop of the 3rd chain counted from the beginning of the ch16 (mark it with a darning needle). Work sl st in that third loop. ch3. [sc+ch4+sc in the next ch-sp, ch16, sl st in the third loop of the third chain counted from the beginning, ch3] repeat 3 times, sl st to the first sc, fasten off. Round 2 finished.
- Round 3New yarn in ch-4 sp, ch2(count as incomplete dc)+another incomplete dc in to form a 2-dc-bo + ch2 + 2-dc-bo + ch2, 2-dc-bo + ch2 in next ch-sp. sl st in the third loop of the ch at the appropriate height from round 2, ch2, 2-dc-bo + ch2 in next ch-sp, [2-dc-bo+ch2+2-dc-bo+ch2, in next ch-sp, 2-dc-bo+ch2 in next ch-sp, sl st in the third loop of ch from round 2, ch2, 2-dc-bo+ch2 in next ch-sp] repeat 3 times, sl st to the top of the first bo st.
Step by step Add new yarn in any ch-4 sp. ch2 as a standing st (count as incomplete dc). Another incomplete dc in this ch-sp to form a 2-dc-bo. ch2. Another 2-dc-bo in this ch-sp. ch2. 2-dc-bo+ch2 in the next ch-sp. Next, select the third loop of the chain stitch at the appropriate height from round 2 (mark it with the darning needle). Work sl st in this third loop. ch2, 2-dc-bo+ch2 in the next ch-sp. [2-dc-bo+ch2+2-dc-bo+ch2, in the next ch-sp, 2-dc-bo+ch2 in the next ch-sp, sl st in the third loop of ch from round 2, ch2, 2-dc-bo+ch2 in the next ch-sp] repeat 3 times, sl st to the top of the first bo st. Round 3 finished.
- Round 4ch3(count as dc), dc inc in next ch-sp, [dc, dc inc in next ch-sp] repeat 2 times, sc+ch2+sc in next ch-sp, dc inc in next ch-sp, dc, dc inc in next ch-sp, [*dc, dc inc in next ch-sp* repeat 3 times, sc+ch2+sc in next ch-sp, dc inc in ch-sp, dc, dc inc in ch-sp] repeat 3 times, sl st to the top of the first ch3, fasten off.Step by step Work ch3 as a standing st (count as dc), then dc inc in the next ch-sp, [dc, dc inc in next ch-sp] repeat 2 times, sc+ch2+sc in the next ch-sp (corner), dc inc in next ch-sp, dc, dc inc in next ch-sp. Then repeat the bracketed section 3 times for the remaining three sides, sl st to the top of the first ch3 and fasten off. Round 4 finished.
Important notes
📏 The completed granny square measures approximately 3.35×3.35 inches
🎨 For stunning color variations, try a deep navy center with crisp white star points for a nautical compass feel, or go bold with mustard yellow and charcoal gray for a modern geometric look. You could also create a sunset effect using coral, peach, and cream
💡 Park a darning needle or a locking stitch marker in the third loop of your very first chain before making any puffs. That one loop carries all four 3-hdc puffs, and it is nearly impossible to find again once the first puff covers it
💡 Use a hook one size smaller than your yarn label suggests for the ch-16 points. Tighter chains make crisper, straighter star arms; the puff center is forgiving, but floppy chains make the square look tired
💡 Because the finished square is only about 3.35 inches, stick to the same yarn weight in both colors. Mixing a DK center with a worsted border will make the star points flare and the square refuse to block square
💡 Count your ch-16 twice. A ch-15 point next to a ch-16 point is very visible on such a small motif, and it throws off where the slip stitch lands in the third loop of the 3rd chain
💡 Block every square, even if you think it lies flat. Pin each of the four points out and mist with water; the puff center will fluff and the chains will straighten into a true compass shape. Cotton takes a little steam, acrylic only needs a cool mist
💡 Plan color changes by carrying nothing. This pattern works Rounds 1 and 2 in the first color, fastens off after Round 2, and joins the second color in any ch-4 space with a standing ch-2 for Round 3, so cut a 6 inch tail each time and weave tails through the back of the puffs and bobbles rather than into the chain points, where they will show
More photos
FAQ
What does working into the third loop of a chain mean in this pattern?
Every chain has two loops on top that look like a V and a single bump on the back, which crocheters call the third loop. For the Compass Star, the Round 1 puffs and each ch-16 star point are anchored into that back bump, which is why the designer marks it with a darning needle
How many colors do I really need for the Compass Star Granny Square?
Two. The first color makes the four 3-hdc puffs and the ch-16 star points in Rounds 1 and 2, then you fasten off and join the second color in any ch-4 space for the bobble round and the dc round that square everything off. You can absolutely work it in one color, but the two-tone version is what gives it the compass look
My star points look like loops instead of spikes. What went wrong?
Almost always this means the slip stitch after the ch-16 went into the wrong chain. It should go into the third loop of the 3rd chain counted from the base of the chain, not from the hook, which folds the chain back on itself into a sharp point. Pull the point out and recount from the picot end
Can I make this square bigger for a blanket?
Yes. The easiest way is to lengthen each ch-16 point to ch-18 or ch-20 and keep the ch-3 return the same, which gives you a roughly 4 inch square. You can also add a simple round of sc or granny clusters around the finished star, working 3 stitches into each point tip as a corner
How do I join Compass Star squares together?
Round 4 gives each square a solid dc edge with a sc+ch2+sc corner, so you can join squares directly with a slip stitch or whip stitch seam through those edge stitches. If you prefer an even sturdier edge, add one round of single crochet around each square first, with 3 sc in each corner ch-2 space, then seam
Made your own square?
This site belongs to every crocheter. Share your design with the world — we’ll math-check the counts, polish it up, and publish it free for everyone, credited to you.
🧵 Share your pattern →
0 / 0 rounds