
Free Pattern
Step-by-Step
Crochet
Granny SquaresCountry Flower Granny Square: A Free 3D Bloom Motif Pattern
Crochet a charming Country Flower granny square with a raised treble-petal bloom and solid border in this free step-by-step intermediate pattern
Level IntermediateTime 1-2 HoursHook 3.00 mmYarn DK / Light Worsted
About This Pattern
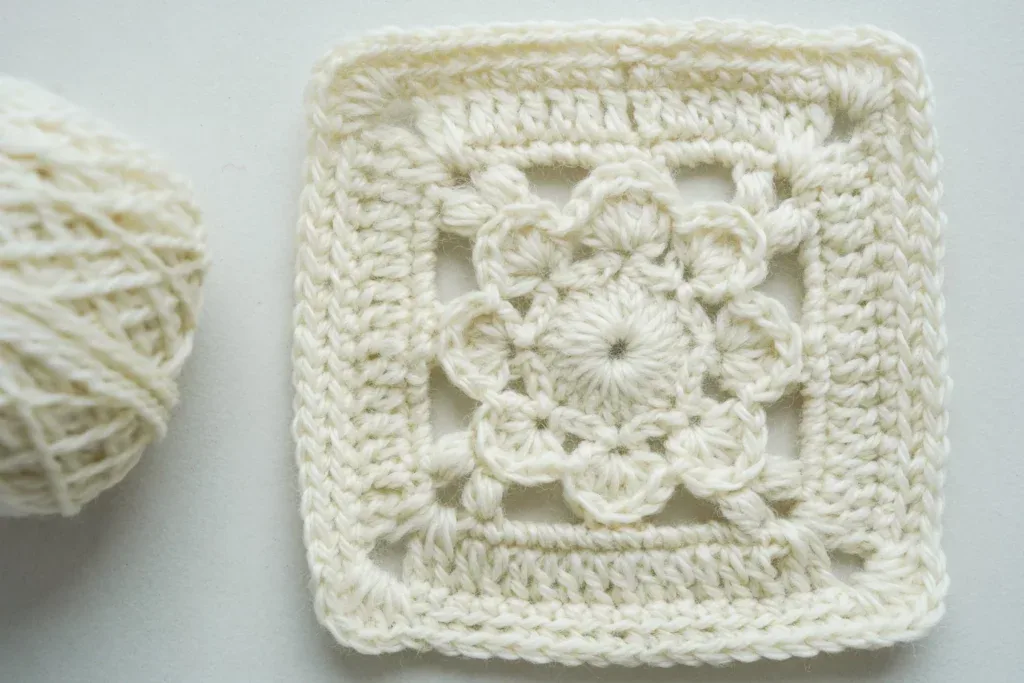
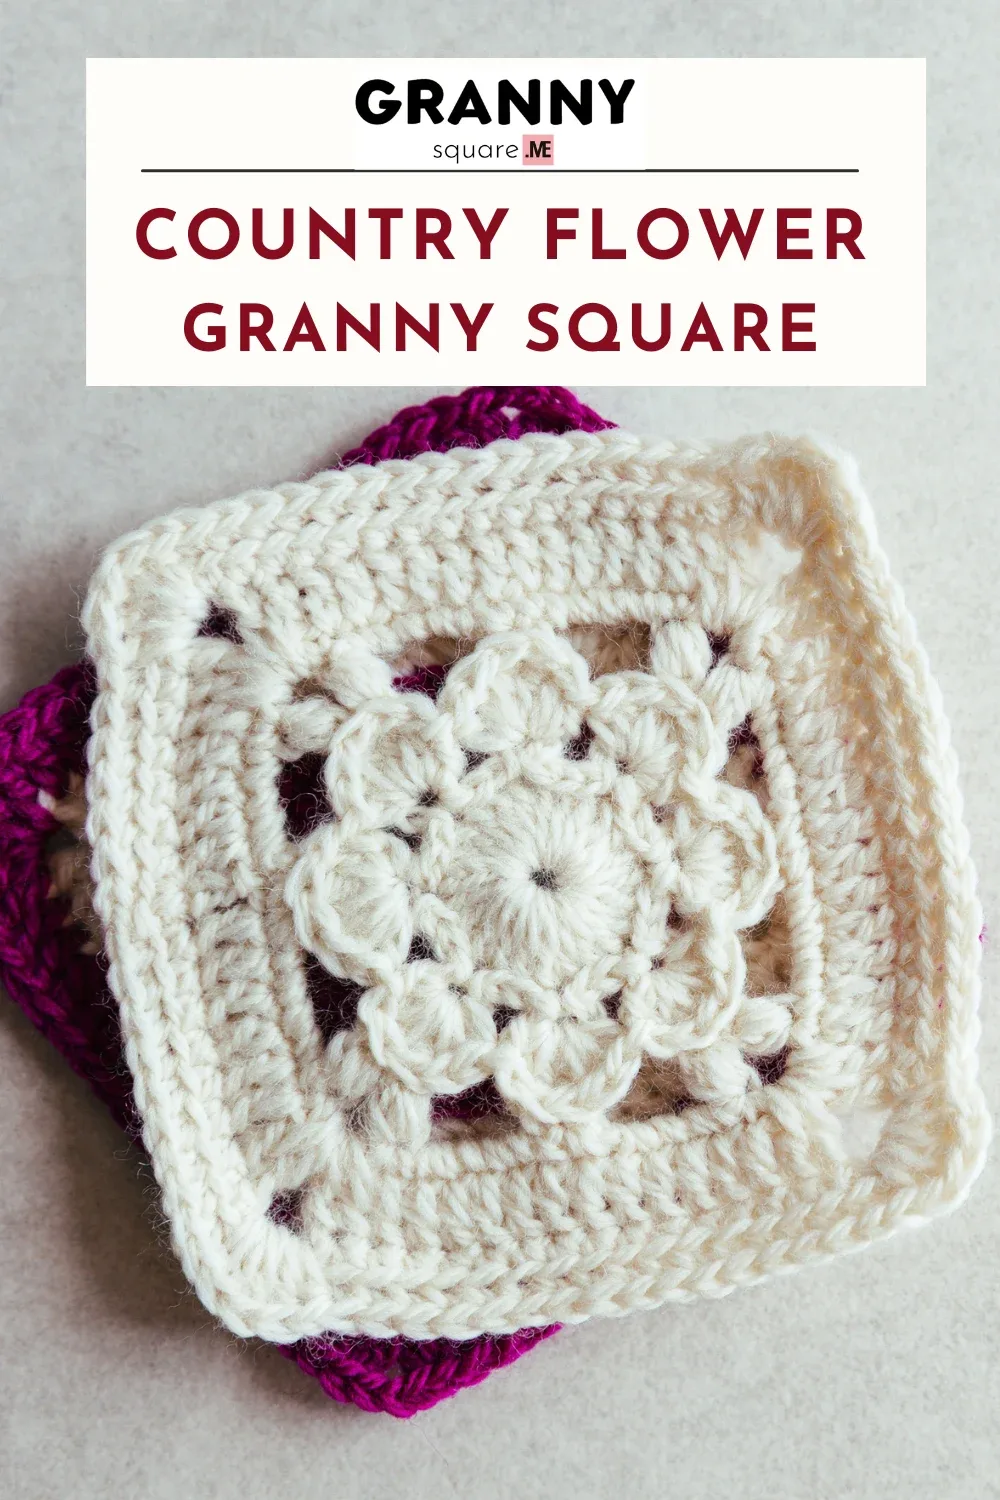
The Country Flower Granny Square trades the classic openwork cluster for a lush, three-dimensional bloom that sits proudly on a solid square background. It starts with a tight ring of 24 double crochet stitches for a full flower center, then builds outward into raised petals made from hdc, dc, and treble clusters. It's perfect for crocheters who love a little texture and want a granny square with real personality, whether you're building a sampler blanket or a single decorative coaster
You'll practice a handful of satisfying intermediate techniques here: forming a starting ring, working slip-stitch rounds that quietly shape the chain-4 petal loops, clustering hdc-dc-2tr-dc-hdc into full blooms, and finishing with a nearly invisible back-to-front join. None of it is difficult on its own, but the combination keeps your hands engaged. If you can work a treble crochet and count to eight, you're ready. Expect to finish a single square in about one to two relaxed hours
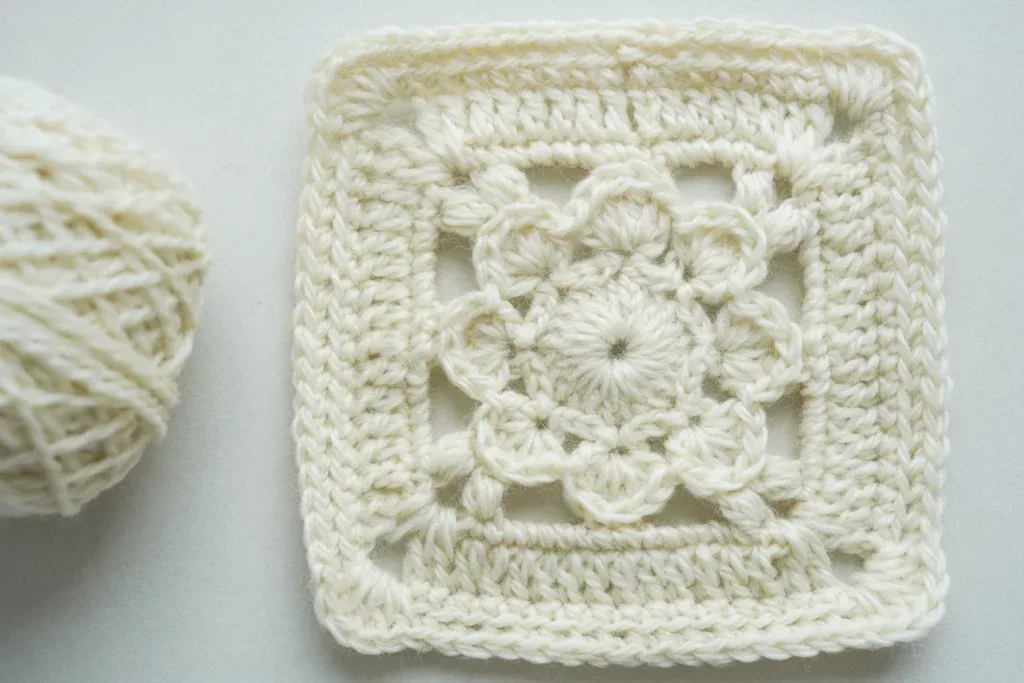
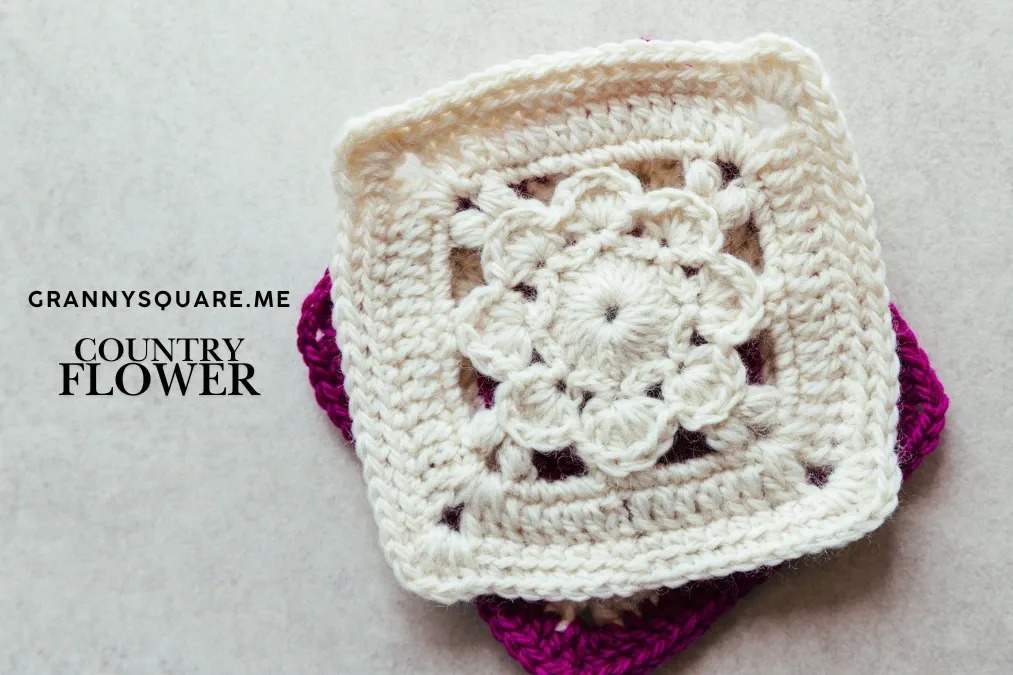
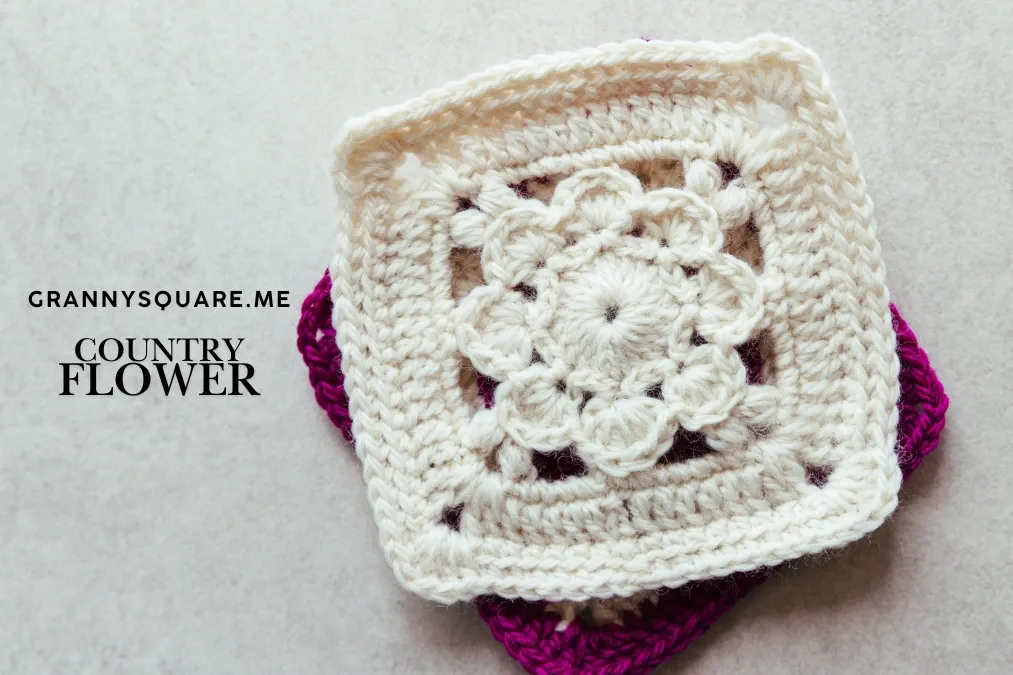
The completed square measures roughly 4.53 by 4.53 inches, with a puffy raised flower floating over a smooth, solid border. That firm frame is where the magic lives, it can read as grass, a cottage fence, rolling fields, or a rainbow depending on your color choice. The finished motif feels dense and cushiony, making it lovely as a mug rug, a pillow front, or dozens joined into a heirloom throw. Handmade and endlessly customizable, it's a sweet little gift on its own
Variations
The maker who designed this square said it best: treat your colors like a coloring book with no wrong answers, and I couldn't agree more. Try a buttery yellow center with white petals for a classic daisy, or a deep burgundy bloom on a sage-green border for true cottagecore. Because that solid frame reads so differently by color, a bright green border becomes grass, a warm brown becomes garden soil, and a pale blue turns the whole thing into a little patch of sky. For a rainbow version, change yarn on every petal cluster. Want it bigger? Keep adding border rounds after Round 8, working dc across each side and three-stitch corner clusters; two extra rounds will push you from about 4.5 inches toward a 6-inch square, perfect for a pillow front. For a chunkier, faster bloom, swap the 3.00mm hook for a 4.00mm and a DK yarn like Paintbox Simply DK, or go dainty with a 2.5mm hook and cotton thread for jewelry-scale motifs. Seasonal spins are easy: crimson-and-cream for a cozy winter look, soft peach and blush for spring, or golden-orange petals on a rust border for autumn. Cotton like 24/7 gives crisp, sculptural petals, while a wool blend makes them plush and cozy. Join a dozen in matching borders but rainbow centers for a scrap-busting blanket that still looks intentional and pulled-together
I have such a soft spot for this square, and I think you'll fall for it too the moment those petals start to bloom. What I love most is the sneaky slip-stitch round, all those quiet ch4-sl-st loops feel like nothing while you work them, but they're secretly setting up the 3D structure that lets the petals pop up later. Then comes my favorite part: clustering hdc, dc, two trebles, and back down again into each chain space, watching flat little bumps transform into thick, rounded blooms. It's the kind of magic that makes you gasp out loud. The back-to-front invisible join at the end of the petal round is a genuinely clever trick, and once you nail it you'll want to use it everywhere. And that solid border? It grounds the whole flower like a tidy garden bed. Every time I finish one I immediately want to change colors and make another. It's compact, fast, deeply satisfying, and it teaches you three or four techniques you'll reuse forever. Honestly, it's the perfect palate cleanser between bigger projects
Common mistakes
- Ending up with the wrong number of
- Remember the standing ch3 counts as your first double crochet, so you work only 23 more dc into the ring for a total of 24. Count them before you sl st to the top of the ch3, and if you're short, gently ease extra stitches into the ring rather than crowding the loop
- Pulling the starting ch5 ring shut too
- After your first full round of dc, tug the tail gently to snug the ring closed. Because this ring is chained rather than a magic loop, it won't fully cinch away, but a firm tug plus weaving the tail through the back of the center stitches hides the gap
- Working the slip-stitch petal-loop round too tightly
- Those ch4, sl st, and 'sl st in each of the next two sts' rounds set up the petals, and tight slip stitches make the fabric buckle and the ch4 loops disappear. Keep your slip stitches loose and even so each chain space stays open enough to hold a full cluster later
- Losing count of the sk2 spacing between petal clusters
- Each hdc-dc-2tr-dc-hdc cluster must land in a chain space with exactly two stitches skipped between blooms, repeated 7 times plus the final sk2. Drop a stitch marker in each chain space before you start the round so you can see all eight petal positions at a glance and won't crowd or skip one
- Making the back-to-front invisible join
- the end of the petal round, remove your hook, then insert it into the 2nd chain of the starting ch2 from the WRONG side to the RIGHT side (back to front) before grabbing the loop and pulling through. Going the wrong direction leaves a bump on the front; back-to-front tucks it neatly behind the petal
- Floppy, uneven petals from inconsistent treble tension
- The two trebles at the peak of each cluster are the tallest stitches in the motif, so rushed or loose trebles make petals lean or sag. Yarn over twice, keep steady tension as you work off each pair of loops, and give each finished petal a light shaping tug so all eight stand up at the same height


Intermediate
Materials
- Yarn of your choice
- A crochet hook, we are using a 3.00mm hook
- Darning Needle
- Scissors
Main Pattern
Overview This granny square consists of 8 rounds and can be divided into at least 2 parts. Rounds 1-5 tell the flower construction: Round 1 shows the formation of the flower center you may be familiar with, Rounds 2-3 are the key rounds that give the petals their stunning 3D effect, and in Round 4 we add the flower's cozy leaves (though you could also see these puff stitches as extra petals embracing the bloom). Rounds 5-8 create the solid border that frames the flower. If you prefer a more flexible, airy texture or want to switch things up, you can substitute a classic open granny square border instead.
Round 1 — The Flower Center First, we used double crochet stitches to create a big flower center.
- Round 1The Flower Center knot, ch5, sl st to the first ch to form a loop, ch3 as a standing st(count as dc)+ 23dc in the loop, sl st to the top of the first ch3.Round 2 — Flower Petals Next, by slipping stitches frequently, we create a clear visual boundary between the flower center and the surrounding petals. We also created chain spaces that provide the petals with an initial 3D structure while creating room for the petals to expand.
- Round 2Flower Petals ch4, sl st in this st, work sl st in each of the following two sts. [sl st to the next st, ch4, sl st in this st, work sl st in each of the following two sts] rep 7 times, join to the first st, fasten off.Round 3 In this round, we transform small petals into thicker and bigger blooms by clustering several stitches in one chain space.
- Round 3new yarn in any ch-sp, ch2(count as hdc), dc+2tr+dc+hdc in this ch-sp, *sk2, (hdc+dc+2tr+dc+hdc) in the next ch-sp*rep 7 times, sk2. Remove the hook, insert it into the 2nd ch of starting ch2 from the wrong side to the right side (back to front) , grab the loop, pull it through to complete sl st.Step by step Add new yarn in any ch-sp. ch2 as a standing st (count as hdc). dc+2tr+dc+hdc in this ch-sp. *sk2, (hdc+dc+2tr+dc+hdc) in the next ch-sp* rep 7 times, sk2. Remove the hook, insert it into the 2nd ch of starting ch2 from the wrong side to the right side (back to front), grab the loop, pull it through to complete sl st. Round 4 — The Leaves Next, we work puff stitches at the corners that look like leaves surrounding our flower. This round also uses one of the classic granny square techniques – slip stitches combined with chain spaces to establish the square shape.
- Round 4The Leaves TLO for this round. *sl st to the next st*rep 3 times(hook should now be at 2nd tr of this petal), ch4, 3-hdc-puff+ch3 in the 1st tr of next petal, 3-hdc-puff+ch4 in the 2nd tr. [sl st to the 1st tr of the next petal, sl st to the 2nd tr, ch4, 3-hdc-puff+ch3 in the 1st tr of next petal, 3-hdc-puff+ch4 in the 2nd tr] rep 3 times, join to the first st.The Border (Rounds 5-8) In the following rounds, we framed and uniformed this granny square step by step. Finally, we worked a single crochet stitch in each stitch, finishing this pattern with a dense, clean and flat border.
- Round 5The Background ch as a standing st, 2sc, 4sc in the next ch-sp, sc in the next puff, ch3, sk the next ch-sp, sc in the next puff, 4sc in the next ch-sp. *2sc, 4sc in the next ch-sp, sc in next puff, ch3, sk the next ch-sp, sc in next puff, 4sc in the next ch-sp*rep 3 times, sl st to the top of the first sc.
- Round 6ch3 as a standing st(count as dc), 6dc, work (2dc+ch3+2dc) in next ch-sp from Round 4 to encasing the ch-sp from Rounds 4 and 5 together, 5dc. *7dc, work(2dc+ch3+2dc) in next ch-sp from Round 4 to encasing the ch-sp from Round 4 and 5 together, 5dc*rep 3 times, sl st to the top of the first ch3.
- Round 7This round works the same as Round 4: ch to start, sc in each st along the sides. At the end of each side, work the last sc, then ch3 to skip the corner ch-sp and continue to the next side, finally sl st to the top of the first sc.
- Round 8ch to start, BLO sc in each st. At corners: work(hdc+3dc+hdc), encasing the ch-sp from Rounds 6 and 7 together. Finally sl st to the top of the first sc.
Important notes
📏 The completed granny square measures approximately 4.53 inches by 4.53 inches
💡 A 3.00mm hook keeps the flower center dense so the petals don't gap, but feel free to size up to 3.5mm or 4.00mm if you crochet tightly, just check that your square still lands near 4.53 inches
💡 Use a removable stitch marker in the top of your starting ch3 and ch2 each round so you always know where the round begins and where to make that back-to-front join
💡 Because the petals use treble clusters, they eat yarn fast, wind off a little extra of your petal color before you start so you don't run out mid-bloom and have to join a new strand in the middle of a cluster
💡 When you change colors between the flower and the solid border, weave in each tail as you go rather than saving them all for the end; the dense stitches make this motif very hard to bury cleanly later
💡 Blocking is your friend here. A quick steam or wet block flattens the solid border and lifts the petals, giving the finished square crisp corners and a fuller bloom
💡 If you're joining many squares into a blanket, work every solid border in the same color and hook size for uniform corners, then let the flower centers vary, uniform frames keep a scrappy palette looking deliberate
More photos
FAQ
What yarn and hook should I use for this granny square?
The sample uses a 3.00mm hook with a yarn of your choice, which works beautifully with DK or light-worsted weight. Cotton gives crisp, sculptural petals while a wool blend makes them softer and plusher, so pick based on the look and feel you want
Is this pattern too advanced for a confident beginner?
If you can work a treble crochet and follow a repeat, you can make this square. The trickiest parts are the treble-cluster petals and the back-to-front invisible join, both of which are explained step by step and get easy after your first square
How do I make the square larger than 4.53 inches?
Keep adding border rounds after Round 8, working double crochet along each side with a three-stitch cluster at every corner to keep it square. About two extra rounds will bring it closer to a 6-inch pillow-sized motif
Why do my petals look flat instead of raised and 3D?
Raised petals depend on loose slip-stitch rounds underneath and firm, even trebles in the cluster. If they're flat, your slip-stitch loops were likely too tight, keep those loose so each chain space stays open enough to lift a full bloom
Can I join these squares into a blanket?
Absolutely, this motif is made for it. Keep every solid border the same color and hook size for tidy, matching corners, then mix up the flower centers, and join with your favorite method such as slip-stitch or whip-stitch seaming
Made your own square?
This site belongs to every crocheter. Share your design with the world — we’ll math-check the counts, polish it up, and publish it free for everyone, credited to you.
🧵 Share your pattern →
0 / 0 rounds