
Free Pattern
Step-by-Step
Crochet
Granny SquaresCrochet Leaf Granny Square: A Free Fresh-Spring Motif Pattern
Crochet a charming leaf granny square with this free pattern—magic loop center, 7-dc petals, two colors, and a cute 5-inch finished square you'll love
Level EasyTime 30-45 MinutesHook 3.00 mmYarn DK
About This Pattern
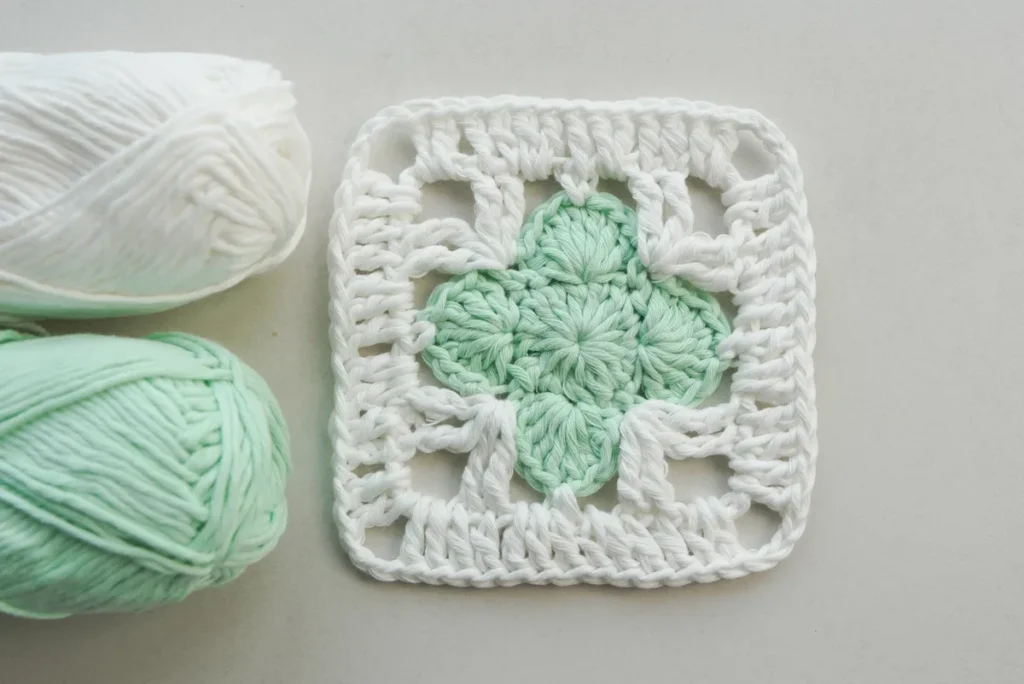
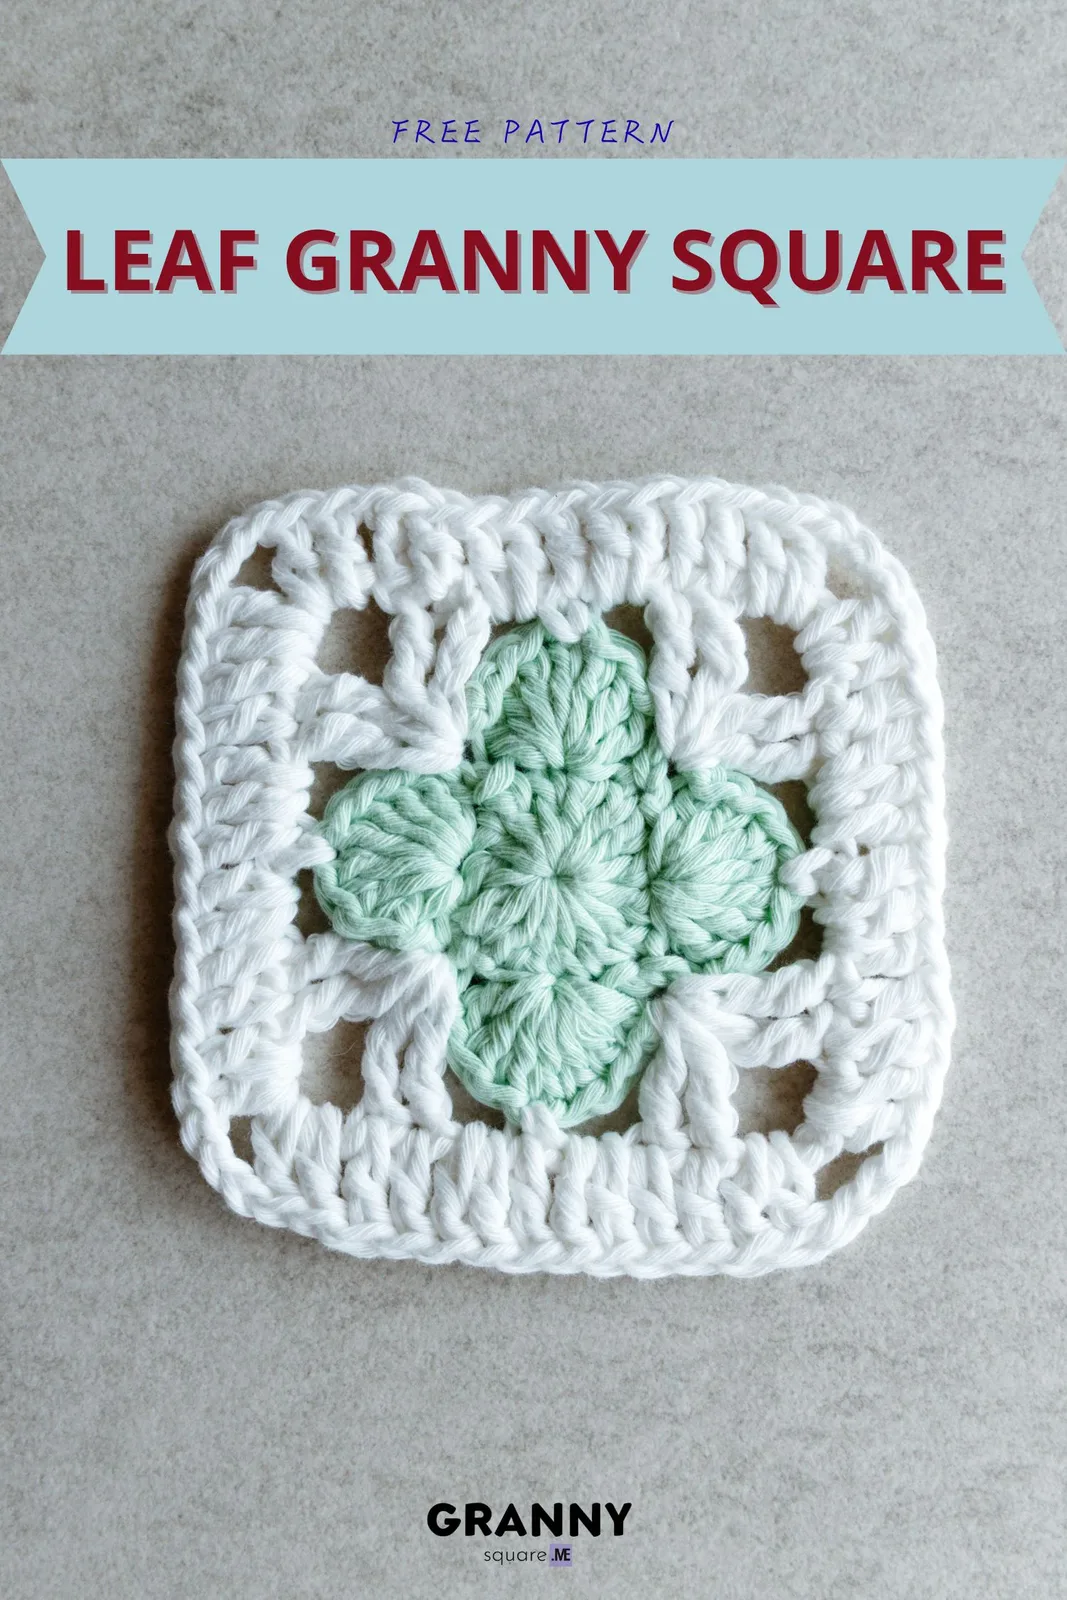
This crochet leaf granny square turns four simple double crochet fans into a soft, four-pointed leaf motif with an open, airy center. It's worked flat from a magic loop outward, so it lays perfectly square without curling. It's ideal for anyone who loves nature-inspired makes, wants a two-color project to practice tidy color work, or needs a repeatable motif to stitch into blankets, cushions, or spring garlands one relaxing square at a time
The pattern leans on just three core skills: forming a magic loop, working double crochet, and joining with single crochet and slip stitches. Round 1 sets a firm ring of 15 dc plus a starting ch3, and the petal round repeats a small [sc, ch1, skip 1, 7dc, ch1] sequence four times. That's it—no puff stitches, no decreases. A confident beginner can finish a single square in about 30 to 45 minutes once the rhythm clicks
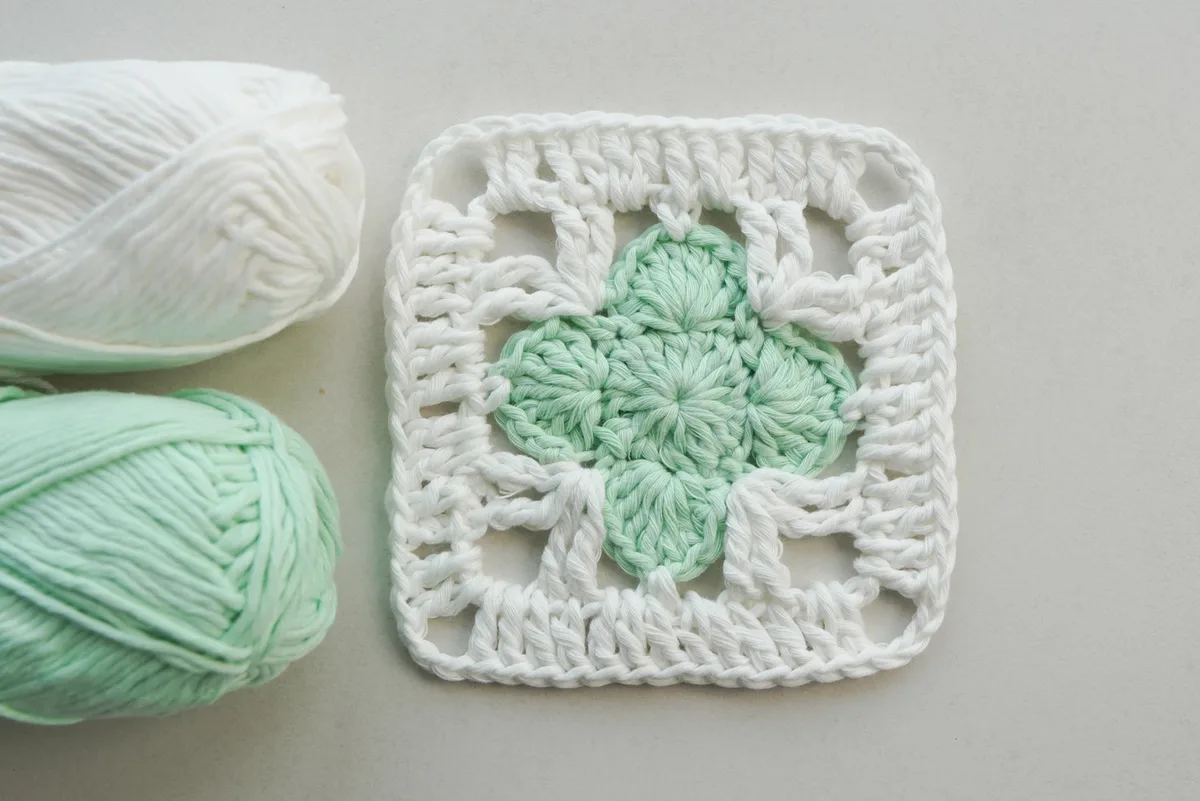
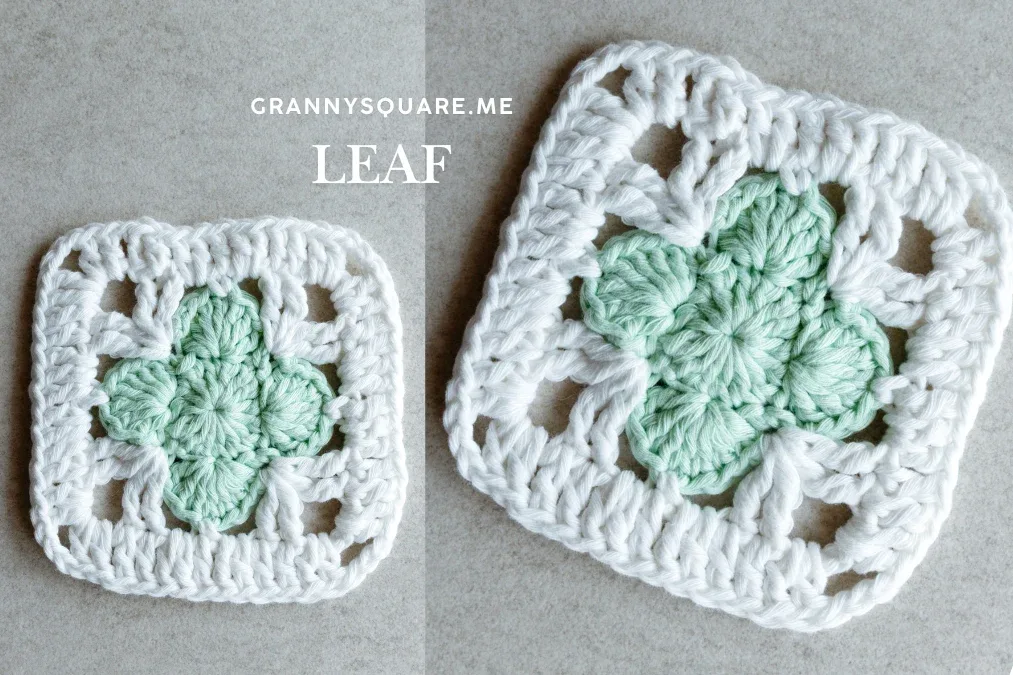
The finished square measures roughly 4.92 by 4.92 inches in DK-weight yarn with a 3.00mm hook, giving you a crisp block with four gently curved leaf points framing the center. Worked in mint green and white, it feels fresh and springy, but it looks equally lovely in autumn or summer palettes. Stitch a dozen for a throw, back a few for coasters, or gift a single framed square—it's a small make with a big, handmade charm
Variations
The two-color format makes this square a playground for palettes. For crisp autumn vibes, work a rich burgundy leaf against a cream border; for a cheerful summer feel, pop a golden-yellow leaf on a light-blue background; and for something magical, use a variegated yarn like Mandala or Unforgettable for the leaf portion so each petal shifts color on its own. Want a bigger square? Add a plain granny border round after the petals—[3dc, ch1] in each ch1 space and (3dc, ch2, 3dc) in each corner—to grow it toward 6 inches without redrawing the leaf. For a chunkier, faster block, jump to worsted yarn (Bernat Softee or Hobbii Rainbow) with a 4.00–4.50mm hook; your square will land closer to 6.5 inches. Prefer a denser leaf? Bump each petal from 7dc to 9dc in the same skip-1 spot for fuller, rounder points, keeping four repeats. Themed ideas are endless: pastel rainbows for a baby blanket, or monochrome sage-on-sage for a modern, tone-on-tone throw. You can also mirror two squares back-to-back and seam them into a little leaf coaster or a hanging spring garland—just weave a length of cotton twine through the corners
Common mistakes
- Not pulling the magic loop tight
- Before you slip stitch to close Round 1, gently tug the yarn tail until the ring of 15 dc cinches shut. Then weave the tail through the back loops so it locks the loop and can't loosen over time
- Miscounting Round 1 because the
- Remember ch3 counts as your first dc, so after it you work only 15 more dc for a total of 16 stitches. Count them before joining—if you land on 17, you likely added an extra dc after the ch3
- Forgetting to skip 1 stitch before the
- The pattern is [sc, ch1, skip 1, 7dc in next st, ch1]. Always skip exactly one stitch after the ch1, then place all 7 dc into the single next stitch. Skipping the skip is the number-one reason petals look bunched
- Losing track of the four petal repeats
- Drop a stitch marker into the first sc of the petal round. Each full [sc, ch1, skip 1, 7dc, ch1] equals one leaf point—work it four times total, then slip stitch to that marked first sc before fastening off
- Cramming all 7 dc into one stitch too
- Keep your yarn tension relaxed as you build the 7dc cluster and let the stitches lean into a fan shape. If it puckers, go up a quarter hook size or block the finished square to open the petals
- Messy color change between the center
- Join your second color with a standing single crochet or by pulling the new color through on your final slip stitch of Round 1. Leave a 6-inch tail and weave it under the backs of the dc so the transition stays invisible


Easy
Materials
- Yarn of your choice- 2 color
- Crochet hook- we are using a 3.00mm hook
- Darning Needle
- Scissors
Main Pattern
- Round 1Magic loop, ch3(count as dc), 15dc in the loop, sl st to the top of ch3 (16).Step by step Start with a magic loop. Make ch3 as a standing st (count as dc). Make 1dc in the loop. Make another 14dc in the loop. Pull the tail tightly. Sl st to the top of the first ch3. Round 1 finished. (16)
- Round 2[sc, ch, sk 1, 7dc, ch] repeat 4 times, sl st to the first sc, fasten off (32).Step by step Make sc, ch, skip 1 st, work 7dc in the next stitch, then ch1. [sc, ch1, skip 1 st, 7dc in next st, ch1] repeat 3 times. Sl st to the first sc, fasten off. Round 2 finished. (32)
- Round 3New yarn in sc st, ch4(count as tr)+tr+ch5+2tr, ch2, sc in the 4th dc st, ch2, [2tr+ch5+2tr in the next sc st, ch2, sc in the 4th dc st, ch2] repeat 3 times, sl st to the top of the first ch4 (20).Step by step Add new color yarn in any sc st. Make ch4 as a standing st (count as tr). Make tr+ch5+2tr in the same st, ch2, sc in the st of the fourth dc, ch2. [2tr, ch5, 2tr in the next sc st, ch2, sc in the fourth dc st, ch2] repeat 3 times, sl st to the top of the first ch4. Round 3 finished. (20)
- Round 4Sl st to the next st, ch3(count as dc), 2dc+ch3+2dc in the next corner space, 8dc, [dc in the next st, 2dc+ch3+2dc in the corner space, 8dc] repeat 3 times. Sl st to the top of the first ch3, fasten off (52).Step by step Sl st to the next tr st. Make ch3 as a standing st (count as dc). 2dc+ch3+2dc in the next corner space, dc in the next 8 sts. [dc in the next st, 2dc+ch3+2dc in the corner space, dc in the next 8 sts] repeat 3 times. Sl st to the top of the first ch3, fasten off. Round 4 finished. (52)
Important notes
💡 The finished leaf granny square is about 4.92×4.92 inches with a 3.00mm hook and DK-weight yarn; if your squares come out small or stiff, size up to a 3.50mm hook for a slightly larger, softer block
💡 This serene mint green and white combination gives a clean, refreshing look that evokes new spring growth. For seasonal variations, try a rich burgundy leaf with cream border for autumn, or a golden yellow leaf against light blue for a cheerful summer feel. These squares also look stunning with variegated yarn for the leaf portion
💡 Place a stitch marker in the top of the beginning ch3 on Round 1 so you can find it easily when you slip stitch to close the ring
💡 For color work, don't cut the first color if you plan to make many squares—carry it loosely up the back or wind small bobbins so you're not re-joining mint and white every single time
💡 Cotton yarn (like Paintbox Cotton DK) gives the leaf crisp, sculpted petals and blocks beautifully; acrylic is softer and more forgiving if this is your first two-color motif
💡 Block each finished square with a light steam or a spray-and-pin—flattening the four points into true corners makes a huge difference when you seam multiples together
💡 Weave in ends as you finish each square rather than saving them all for the end; a blanket's worth of leaf squares means a lot of mint-and-white tails to hide otherwise
More photos
FAQ
How big is one finished leaf granny square?
In DK-weight yarn with a 3.00mm hook it measures about 4.92 by 4.92 inches. Your exact size will shift with your yarn weight and tension, so go up or down a hook size to match a specific project
Do I need two colors, or can I make it in one?
Two colors show off the leaf against its background beautifully, but a single-color square looks elegant too, especially in a tone-on-tone sage. Just skip the color change and continue in the same yarn through the petal round
Is this pattern okay for a beginner?
Yes—if you can make a magic loop, a double crochet, and a single crochet, you can make this square. There are no decreases or puff stitches, and the petal round is one short sequence repeated four times
Why is my center hole gaping open?
The magic loop wasn't cinched tightly before closing Round 1. Pull the yarn tail firmly to draw the ring shut, then secure the tail by weaving it through the back of a few stitches so it can't work loose
Can I join these squares into a blanket?
Absolutely—the flat, square shape is made for it. Block each square first, then whip stitch, slip stitch, or single crochet them together; adding a plain border round around each square first makes seaming even neater
Made your own square?
This site belongs to every crocheter. Share your design with the world — we’ll math-check the counts, polish it up, and publish it free for everyone, credited to you.
🧵 Share your pattern →
0 / 0 rounds