
Free Pattern
Step-by-Step
Crochet
Granny SquaresHow to Crochet a Whale Granny Square – Free Pattern
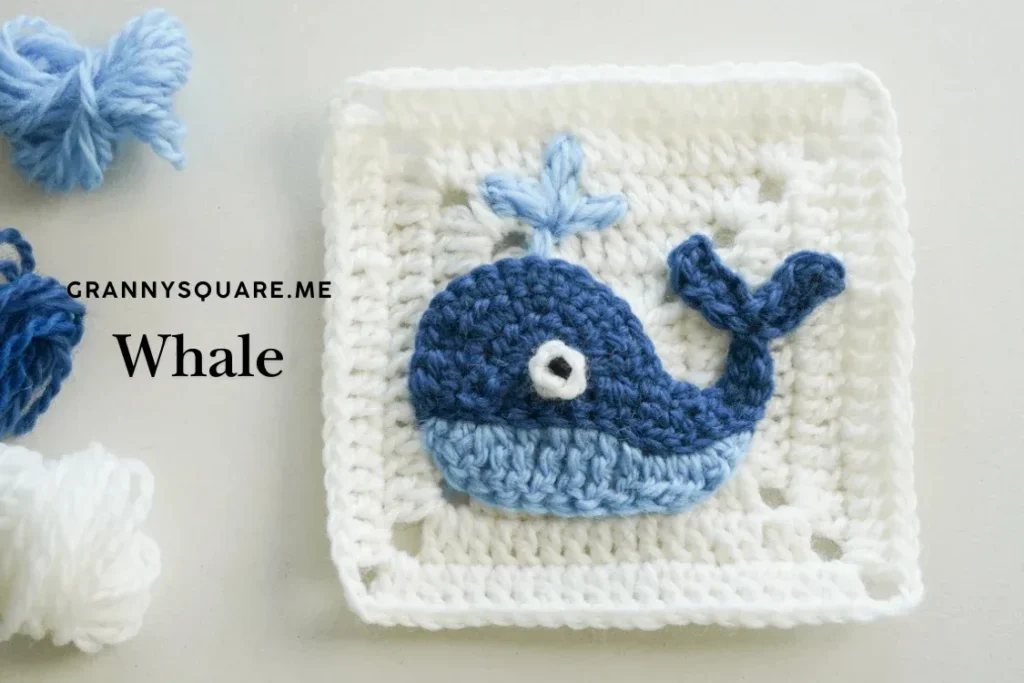
Crochet an adorable whale granny square with this free pattern. Sculpted tail flukes, FLO belly and fin, embroidered water spout, 4.2 inch square in DK yarn
Level IntermediateTime 2-3 HoursHook 3.00 mmYarn DK
About This Pattern
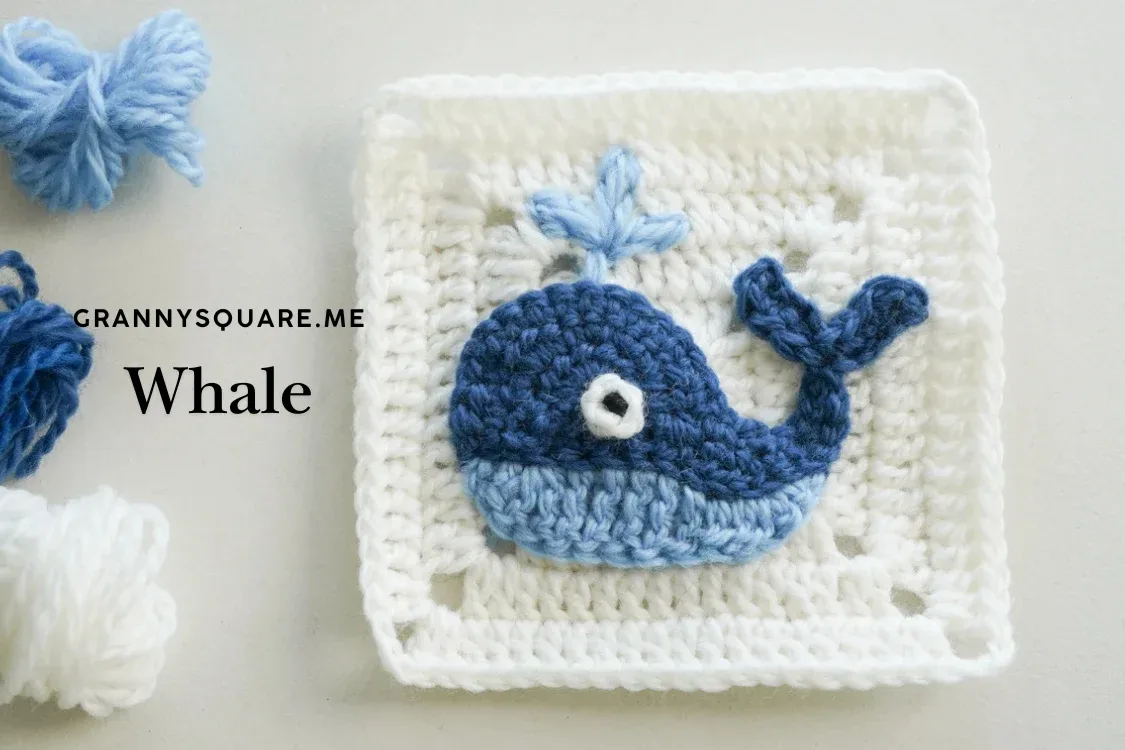
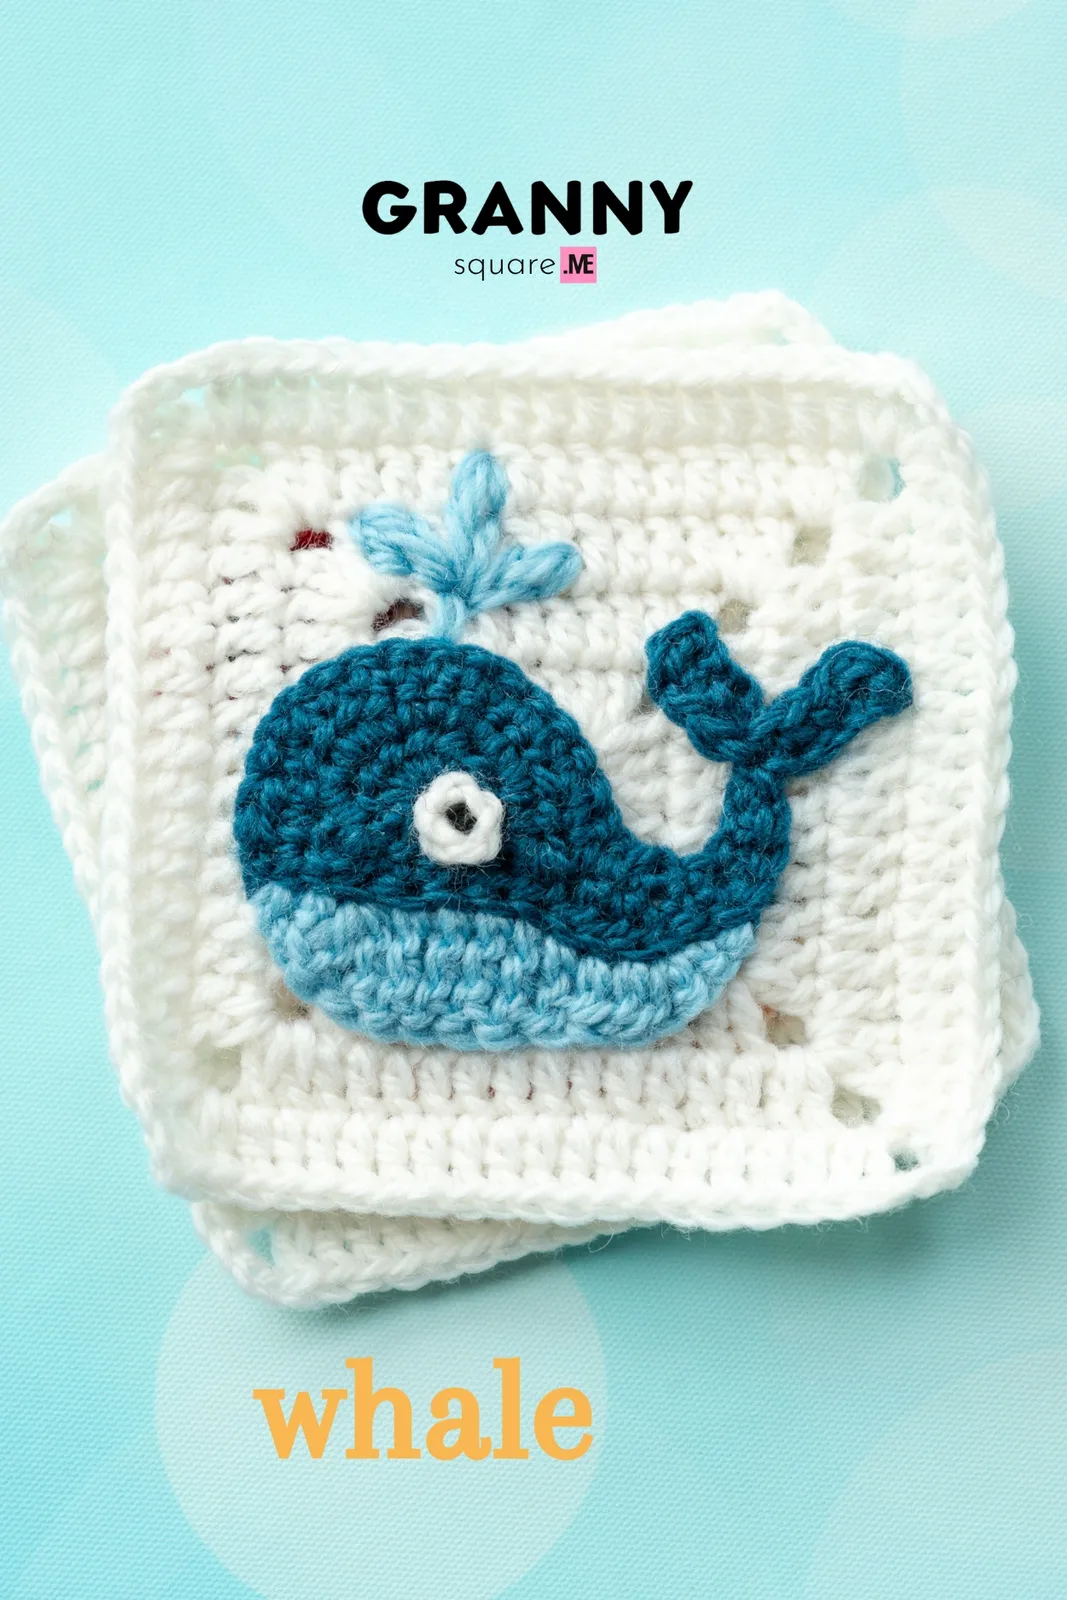
This pattern turns a humble granny square into a plump, smiling whale complete with a curved back, a forked tail, an expressive eye, and a jaunty water spout. Instead of stacking rounds of clusters, you build the whale organically from a magic ring, shaping the body with half double crochet increases and single crochet increases so the belly curves the way a real whale's does. The finished whale is then sewn as an applique onto a five-round solid granny square background. It is perfect for crocheters who love themed blanket squares, ocean nurseries, or anyone who wants a granny square with genuine personality rather than plain repeating rounds
You will use a magic ring, ch2 standing half double crochet starts, hdc and sc increases, back loop only work along the chain-9 tail, a front loop only row for the belly and fin, and post stitches worked around the hdc before the tail chain. Treble crochet stitches shape the fin tip, and a short sc2tog finishes each tail fluke. The eye is a small ch5 ring with a black French knot in the centre, and the water spout is embroidered as a fan-shaped spray on the background square. If you can read a stitch-by-stitch line and count as you go, you can absolutely handle this. Expect roughly two to three hours for your first square and closer to ninety minutes once the shaping clicks
The finished square measures about 4.2 inches by 4.2 inches in DK sport weight yarn on a 3.00mm hook, which makes it an ideal building block for blankets, cushion fronts, tote bag panels, and baby playmats. Four colors give you a darker navy blue back, a lighter sky blue belly, a contrast fin, and a bright spout, and the sewn separating line between the two body colors gives the whole square a crisp, finished, almost appliqued look. One square makes a sweet coaster or gift tag; twelve make a nursery blanket that people will ask about
Variations
I have made a lot of granny squares in my life, and this whale is one of the few that made me grin the moment the shaping appeared. The magic moment for me is the chain-9 tail: you chain out into thin air, turn around, and work back through the back loops with a slip stitch, a sc-inc, and those two hdc, and suddenly a tail exists where there was nothing. Then you work two hdc around the post of the hdc before that chain-9, and the tail anchors itself to the body like it grew there. I also love how the front loop only belly row uses treble crochet to push out a long, elegant flipper without any extra sewing or piecing. The four tr in a row are the most satisfying stitches in the whole square. And that final touch, sewing along the separating line between the two colors with deep blue yarn, is the step I would never skip. It takes four minutes and it turns a nice square into one that looks professionally designed
Common mistakes
- Counting the ch2 as a stitch inconsistently across rounds
- In this pattern the ch2 always counts as one hdc, and in several places you add a second hdc into the same space to form the hdc-inc. If you sometimes count it and sometimes do not, your stitch counts drift by one every round and the body loses its curve. Place a stitch marker in the top of that ch2 the moment you make it, and always slip stitch into that marked loop at the end of the round
- Working the chain-9 tail return row
- The pattern specifies BL for the return along the tail chain, and this matters because the free front loops create the ridge that makes the tail stand out and lie flat. If you work through both loops the tail curls and looks like a stubby tab. Skip the first chain, then work only into the back loop of each remaining chain for the slst, (slst+1sc), 1sc, sc-inc, 2sc, and 2hdc
- Missing the two hdc worked around the
- This is the single most skipped instruction in the whole pattern. Those two post stitches are what close the gap between the tail and the body. Without them you end up with a visible hole where the tail meets the whale. After finishing the tail return row, do not go back into the top of the next stitch. Instead, wrap your hook around the vertical post of the hdc that sat immediately before your ch9 and work both hdc around it
- Joining the belly yarn to the wrong
- Row 4 says to rotate 180 degrees, work in FLO, and join new yarn to the left st of the sc-inc from the end. Crocheters often count from the wrong end and start the row a stitch or two off, which makes the fin point down instead of out. Before fastening off Round 3, put a locking marker in that sc-inc so you can find it instantly after you rotate
- Skipping the sewn separating line
- This step reads like an optional flourish but it is structural to the look. Without it the color change between the whale's back and belly looks jagged and the two sections can pull apart slightly under tension. Turn the square over, thread a darning needle with deep blue yarn, and run a small even running stitch or backstitch directly along the boundary, catching only the color-change loops so nothing shows on the front
- Working the two tail flukes
- The tail section repeats the ch5, return, sk1, BL of next 4 ch, sc-inc, sc, sc2tog sequence twice, and any tension difference between the two flukes shows immediately because they sit side by side. Make both flukes back to back in one sitting and count your chains out loud. If one comes out longer, frog it rather than blocking it into shape, because chain tension does not block out


Intermediate
Materials
- Yarn of your choice —4 colors; the sample is made with DK Sports. The finished granny square is about 4.2 inches by 4.2 inches.
- Crochet hook- we are using a 3.00mm hook
- Darning Needle
- Scissors
- Deep blue yarn for sewing along the separating line between the 2 colors, plus a small amount of black yarn for the French knot eye
Main Pattern
A small tip for assembly: leave a small yarn tail when finishing some parts (noted below). These tails make assembly easier, allowing you to whip-stitch your appliques directly onto the background square.
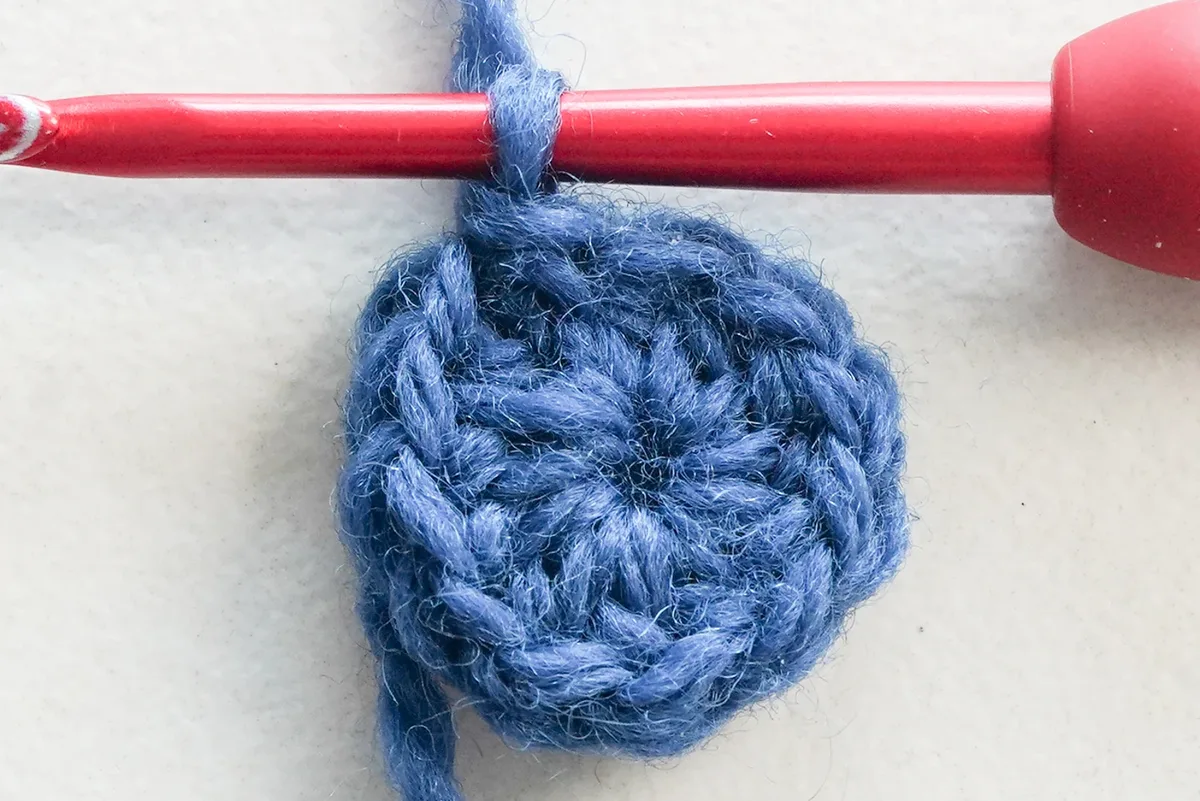
Round 1 is the foundation round: a magic ring and 11 hdc set up the base of the whale's body.
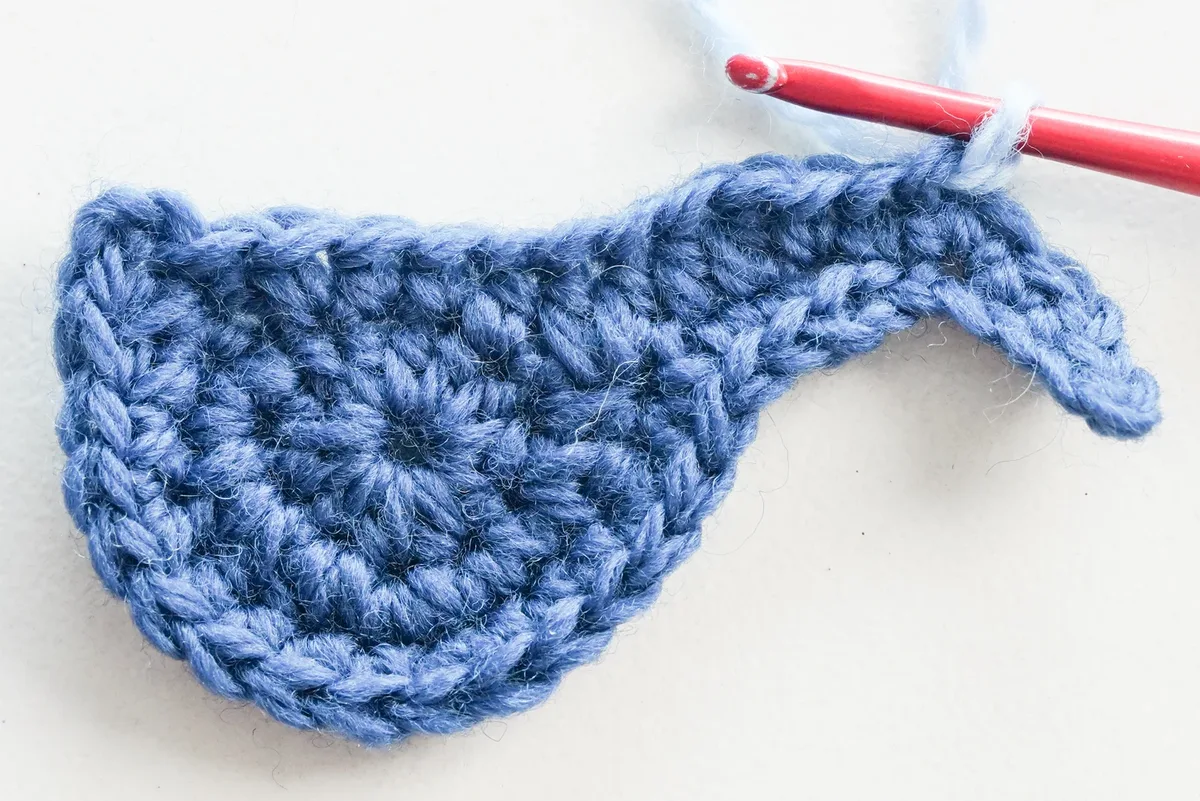
- Round 1Magic ring, ch2 as a standing st(count as hdc), 11hdc, sl st to the top of the first ch2.Round 2 constructs the whale's shape: the hdc and sc increases curve the body, then the ch9 worked out from the body becomes the tail before you return back along it in the back loops. The 2hdc worked around the post of the hdc before the ch9 close the gap where the tail meets the body.
- Round 2ch2(count as 1hdc)+1hdc to form hdc-inc. sc-inc, hdc-inc, 1hdc+1sc, (sc-inc)×2, 1sc+1hdc, hdc-inc. Ch9, return. sk1, BL: slst, (slst+1sc), 1sc, sc-inc, 2sc, 2hdc. 2hdc around the post of the hdc before ch9. 1hdc, 3sc, sl st to the top of the first ch2.Round 3 enlarges the whale, working another round of increases around the body before you fasten off.
- Round 3ch2(count as 1hdc)+1hdc to form a hdc-inc. 1hdc, 1sc, sc-inc, 13sc, sl st, fasten off.
Row 4 makes the whale's belly in the lighter color. Rotate the square 180 degrees, work in the front loops only, and join the new yarn to the left st of the sc-inc from the end. The 4tr and the 1tr+1dc shape the fin.
- Row 4Rotate 180 degrees. FLO. Join new yarn to the left st of the sc-inc from the end. ch1, 1sc, sc-inc, 2hdc, 1dc, 4tr, 1tr+1dc, 1hdc+1sc, slst to next ch, fasten off.Finish the Whale Tail FlukesTurn Over. Sew along the separating line between 2 colors with deep blue yarn for a polished look. Then join new yarn to the tail's tip. *ch5, return. sk1, BL of next 4 ch: sc-inc, sc, sc2tog. slst to the joining st* rep 2 times, fasten off and leave the tail.Add an EyeStep by step: Knot, ch5, sl st to the first ch to form a ring. Sew it to the center of the whale's head as the eye base. Then work a small black French knot in the center of the ring.
The Background - Solid Granny Square
In this whale granny square, we need a larger solid granny square of 5 Rounds as the background.
- Round 1Start with a magic loop. ch3 as a standing st(count as 1dc). 3dc, ch3. *(4dc, ch3) * rep 3 times omitting final ch3, ch1, 1hdc connects back to your starting ch3.
- Round 2-4ch3(counts as dc), 1dc in this corner. (2dc+ch3+2dc) in remaining corners. 1dc in remaining sts. 2dc in the start corner. ch1, 1hdc connect back to the first ch3.
- Round 5ch3 as a standing st(count as 1dc), 1dc in this corner sp. (2dc+ch3+2dc) in remaining corners. 1dc in remaining sts. 2dc in the starting corner, ch3, sl st to the true dc after first ch3, fasten off.
Assemble
This design catches a playful whale happily spouting, so we will create a water fountain effect there.
Step by step: First, sew the whale applique to the lower center of the solid granny square, threading the tail left from finishing in and out through both the applique and base square loops to secure everything tightly in place. Then, join new yarn to the top center st of the whale's head( back loop ), and embroider a fan-shaped spray of stitches radiating upward on the background. Fasten off, but keep a 7 inch tail to strengthen the assembly.
Important notes
💡 The sample uses DK sport weight yarn with a 3.00mm hook, which is a full size smaller than the yarn band usually suggests. That tight gauge is intentional here because the sculpted tail and fin need firm fabric to hold their shape. If your square comes out floppy or larger than 4.2 inches, drop to a 2.75mm hook before changing anything else
💡 Use locking stitch markers rather than scrap yarn for this pattern. You need markers in the top of each ch2, in the sc-inc where the belly row joins, and in the tail joining stitch, and you will be rotating the square 180 degrees and turning it over as you work. Locking markers survive that handling; loose yarn scraps fall out exactly when you need them
💡 Wind small butterfly bobbins for the four colors instead of pulling from full skeins. You join new yarn several separate times in this pattern, at the belly row, at the tail's tip, and again at the whale's head for the spout, and tangled full balls are the main reason people set a project like this down mid-row. Ten grams per accent color is plenty
💡 Leave a generous yarn tail every time you fasten off. The pattern explicitly says to fasten off and leave the tail at the end of the tail fluke section, to keep a 7 inch tail after embroidering the spout, and the tutorial's assembly tip asks for a small tail whenever you finish a piece. Those tails are what you whip-stitch the applique down with, and they are far easier to leave now than to add later
💡 When you rotate the whale 180 degrees for Row 4, mark which side is the right side with a safety pin first. That row is worked in FLO from what becomes the wrong side at that moment, and it is very easy to work it on the opposite face, which leaves the belly and fin sitting on the back of your whale
💡 Block the square gently with steam or a light spritz and pin it into a true 4.2-inch square before joining. Pin the fin and tail flat as well. Because the whale is built organically rather than in concentric rounds, unblocked squares vary by a few millimetres and that adds up fast across a blanket
💡 Color guide from the designer: the whale is made with two blues, a darker navy blue for the body and a lighter sky blue for the belly, inspired by a real whale. Beyond the regular tail and eye, the special feature of this design is the water spout embroidered above the head, which is what gives the square its happy, playful feeling
More photos
FAQ
Do I need to stuff this whale granny square?
No, this is a flat granny square, not a 3D amigurumi, so there is no stuffing involved at any stage. The whale gets its shape entirely from the hdc and sc increases and from the raised tail and fin worked in back and front loops
Can I make this square with worsted weight yarn instead of DK?
Absolutely, and it is a popular substitution. Use a 4.00mm hook with worsted and your finished square will land around 5.5 inches instead of 4.2 inches, with no changes to the stitch counts. Just make every square in your project from the same weight so they join evenly
What does BL and FLO mean in this pattern?
BL means back loop only and FLO means front loop only, referring to which of the two loops at the top of a stitch you insert your hook into. The tail return row uses back loops to create a flat ridge, while the belly row uses front loops so it sits raised on top of the body fabric
How many squares do I need for a baby blanket?
4.2 inches per square, a 30 by 36 inch baby blanket takes roughly 7 squares across by 8 down, so 56 squares plus a border. Most crocheters mix whale squares with plain solid squares in the same colorway so the whales have room to breathe visually
My tail looks lumpy where it meets the body. What went wrong?
This is almost always the two hdc worked around the post of the hdc before the ch9 being skipped or worked into the top of the stitch instead of around the post. Those stitches fill the gap at the base of the tail. Undo back to that point and wrap your hook horizontally around the vertical bar of that hdc
How do I make the whale's eye?
The eye is a tiny crocheted ring: knot, ch5, then sl st to the first ch to form a ring. Sew that ring to the center of the whale's head as the eye base, then work a small black French knot in the center of the ring for the pupil
Is the water spout crocheted or embroidered?
It is embroidered. After the whale is sewn to the lower center of the solid granny square, you join new yarn to the top center st of the whale's head through the back loop and embroider a fan-shaped spray of stitches radiating upward across the background, then fasten off leaving a 7 inch tail to strengthen the assembly
Made your own square?
This site belongs to every crocheter. Share your design with the world — we’ll math-check the counts, polish it up, and publish it free for everyone, credited to you.
🧵 Share your pattern →
0 / 0 rounds