
Free Pattern
Step-by-Step
Crochet
Granny SquaresDiagonal Two-Color Solid Granny Square (Easy Free Pattern)
Crochet a diagonal two-color solid granny square with this easy free pattern — a vintage color-block motif perfect for blankets, bags & pillows
Level BeginnerTime 1 HourHook 3.00 mmYarn DK
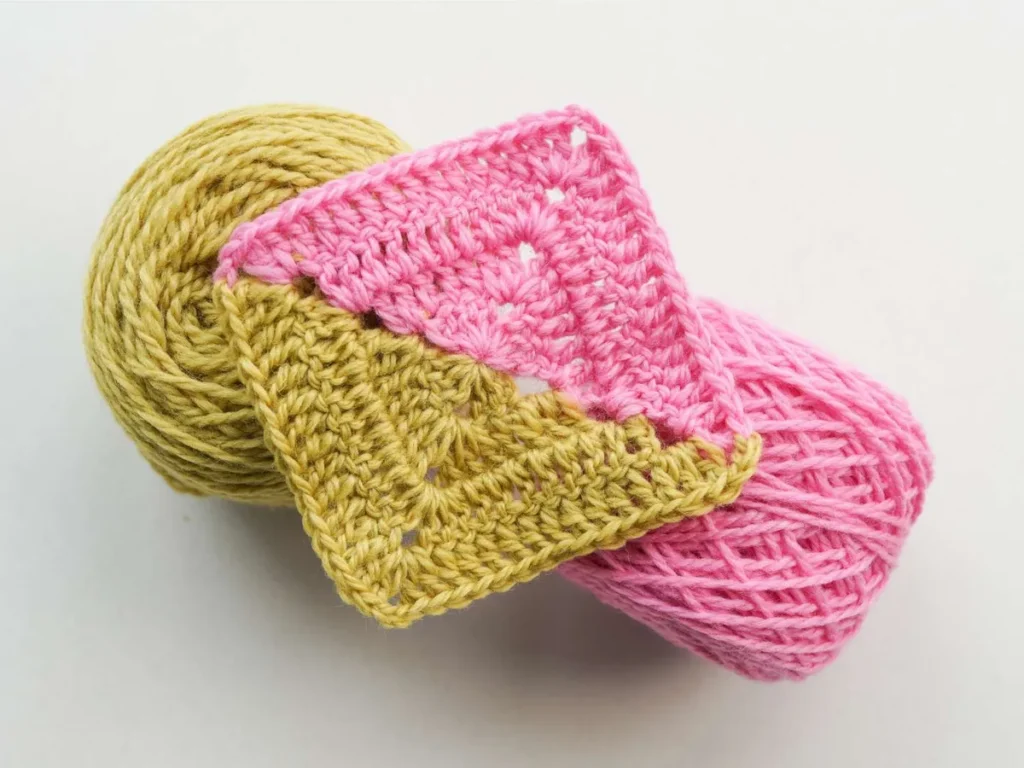
About This Pattern
This pattern creates a bold, two-color solid granny square where a crisp diagonal line splits the motif into two color-blocked triangles. Unlike the airy classic granny, this version is worked solid, so the fabric is dense, sturdy, and endlessly stackable. It's perfect for crocheters who love color-play and want a versatile building block for blankets, cushions, tote bags, and coasters. Whether you're chasing a vintage pink-and-mustard vibe or a modern high-contrast look, this little square delivers big personality in just four rounds
Worked with a 3.00mm hook and DK-weight yarn, each square lands around 3.35 inches (about 8.5 cm) across with sharp, defined corners after a light blocking. The solid fabric feels substantial and holds its shape beautifully, and that diagonal seam of color gives it a graphic, almost quilted look. Stitch a stack of them for a color-blocked throw, frame a few as coasters, or sew four into a zippered pouch. Made in cheerful contrasting shades, these squares are a thoughtful, personal gift for anyone who loves a pop of color
Variations
I have such a soft spot for this little square, because it looks far more intricate than it actually is. That diagonal color split does all the visual heavy lifting, but under the hood it's just double crochet clusters and ch-2 corners you probably already know by heart. My favorite moment is the mid-round color change — you yarn over, pull the new shade through, and suddenly the square snaps into two clean, contrasting halves. It feels like a magic trick every single time. I also love the hdc that joins the round, because it sneakily doubles as a slip stitch and drops you right into the corner space, so there's no fumbling to figure out where the next round begins. The solid fabric is deeply satisfying too — no gaps, no floppiness, just a firm, tidy square that stands on its own. And because it works up in about an hour, it's the perfect project for when I want the reward of a finished piece without committing to a whole afternoon. It's addictive in the best way
Common mistakes
- Changing colors too late, so the new
- Complete the color change on the final yarn-over of the stitch right before the new color — yarn over with the second color and draw it through the last two loops. That way the very next stitch is clean in the new color and the diagonal line stays razor-sharp with no muddy in-between stitch
- Leaving a hole in the center because
- After completing Round 1, pull the starting tail firmly to close the magic loop before you move on. Give it a gentle tug again once you've woven it in, and the center will disappear completely, leaving a solid, gap-free middle
- Slip stitching to join instead of using
- This pattern uses an hdc into the top of the first ch-3 specifically because that hdc acts like a slip stitch and positions your hook right in the corner space. Trust it — join with the hdc as written, and you'll begin every new round exactly where the corner needs to be
- Confusing the ch-2 corner spaces
- Remember the rhythm: ch-2 always marks a corner (where you'll place two 3-dc groups), and ch-1 sits between clusters along the sides. Say it out loud as you go — 'corner, side, corner, side' — and the four crisp corners will stay square instead of rounding off
- Working into the chain spaces like a
- This is a solid granny, so as you build outward you're placing dc into the stitches across each side rather than skipping into holes. Keep your stitches snug against each other so the fabric stays dense and the diagonal color block reads as two clean, unbroken triangles
- Uneven tension between the two yarns
- Use the same weight and fiber for both colors so they behave identically. If one half looks tighter, consciously relax that hand, and give the finished square a light steam or wet block to even everything out and pop those corners into shape


Beginner
Materials
- yarn of your choice- 2 colors
- Crochet hook, we are using a 3.00mm hook
- Darning Needle
- Scissors
Crochet a diagonal two colors solid granny square
A granny square is split diagonally into two triangular halves. You switch yarn constantly during the process, but you don't need to cut the previous color of yarn — just carry it along. Try to keep your tension consistent throughout to prevent the second color from showing through the square.
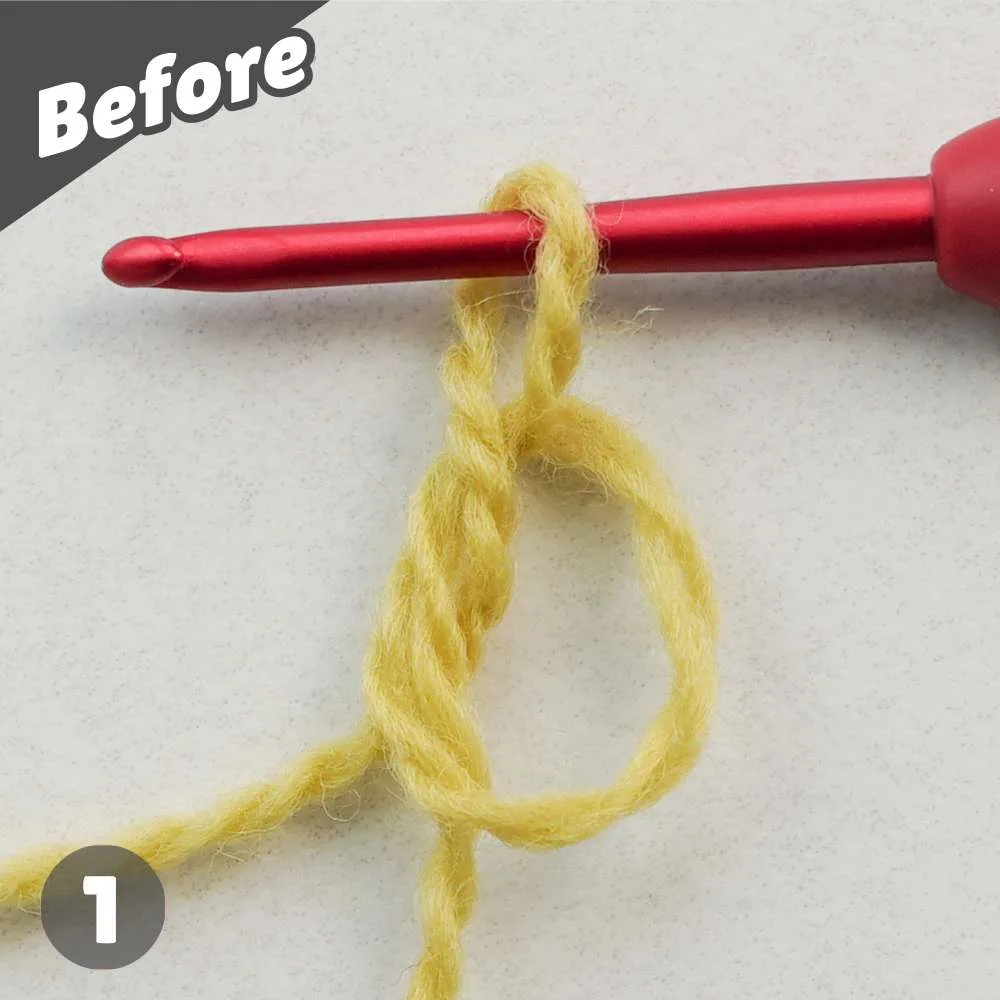
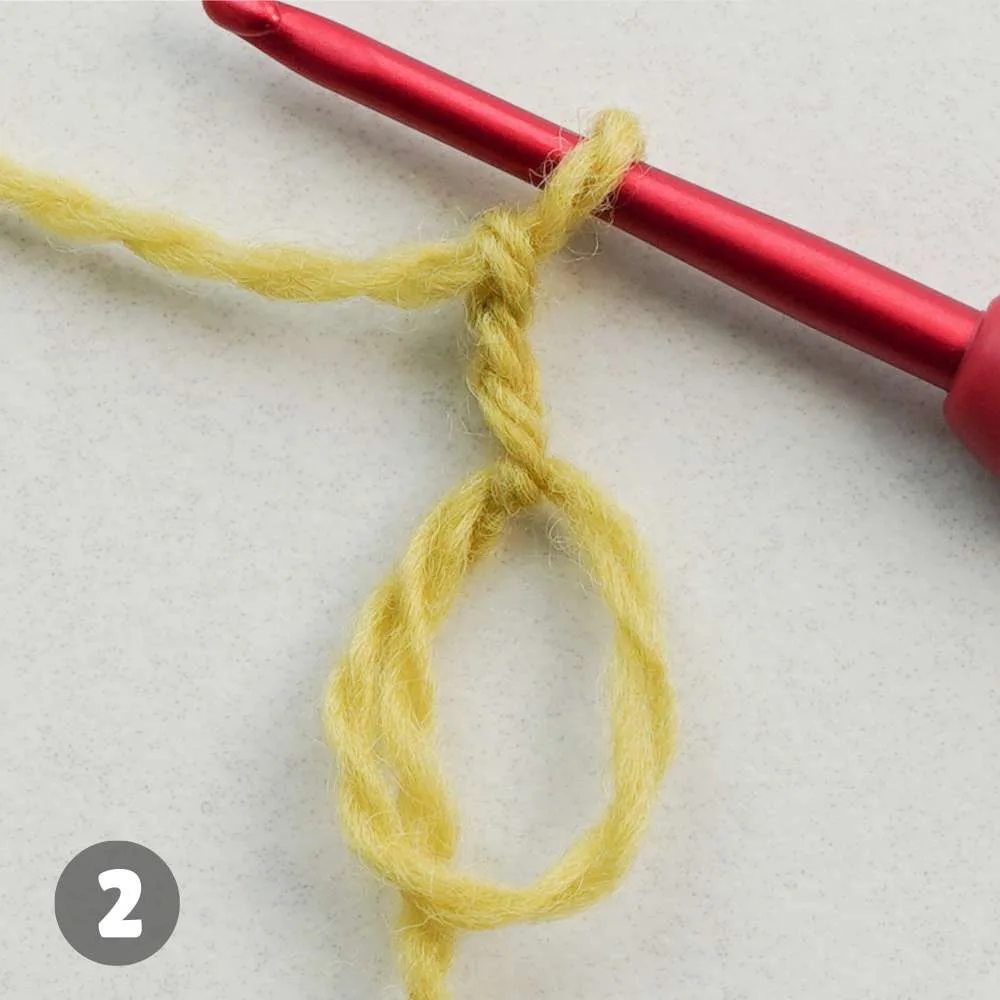
- Round 1Start with a magic loop, ch3 as standing st, 2dc, ch2, 3dc, ch1. Add new color yarn by yo and pull the new yarn through the loop, 3dc, ch2, 3dc, ch1, pull up tightly, hdc to join the top of first ch3.Step by step Step by step: Start with a magic loop. Make ch3 as a standing st. Make another 2 dc then ch2, 3dc, ch1. Add new color of yarn, yarn over, and pull the pink yarn through the loop. Make 3dc, ch2, 3dc, then ch1. Pull the tail tightly. Now, make hdc to join the top of the first ch3. This hdc is working as slst, so we can start the next round in the corner space. Round 1 finished.
- Round 2Flip the workpiece to work on the wrong side, ch3 as standing st, dc in the same corner space, dc in the following 3 sts, 2dc+ch2+2dc in the next corner space, dc in the next 3 sts, 2dc+ch2 in the next corner space. Switch the yarn, 2dc in the same corner space, dc in the following 3 sts, 2dc+ch2+2dc in the next corner space, dc in the next 3 sts, 2dc in the next corner space, hdc to join the top of first ch3.
Step by step Step by step: This is the right side. Flip the workpiece to the wrong side. Now, you should work on the wrong side. Make ch3 as a standing st. Make another dc in the same corner space, dc in the next 3 stitches, 2dc+ch2+2dc in the next corner space, and dc in the next 3 stitches, finally, 2dc in the next corner space. Make ch2, then switch the yarn by yo and pull the green yarn through the loop. Make 2dc in the corner space, then dc in the next 3 stitches, 2dc+ch2+2dc in the next corner space, then dc in the next 3 stitch, and 2dc in the last corner space. Finally, make hdc to join the top of the first ch3. This hdc is working as slst, so we can start the next round in the corner space. Round 2 finished.
- Round 3Flip the workpiece to work on the right side, ch3 as standing st, dc in the same corner space, dc in the following 7 sts, 2dc+ch2+2dc in the next corner space, dc in the next 7 sts, 2dc+ch2 in the next corner space. Switch the yarn, 2dc in the same corner space, dc in the following 7 sts, 2dc+ch2+2dc in the next corner space, dc in the next 7 sts, 2dc in the last corner space, hdc to join the top of first ch3.
Step by step Step by step: Flip the workpiece to work on the right side. Make ch3 as a standing st. Make another dc in the same corner space, dc in the next 7 stitches, 2dc+ch2+2dc in the next corner space, dc in the following 7 stitches, finally, 2dc in the next corner space. Make ch2, then switch the yarn by yo and pull the pink yarn through the loop. Make 2dc in the corner space, dc in the next 7 stitches, 2dc+ch2+2dc in the next corner space, dc in the next 7 stitches, 2dc in the last corner space. Finally, make hdc to join the top of the first ch3. This hdc is working as slst, so we can start the next round in the corner space. Round 3 finished.
- Round 4Flip the workpiece to work on the wrong side, ch3 as standing st, dc in the same corner space, dc in the following 11 sts, 2dc+ch2+2dc in the next corner space, dc in the next 11 sts, 2dc+ch2 in the next corner space. Switch the yarn, 2dc in the same corner space, dc in the following 11 sts, 2dc+ch2+2dc in the next corner space, dc in the following 11 sts, 2dc+ch2 in the next corner space, sl st to the top of first ch3.
Step by step Step by step: Flip the workpiece to work on the wrong side. Make ch3 as a standing st. Make dc in the same corner space, dc in the next 11 stitches, 2dc+ch2+2dc in the next corner space, dc in the following 11 stitches, 2dc in the following corner space. ch2 and switch the yarn by yo and pull the green yarn through the loop. 2dc in the corner space, dc in the next 11 stitches, 2dc+ch2+2dc in the next corner space, dc in the next 11 stitches, 2dc in the last corner space, ch2. Slst to the top of the first ch3. Round 4 finished.
Important notes
💡 Stick with the 3.00mm hook and DK-weight yarn as written for a firm, tidy fabric — going up a hook size loosens the solid look and can leave little gaps between the color blocks
💡 Wind each color into its own small bobbin or keep the balls on opposite sides of you; two loose skeins will tangle fast the moment you start swapping colors each round
💡 Weave in the color-change tails as you go rather than saving them all for the end — a single square only has a few, but a whole blanket's worth becomes a mountain if you let them pile up
💡 Drop a stitch marker into the joining hdc after each round so you can instantly find the corner space where the next round begins, especially when the light is low and the stitches blur together
💡 Give the finished square a gentle wet block or steam and pin the four corners square — solid grannies love a block, and it makes the diagonal seam and corners look professionally crisp
💡 Keep both colors in the same fiber and weight for even tension; mixing a cotton with an acrylic, for example, can make one half of the square pull tighter than the other
📏 Gauge & finished size: worked with a 3.00mm hook, the finished diagonal two-color solid granny square measures about 3.35 × 3.35 inches (roughly 8.5 cm)
More photos
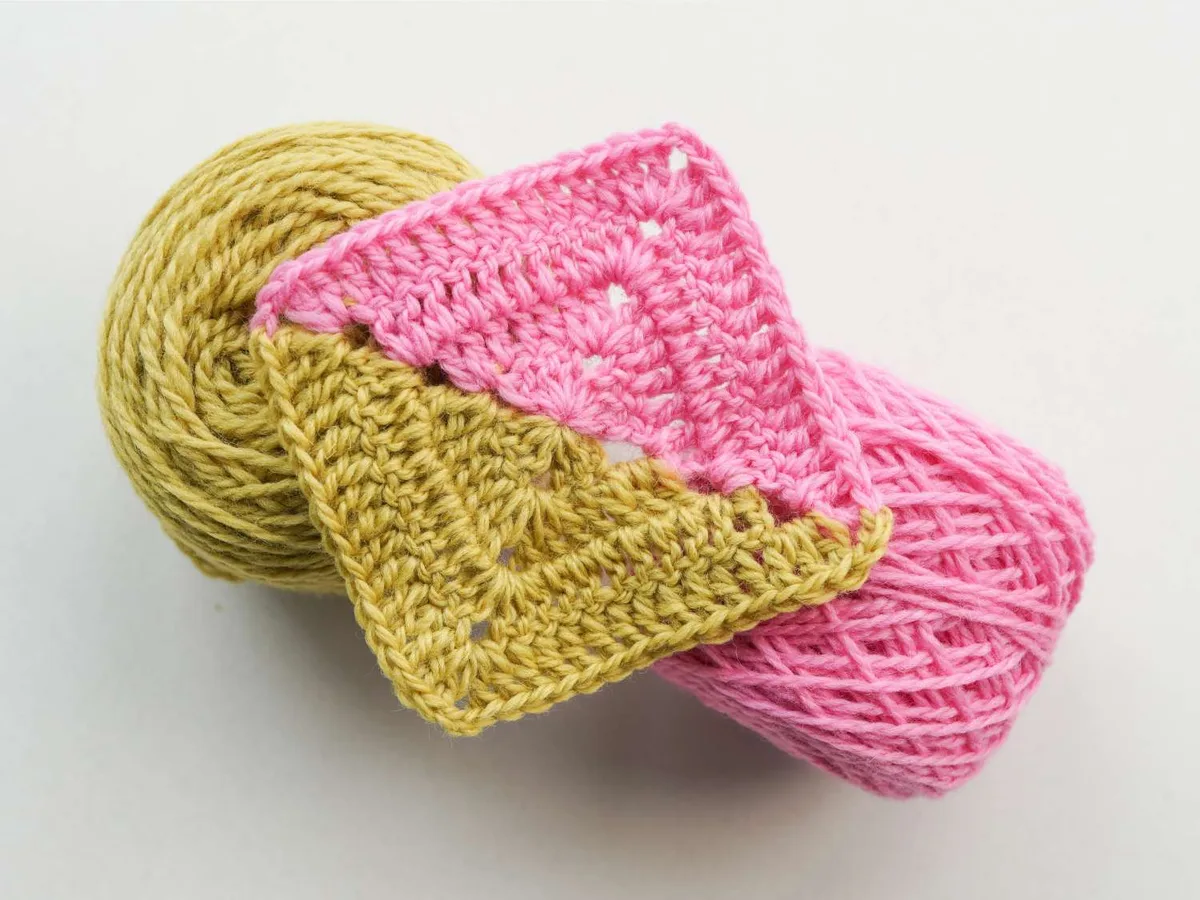
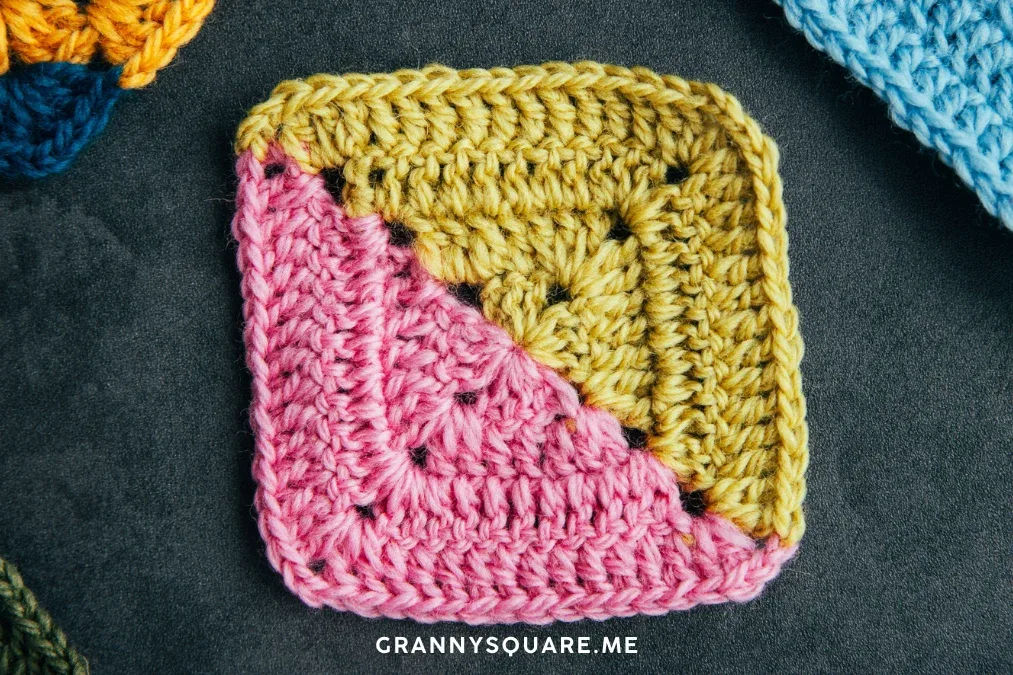
FAQ
How big is one finished square?
a 3.00mm hook, a four-round square measures about 3.35 × 3.35 inches (roughly 8.5 cm) after a light block. Your exact size will shift a little depending on your tension and the specific yarn you choose
Can I make the square larger?
Absolutely — just keep repeating the round pattern, adding another 3-dc group along each side with the same ch-2 corners. Each extra round adds roughly an inch, so two more rounds turns a coaster into a cushion-sized panel
Do I have to use two colors?
Not at all. The diagonal effect comes from the color change, but you can work the whole square in a single shade for a beautifully textured solid motif. It's a great way to practice the stitch rhythm before adding the color swap
Why does the pattern join with an hdc instead of a slip stitch?
The hdc into the top of the first ch-3 acts like a slip stitch while carrying your hook right into the corner space. That means you're perfectly positioned to start the next round in the corner without any extra maneuvering
How do I join a bunch of these into a blanket?
Because the fabric is solid with defined corners, they seam up neatly using whip stitch, mattress stitch, or a join-as-you-go slip stitch along the edges. Keeping one shared color across all squares makes a scrappy multi-color throw feel cohesive
Made your own square?
This site belongs to every crocheter. Share your design with the world — we’ll math-check the counts, polish it up, and publish it free for everyone, credited to you.
🧵 Share your pattern →
0 / 0 rounds