
Free Pattern
Step-by-Step
Crochet
Granny SquaresDuck Granny Square: Free Crochet Pattern
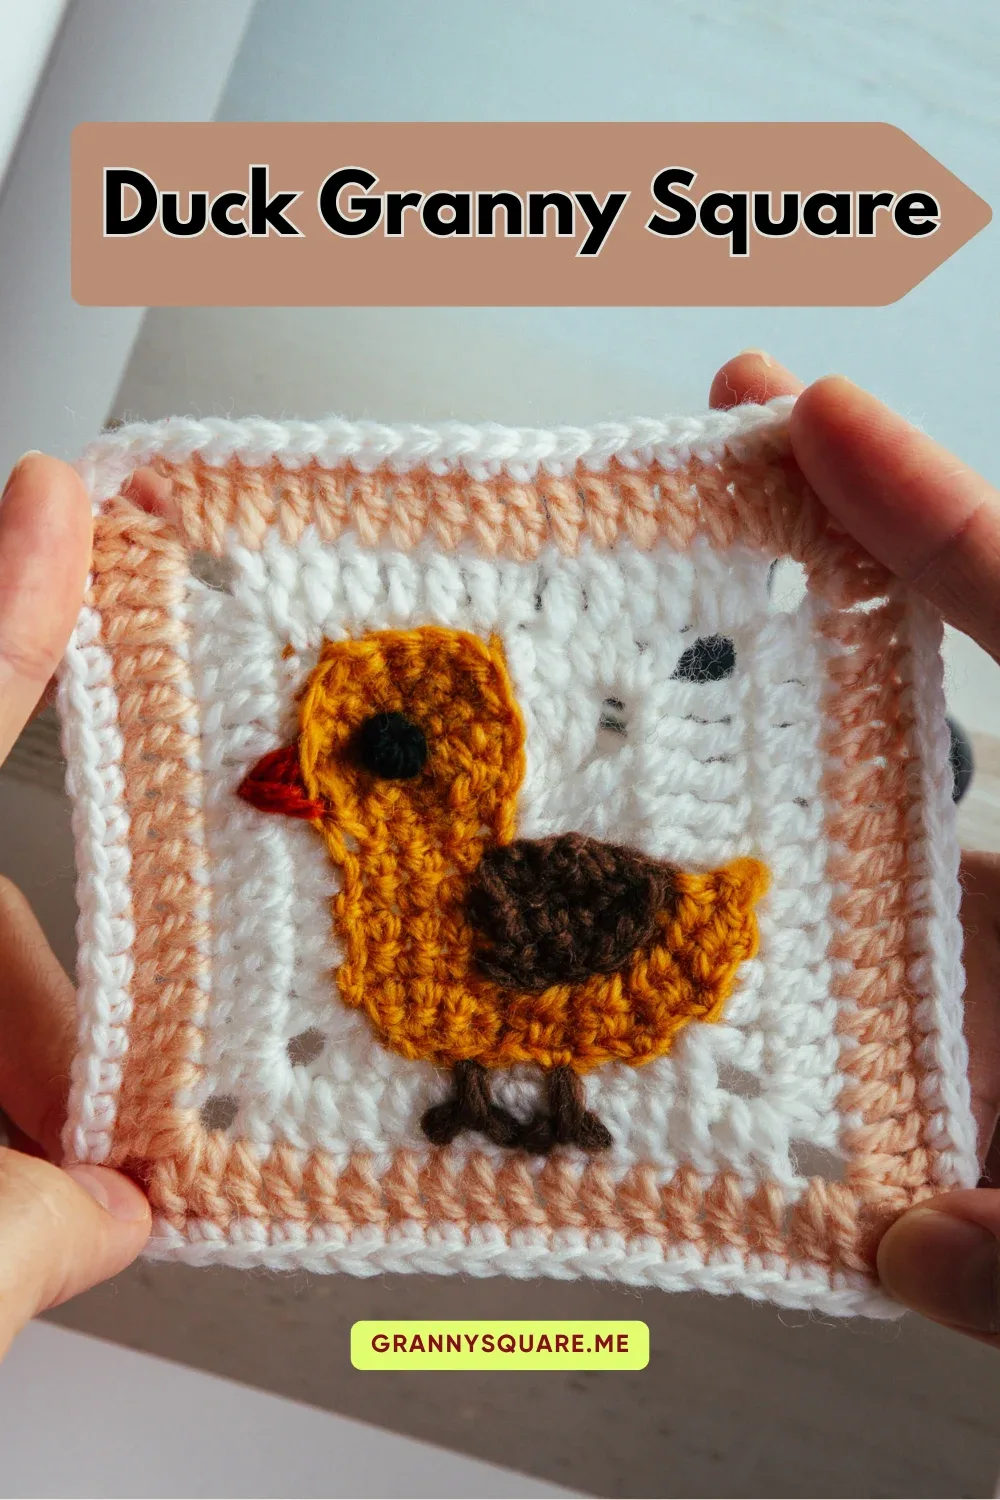
Crochet an adorable duck granny square with this free pattern! A 3.9-inch block with a sweet 3D beak—perfect for baby blankets and spring projects
Level IntermediateTime 2-3 HoursHook 3.00 mmYarn DK
About This Pattern
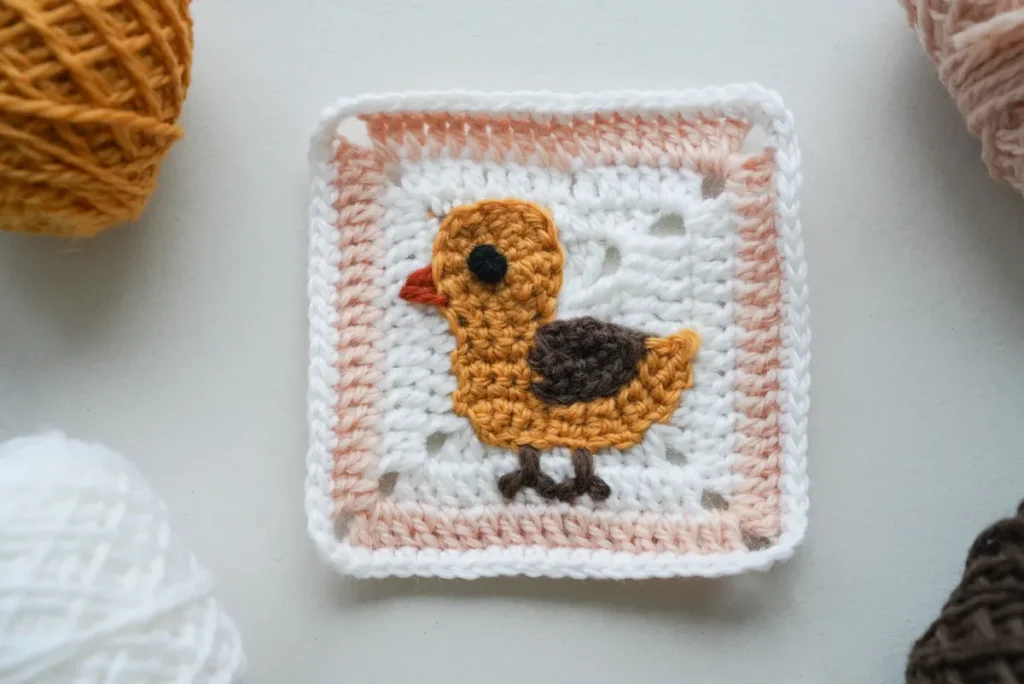
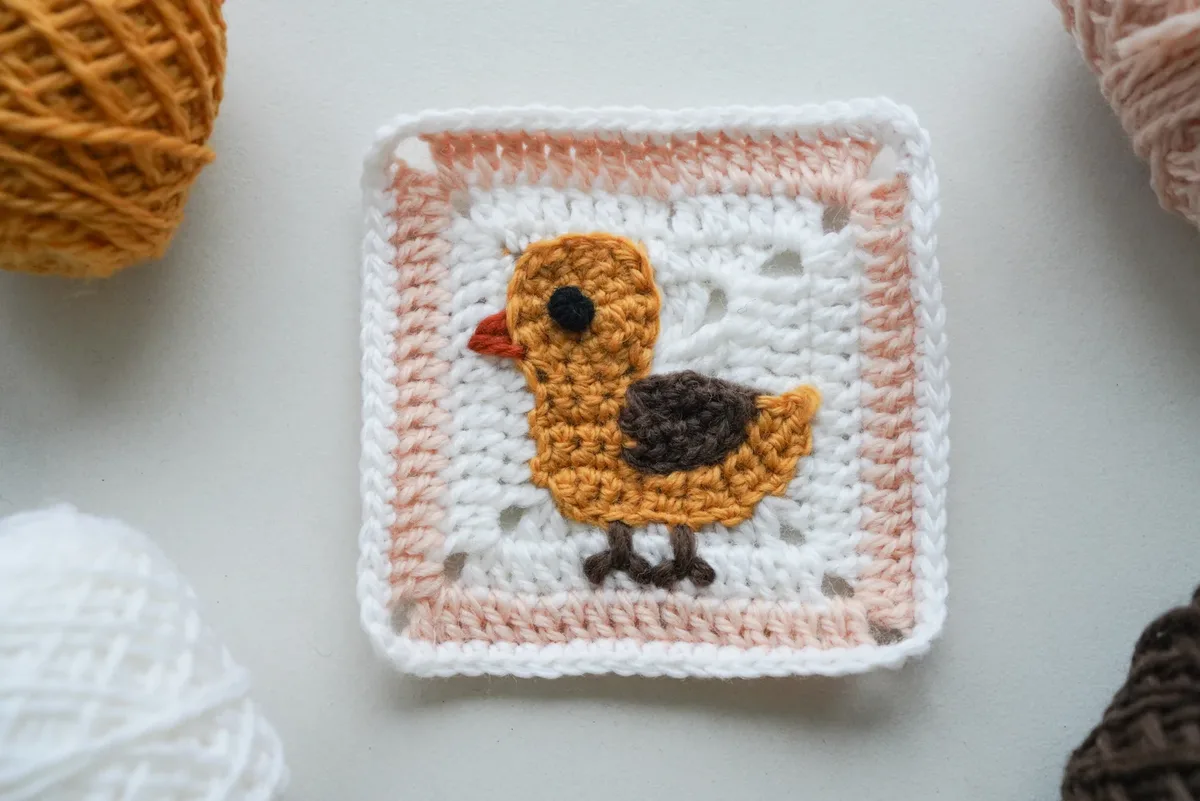
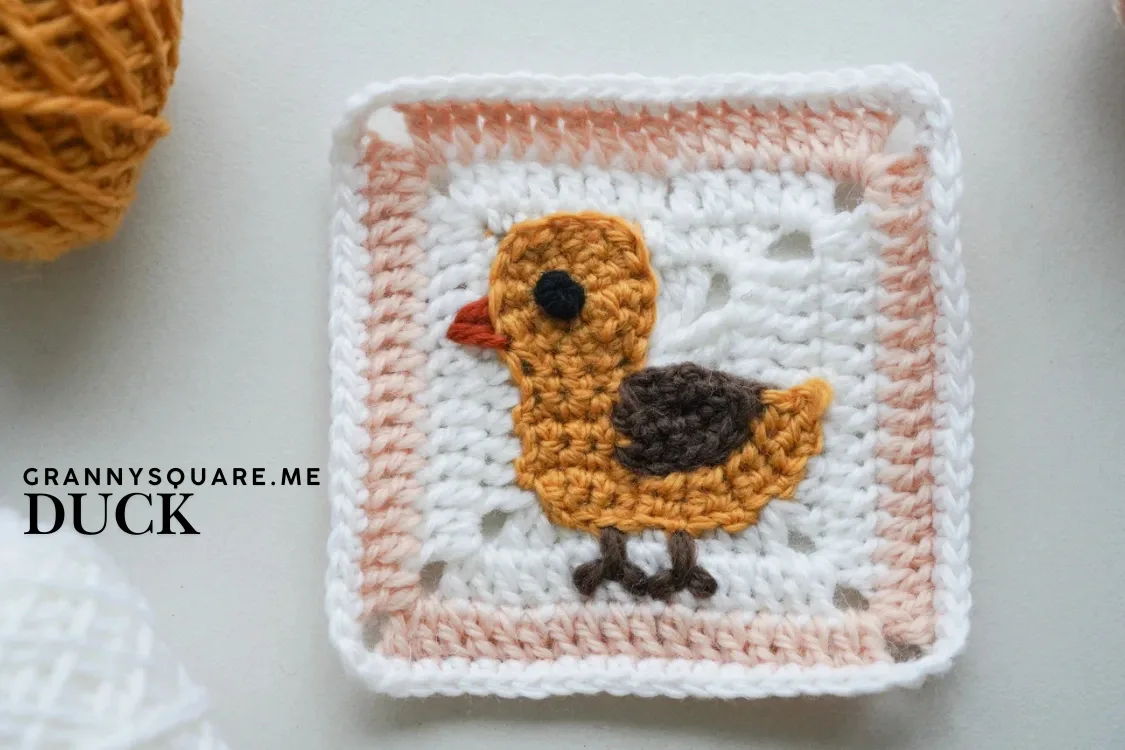
This free pattern creates a granny square with a personality: a plump little duck, complete with a three-dimensional beak that actually pops off the fabric, framed inside a classic square block. What makes it special is the construction — instead of appliquéing a duck onto a plain square, you build the duck first from a magic ring and then crochet the square around her, so everything is worked in one connected piece. It's perfect for crocheters who are bored of plain grannies and want a motif that makes people say 'wait, you MADE that?'
The finished duck granny square measures about 3.9 by 3.9 inches in DK weight yarn on a 3.00mm hook — that snug hook size gives the block a dense, structured feel, so the duck holds her shape beautifully. With four colors in play, each square looks bright and storybook-sweet. One square makes a darling coaster or appliqué for a tote; a whole flock joins into an unforgettable baby blanket, cushion cover, or pram blanket. As a handmade baby shower gift, this little duck is basically unbeatable
Variations
Confession: I've made more of these little ducks than I can count, and the magic never wears off. The construction is just so clever — you start with a simple magic ring circle, and then those turned rows suddenly give the duck her rounded head, like she's hatching right off your hook. But the beak is my favorite part. You join new yarn, chain 5, and work back through the back loops with a sc2tog, and this perfect three-dimensional beak folds itself into shape. It delights me every single time. I also love that the square is worked in DK on a 3.00mm hook, so the fabric is firm and the motif never goes saggy. And because the finished block is only 3.9 inches, each one is a genuinely satisfying single-evening make — instant gratification with a face on it. Fair warning from experience: one finished duck looks lonely sitting on your desk. You will absolutely find yourself starting a second, and then planning a blanket
Common mistakes
- Leaving the magic ring loose before working the 8 single crochet foundation
- Pull the ring tail firmly closed as soon as you've joined Round 1, and give it a second tug after Round 2. The duck's whole body radiates from this ring — a gap here becomes a visible hole in the center of your duck's belly. If your magic rings always loosen, work over the tail for the first few stitches so you can snug it up later, then weave the tail through the ring path twice before trimming
- Forgetting that the standing ch-2 counts as the first hdc in the increase round
- In Round 3, the ch-2 IS your first half double crochet, and the hdc worked into the same stitch completes the hdc-inc. If you chain 2 and then work a full hdc-inc (two more hdc) in that stitch, you'll gain an extra stitch every repeat and the circle will ruffle. Count your stitches after the round and remember to slip stitch into the top of that ch-2 to close, not into the stitch beside it
- Working the head rows in the round instead of turning
- Once you hit the 'Turn over, ch1 + 1sc, 3sc' section, you're in short rows, not rounds — the head is shaped by working back and forth over just a few stitches. If you keep spiraling around the circle, the head never rises and your duck stays a pancake. Physically flip the work at the end of each row, and check that the right side and wrong side are alternating as you go
- Crocheting the beak chain through both loops instead of back loop only
- The beak is worked into the back loop only (BLO) of the 4 chains after you chain 5 and skip 1. Working through both loops makes a stiff, flat tab instead of a beak that folds naturally into a bill shape. Turn the chain so the back bumps or back loops face you, and work your slip stitch, sc2tog, and sc through just that one loop — the free loop is what lets the beak curve
- Cutting the yarn at 'set the loop aside for later use.'
- When the pattern says to set the loop aside, it means keep that stitch live — you'll come back to it after the beak is made. Snipping the yarn here means an awkward rejoin and a visible bump on the duck's face. Pull the loop up long or slip a stitch marker or safety pin through it so it can't unravel while you rotate the piece and work the beak
- Rotating the wrong way before joining yarn for the beak
- The pattern specifically says to rotate the piece 90 degrees anticlockwise before joining new yarn to the outer loop of the final sc from Row 5. Rotate clockwise and the beak ends up sprouting from the back of the head. Lay the duck flat, right side up, turn it a quarter-turn to the left, and double-check you're joining into the outer (free) loop of the correct stitch before chaining 5


Intermediate
Materials
- Yarn of your choice- 4 colors, the sample is made with DK sports
- Crochet hook- we are using a 3.00mm hook
- Darning Needle
- Scissors
Main Pattern
- Round 1Start with a magic ring, ch1, 8sc in this ring, sl st to the first sc.
- Round 2ch1+1sc, sc-inc. *1sc, sc-inc* rep 3 times, sl st to the first sc.
- Round 3ch2 as a standing st(count as 1hdc), make another hdc in the same st to form a hdc-inc, 2sc. *hdc-inc, 2sc* rep 3 times, sl st to the top of the first ch2.Row 4 (ch1+1sc) in this st, 3sc.Row 5-7 For Each Row: Turn over . ch1+1sc, 3sc.Row 8 Turn Over . ch2, sk2, 2sc. Set the loop aside for later use. SWING OF DUCK
- Round 9Rotate it 90 degrees anticlockwise. Join new yarn to the outer loop of the final sc from Row 5, ch5.
- Round 10sk1, BLO of next 4 chains: slst in the 4th ch, sc2tog, 1sc in 1st ch. slst to the joining loop, ch1, 1sc in the outer loop of next Row 6.
- Round 11Turn over . work sts in Row 11: 2sc, sl st.
- Round 12Turn Over . ch1. sk the slst, 2sc, sl st to the outer loop of next Row 7.
- Round 13Turn Over . ch1. Work the following sts along the edge of the wing: sk1, 2sc, sc inc, 1sc, slst.
- Round 14Continue from Row 9, insert your hook into the loop we left. Make 1sc in each of the two posts, sl st to the third loop of the first sc from Row 14.Row 15 Turn Over. ch1, 1sc in each of the 2sc from the previous Row.
- Round 16Turn over. ch1, 2sc. sl st to the third loop of the second sc from Row 14.Row 17 Turn over. ch1, 2sc.
- Round 18Turn over. ch1, 2sc. sl st to the third loop of the first sc from the sc-inc in Row 14.Row 19 Turn over. ch1, 2sc.
- Round 20Row 20
- Round 21Turn over. ch1, 2sc. sl st to the third loop of the second sc from the sc-inc in Row 14.Row 21 Turn over. ch1, 2sc.
- Round 22Turn Over . ch1, 1sc, ch-1 pic, 1sc, sl st to the third loop of the final sc from Row 14.TURN IT INTO A SQUARERound 23 Add new yarn in the third loop of the tip of the wing. Work 3tr in TLO of the stitch where the neck joins the body.Now we back to the beginning sts: 3tr, (2tr+ch3+1dc+1hdc) in next ch-sp, 2hdc, sl st to the top of the first ch2.
Now we will work around the whole duck motif in either the third loop or the outer loop for a dimensional effect. ch3, (2tr+1dc), sk2, sl st to the third loop of next st. ch2, 4sc, (1sc+ch2+1sc), 3sc, 5hdc. (1dc+ch3+1dc), 2hdc, 4sc, 2hdc, (1dc+ch3+1dc), 2hdc, 2sc.
- Round 24Round 24
- Round 25Ch3 as a standing st(count as 1dc), dc in remaining sts, while (2dc+ch3+2dc) in each corner sp, end this round with slst to the top of the first ch3, fasten off.
- Round 25Join new yarn to any st , ch3 as a standing st(count as 1dc), 1dc in each remaining st, while (2dc+ch3+2dc) in each corner sp, end this round with slst to the top of the first ch3, fasten off.
- Round 26Join new yarn to any st, ch1, 1sc in each st, 3sc in each corner sp, finish with slst to the first sc, fasten off.Feet: Embroider two small feet at the bottom of the duck's body. Use a few straight stitches to create webbed-looking feet.Eyes: Work a French knot at the center-top area of the duck's head (above the beak)to create a round, dimensional eye.
Duck Details: Beak, Eye & Feet Beak: Embroider a small triangular beak on the front of the duck's head.
Row 16-18
- Round 16Turn over. ch1, 2sc. sl st to the third loop of the second sc from Row 13.Row 17: Turn over. ch1, 2sc.
- Round 18Turn over. ch1, 2sc. sl st to the third loop of the first sc from the sc-inc in Row 13.Ch3 as a standing st(count as 1dc), dc in remaining sts, (2dc+ch3+2dc) in each corner sp, end this round with slst to the top of the first ch3, fasten off.Join new yarn to any st , ch3 as a standing st(count as 1dc), dc in remaining sts, (2dc+ch3+2dc) in each corner sp, end this round with slst to the top of the first ch3, fasten off.
Row 19-21
Row 19: Turn over. ch1, 2sc.
- Round 20Turn over. ch1, 2sc. sl st to the third loop of the second sc from the sc-inc in Row 13.Row 21: Turn over. ch1, 2sc.
Important notes
💡 The 3.00mm hook is deliberately small for DK weight yarn — it creates a tight, structured fabric so the duck motif doesn't gape or sag. If your tension runs tight and the fabric feels like cardboard, go up to 3.25mm, but resist jumping to 4mm or the square will come out noticeably larger and floppier than 3.9 inches
💡 Because the turning ch-1 doesn't count as a stitch, drop a stitch marker into the first real sc of every round and row. This pattern moves between rounds, turned rows, and rejoined yarn, and the marker is what saves you when it's time to slip stitch closed or find 'the final sc from Row 5.'
💡 Secure the live loop with a locking stitch marker the moment you set it aside for the beak. You'll be rotating the piece and joining new yarn right next to it, and an unsecured loop loves to unzip itself exactly then
💡 With four colors in one small square, leave 6-inch tails at every join and weave them in with your darning needle as you finish each section, not all at the end. Tails woven along same-color stitches disappear completely; a big cleanup session at the end almost always shows on the front
💡 The sc2tog in the beak should be worked snugly — it's the decrease that gives the bill its taper. If your beak looks blunt or boxy, redo the sc2tog with slightly tighter tension and make sure you skipped the first chain after the ch-5 as written
💡 If you're making a flock for a blanket, block every square to exactly 3.9 x 3.9 inches before joining. Pin each one out on a foam mat, mist with water, and let them dry flat — motif squares like this have denser and lacier zones, and unblocked ones never quite line up at the corners
More photos
FAQ
What size is the finished duck granny square?
Worked in DK weight yarn with a 3.00mm hook as written, the square comes out to about 3.9 by 3.9 inches (roughly 10 cm). Your exact size will shift a little with your personal tension, which is why blocking matters if you're joining multiples
Can I use worsted weight yarn instead of DK?
Absolutely — pair worsted with a 4.00mm hook and you'll get a square closer to 4.5–5 inches with no pattern changes. Just make all your squares in the same yarn and hook so they match when joined
Why does my duck's beak look flat instead of three-dimensional?
The beak only pops if you work into the back loop only of those 4 chains after the ch-5, and keep the sc2tog snug. Working through both loops of the chain flattens it into a tab — pull it out, find the back loops, and it'll fold into a proper little bill
Is this pattern okay for a confident beginner?
If you're comfortable with magic rings, hdc increases, and turning your work, yes — the trickiest moments are the short rows that shape the head and the beak's back-loop construction. Take those two sections slowly and count stitches after every round, and a confident beginner can finish it
How do I join duck squares into a baby blanket?
A single crochet join on the wrong side gives a sturdy, tidy seam that stands up to washing; a whip stitch through back loops is flatter if you prefer an invisible finish. Decide on duck orientation before you join — all swimming the same way looks classic, while rotating alternate squares gives a playful scattered-flock effect
Made your own square?
This site belongs to every crocheter. Share your design with the world — we’ll math-check the counts, polish it up, and publish it free for everyone, credited to you.
🧵 Share your pattern →
0 / 0 rounds