
Free Pattern
Step-by-Step
Crochet
Granny SquaresKiwi Granny Square: Free Crochet Fruit Square Pattern
Free kiwi granny square crochet pattern with 6 easy rounds, hdc increases and back-loop seeds. Make a juicy 3.35-inch fruit square in one sitting!
Level IntermediateTime 1-2 HoursHook 3.00 mmYarn DK / Sport
About This Pattern
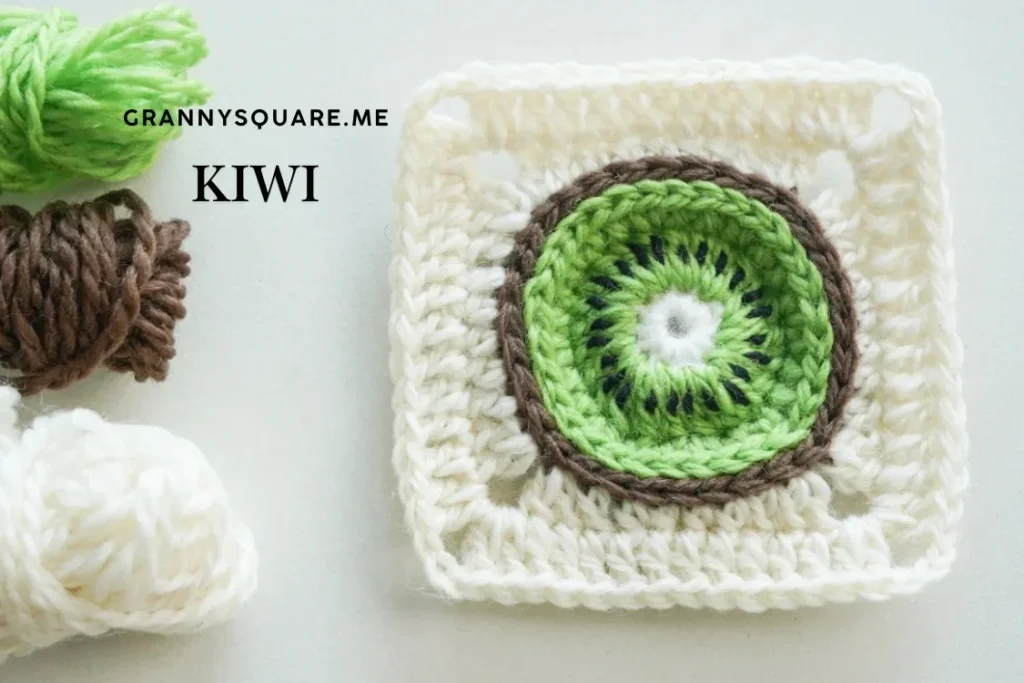
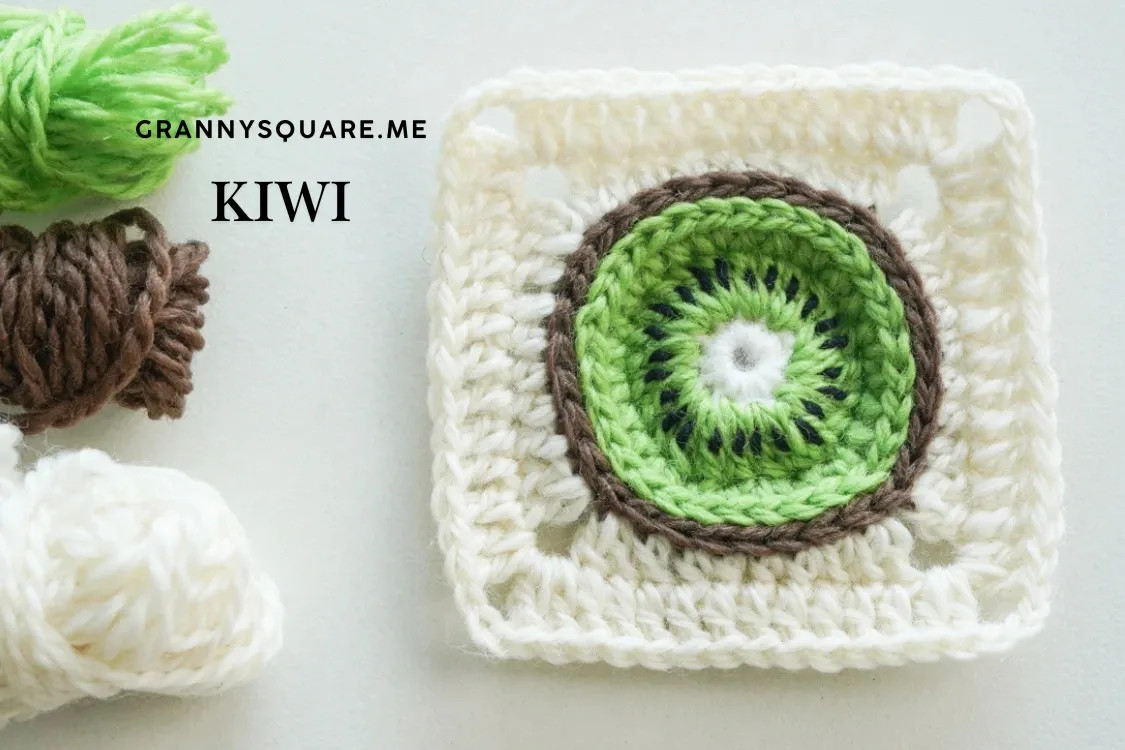
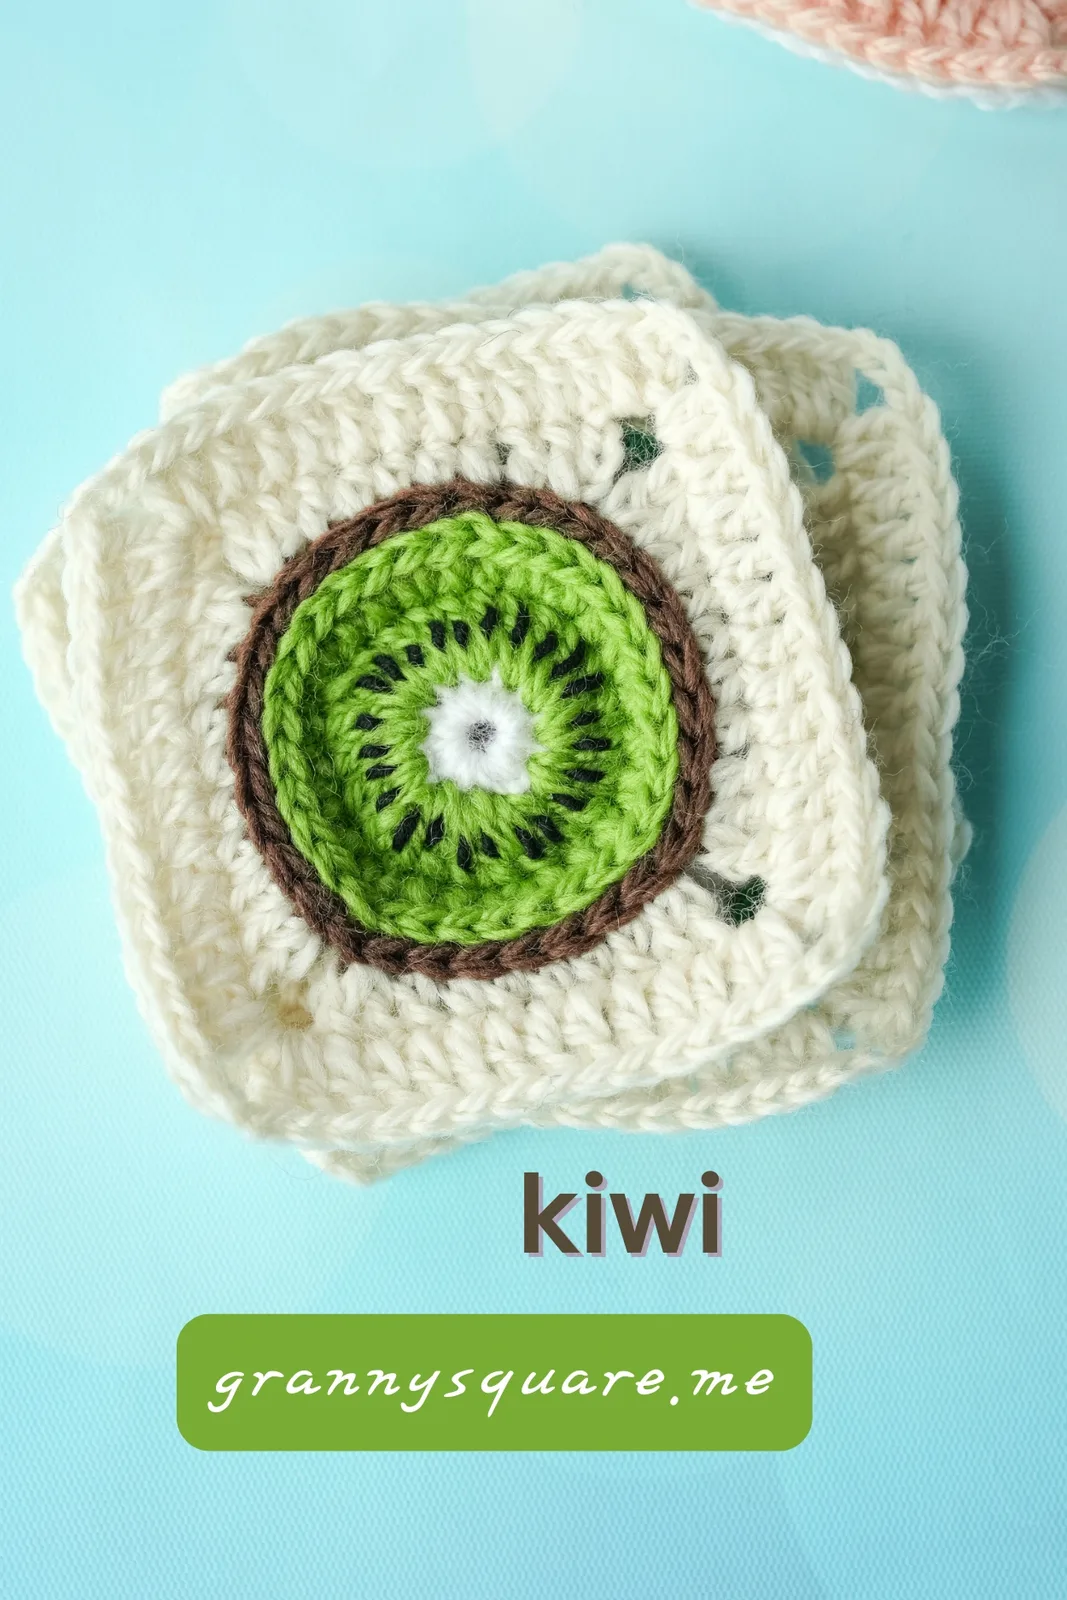
This pattern turns four small balls of yarn into a perfect little slice of kiwi — a 3.35-inch granny square with a pale seed heart, a ring of dark seeds, a bright green flesh circle and that unmistakable fuzzy brown skin around the edge. It builds outward from a magic ring in six tidy rounds, then squares itself off in the final round with corner ch-3 spaces. It's ideal for anyone who loves fruit-themed crochet, wants a joyful stash-buster, or is collecting squares for a fruit-salad blanket
The techniques are friendly but not first-project simple: you'll work a magic ring with 12 sc, a full round of dc-increases, two rounds of hdc-increases spaced with plain hdc, and then a back-loop-only (TLO) round that creates the crisp ridge separating the kiwi flesh from its skin. The final round shapes the circle into a square using dc-increases, hdc groupings and ch-3 corners, finishing with the ch-1 plus hdc join that closes the last corner invisibly. Expect roughly one to two relaxed hours
Finished in DK or sport-weight yarn on a 3.00 mm hook, the square measures about 3.35 inches by 3.35 inches — small enough that a stack of them grows fast, big enough that every seed and colour change reads clearly. It lies flat, feels dense and squishy thanks to all those hdc stitches, and looks genuinely appetising. Sew a dozen into a summer throw, back one with felt for a coaster, or gift a single square as a bookmark-sized bit of handmade cheer
Variations
I have made a lot of fruit squares, and the kiwi is the one I keep coming back to. What I love most is how honest the construction is — you can literally watch the fruit build itself. Round 1 is that tiny 12 sc magic ring that becomes the pale core. Round 2's dc-increases blow it up into a proper circle in a single round, which is so satisfying after all those fiddly amigurumi rounds I usually work. Then the two hdc-increase rounds do the quiet work: hdc-inc, 2 hdc, over and over, until you have a smooth green disc with no wobbly edges. My favourite moment is the TLO round in brown. That one small change — working into the back loop only — leaves a raised ridge on the front that reads exactly like the line where kiwi flesh meets fuzzy skin. It's such a cheap trick for such a convincing result. And the final round is pure magic: dc-inc, 1 dc, 4 hdc, 1 dc, dc-inc, ch 3, and suddenly your circle has corners. Six rounds, four colours, one very convincing piece of fruit
Common mistakes
- Working all 12 sc into the magic ring but pulling the ring closed before checking the count
- Count your 12 sc before you tug the tail. Every later round is built on this number — the dc-increase round doubles to 24, then the hdc rounds increase off that — so a magic ring with 11 or 13 stitches throws off every repeat that follows. Slide the stitches around the loop and count twice, then close firmly and weave the tail through the back of the ring so it can't work loose
- Counting the starting ch-3 as a separate stitch instead of as the first dc of the increase
- the dc round the ch-3 counts as 1 dc, and the dc you work immediately after it completes the first dc-increase. If you treat ch-3 as a turning chain and then work two full dc, you gain an extra stitch and the circle starts to ruffle. The same logic applies to the ch-2 on the hdc rounds — ch-2 IS your first hdc, so only one more hdc is needed to make that first increase
- Forgetting the TLO instruction on the sc round and the final round
- Both the brown sc round and the shaping round begin with TLO — back loop only. Working through both loops there flattens the ridge and you lose the crisp line between kiwi flesh and skin. Before you start each of those rounds, tilt the work toward you and make sure you can see the front loops sitting free above your hook. If you've already gone a few stitches in through both loops, frog back — that ridge is the whole visual payoff
- Losing track of the *hdc-inc, 2 hdc* repeat and ending the round short
- That repeat runs 7 more times after the initial set, for 8 groups total. It's easy to lose your place halfway around a green blur. Drop a stitch marker into the first stitch of each new group, or say the rhythm out loud — 'increase, one, two' — as you go. If you reach the slip stitch and the count feels off, spread the round flat: the increases should sit like evenly spaced spokes, and any bunching means you doubled an increase
- Fastening off after every round but joining the new colour into the wrong stitch
- This pattern fastens off at the end of most rounds and tells you to join new yarn to any stitch — and 'any' really does mean any, because the rounds are symmetrical. The trap is joining into a slip stitch or into the top of the previous round's starting chain by accident, which creates a visible gap. Join into the middle of a clean stitch, and stagger where you start each round so all the joins don't stack into one seam line
- Working the final round's ch-3 corners too tightly or omitting the last one incorrectly
- The final round is dc-inc, 1 dc, 4 hdc, 1 dc, dc-inc, ch-3 repeated, but the last repeat omits the final ch-3 — instead you ch-1 and work 1 hdc back into the top of the first ch-3 to form the fourth corner. Skipping that substitution leaves one corner noticeably baggier than the other three. Keep the ch-3 corners relaxed and even; tight corners will cup the square and make it refuse to lie flat for seaming


Intermediate
Materials
- Yarn of your choice —4 colors; the sample is made with DK Sports. The finished granny square is about 3.35 inches by 3.35 inches.
- Crochet hook- we are using a 3.00mm hook
- Darning Needle
- Scissors
Main Pattern
- Round 1the center ring Magic ring, ch1 to start, 12sc, sl st to the first sc, fasten off.
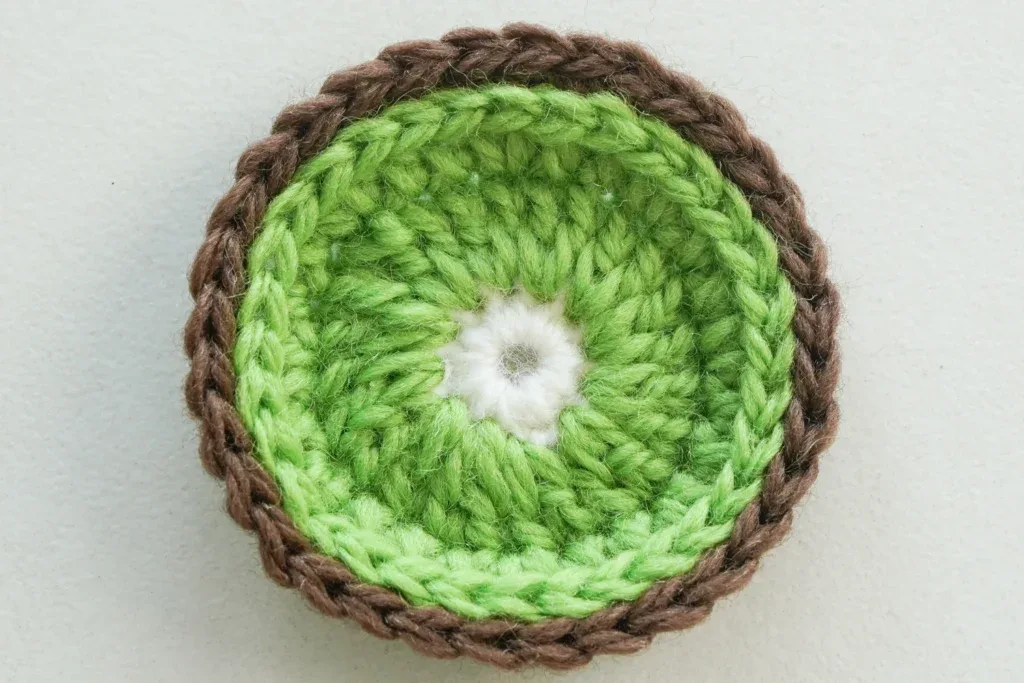
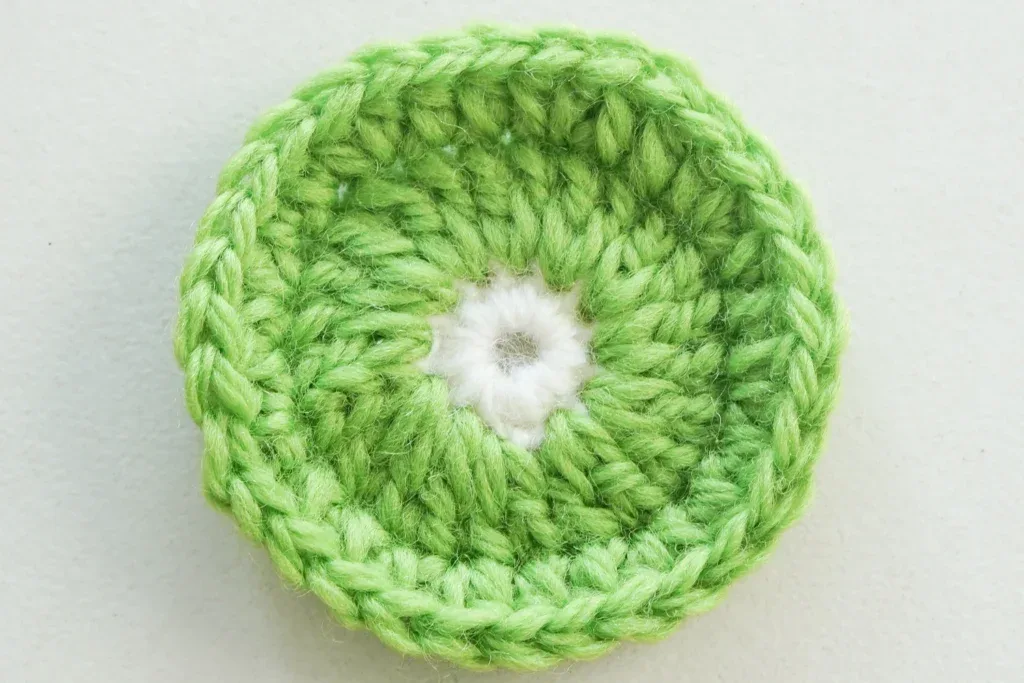
- Round 2green flesh Join new yarn to any st, ch3(count as 1dc)+1dc to form a dc-inc, dc-inc in remaining sts, sl st to the top of the first ch3.
- Round 3ch2 as a standing st(count as 1hdc)+1hdc to form a hdc-inc, 2hdc. *hdc-inc, 2hdc*rep 7 times, sl st to the top of the first ch2, fasten off.
- Round 4brown skin TLO . Join new yarn to any st, ch1+1sc, sc in remaining sts, sl st to the first sc, fasten off.
- Round 5start turn it into a square TLO . Join new yarn to any st, ch3 as a standing st(count as 1dc)+1dc to from a dc-inc. 1dc, 4hdc, 1dc, dc-inc, ch3. *dc-inc, 1dc, 4hdc, 1dc, dc-inc, ch3* rep 3 times omitting final ch3. ch1, 1hdc connects back to the first ch3.
- Round 6Ch3 as a standing st(Count as 1dc)+1dc. (2dc+ch3+2dc) in each remaining corner, dc in remaining sts. 2dc in the start corner, ch3, sl st to the true dc after first ch3, fasten off.
Important notes
💡 The sample uses DK/sport-weight yarn with a 3.00 mm hook, which is a hook size smaller than most DK labels recommend. That's intentional — the tighter fabric keeps the seed round from showing gaps and stops the square from stretching out of its 3.35-inch shape when you seam it
💡 You need four colours, but only tiny amounts of each. A single 25 g ball of each shade will make roughly a dozen squares, so this is a genuinely great scrap-buster. Wind small butterflies of each colour before you start rather than dragging whole balls around
💡 Place a stitch marker in the first stitch of each round right after you join, not in the join itself. Because most rounds fasten off and rejoin, the marker's real job is helping you recount the round, not tracking the start
💡 Don't cut your tails short. Every round fastens off, which means this little square generates a lot of ends — leave at least 6 inches on each so you can weave securely with the darning needle. Weave the dark seed-round tails into dark stitches and the green tails into green so nothing shows through
💡 Block before you seam. A quick steam or wet block on the finished square opens up the hdc rounds, squares up the ch-3 corners and makes a stack of squares match each other in size — essential if you're joining a dozen into a blanket
💡 If your circle ruffles at the edge before the final round, your increases are too many or your tension loosened; if it cups into a bowl, you're working too tightly. Check after the second hdc-increase round while it's still quick to fix, rather than discovering it once the brown skin round is done
More photos
FAQ
How big is the finished kiwi granny square?
The sample measures about 3.35 inches by 3.35 inches using DK/sport-weight yarn and a 3.00 mm hook. Your size will shift a little with your tension and yarn choice, so if you're making squares for a blanket, make two and compare before committing to a whole batch
What does TLO mean in this pattern?
TLO means through the loop only — work into the back loop only of each stitch instead of both loops. It's used on the brown sc round and the final shaping round to create a raised ridge on the front of the square, which is what gives the kiwi its convincing skin line
Can I use worsted-weight yarn instead of DK?
Absolutely — just move up to a 4.00 mm or 4.5 mm hook and expect a finished square closer to 4.5 inches. Keep the stitch counts exactly the same; only the scale changes, so all your squares will still match as long as you use the same yarn weight throughout the project
Do I really have to fasten off after every round?
the colour changes, yes — fastening off and rejoining gives you the cleanest colour transitions with no dragged strands showing through the light-coloured rounds. If two consecutive rounds share a colour you can carry on without cutting, but the seed and flesh rounds are too high-contrast to fudge
How many squares do I need for a blanket?
roughly 3.35 inches each, a baby blanket around 30 by 40 inches needs about 9 squares across and 12 down, so 108 squares plus seaming. Many crocheters mix kiwi squares with other fruit squares or plain solid squares to break up the pattern and cut the total number of fruit squares in half
Made your own square?
This site belongs to every crocheter. Share your design with the world — we’ll math-check the counts, polish it up, and publish it free for everyone, credited to you.
🧵 Share your pattern →
0 / 0 rounds