
Free Pattern
Step-by-Step
Crochet
Granny SquaresLarge Snowflake Granny Square – Free Crochet Pattern
Crochet a large snowflake granny square with this free 8-round pattern. A striking two-color winter motif for blankets, cushions, and cozy home decor
Level IntermediateTime 1-2 HoursHook 3.00 mmYarn DK
About This Pattern
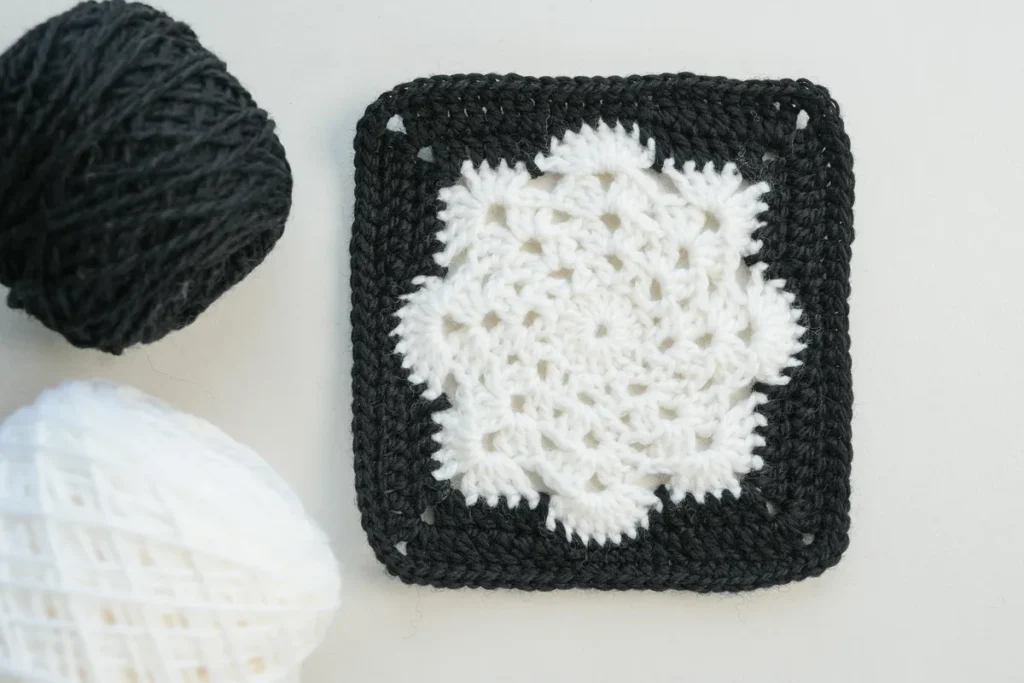
This Large Snowflake Granny Square turns eight tidy rounds into a bold, star-bright snowflake framed inside a classic square. What makes it special is the way the pattern uses contrasting chain-loops and clusters to draw the snowflake's six arms right into the fabric — no appliqué, no embroidery, just clever stitch placement. It's perfect for crocheters who love granny squares but want something with more personality, and for anyone building a winter blanket, cushion cover, or festive garland that needs a little frosty magic
You'll lean on familiar techniques here — double crochet clusters, chain-space loops, corner groups, and one clean color change between the snowflake and its background. If you can work a traditional granny square and keep your tension even, you're ready for this one. The only real skill jump is managing two colors and counting your chain-loops so the arms stay symmetrical. Most crocheters finish a single square in about one to two hours, making it a genuinely satisfying afternoon project rather than a marathon
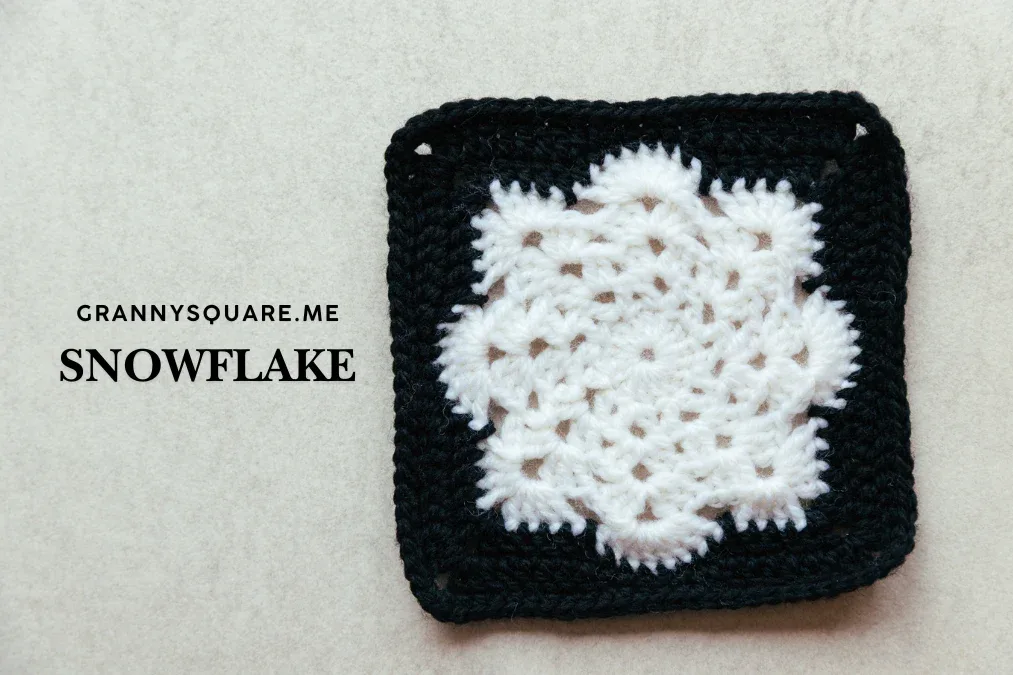
The finished square measures roughly 5.1 × 5.1 inches on a 3.00 mm hook, giving you a crisp, medium-firm motif that holds its shape beautifully once blocked. In the classic black-and-white shown here it looks like a snowflake against the night sky — timeless and graphic. Stitch a stack of them together and you've got a heirloom-worthy winter throw; make just one and it's an instant coaster, ornament backing, or gift-topper. It's the kind of small make that feels far more impressive than the time it takes
Variations
I have a soft spot for this square because it does something sneaky and delightful — the snowflake isn't sewn on, it's built right into the rounds using nothing but clusters and chain-loops. Watching those six arms appear as you change from your snowflake color to the background is honestly the best part; round five or six is where it suddenly reads as a real snowflake and I always catch myself grinning. I love that it's only eight rounds, so you get that full finished-object hit in an hour or two instead of an entire evening. The two-color change is clean and forgiving, the corners square up crisply, and blocking the finished piece to sharpen those points feels like the crafting equivalent of a satisfying stretch. It's portable, repeatable, and weirdly addictive — I told myself I'd make one and ended up with a little pile. Whether you're planning a whole winter blanket or just want one striking coaster, this square rewards you way more than its stitch count suggests
Common mistakes
- Losing count on the chain-loops that
- Count every chain in each loop as you go and place a stitch marker at the start of each arm on the round where they're established. If one arm looks short, it's almost always a missing chain — rip back to that loop rather than fudging the next round
- Pulling the color change too tight
- Complete the last yarn-over of the final stitch in the old color with your new color, then keep that first background stitch relaxed. A gently even tension across the transition round keeps the join invisible
- Crowding or spreading the corners so
- Each corner needs the full corner group (typically 3 dc, ch, 3 dc) worked into the same corner space — no more, no less. If edges ripple you've added stitches; if corners cup, you've skipped the chain space
- Working the cluster stitches too
- Keep your cluster yarn-overs snug and pull the closing loop firm so the clusters stand proud. Going down a quarter hook size just for practice squares can help you feel the right tension
- Starting each round in the wrong spot
- Always begin the round in the designated corner or chain space the pattern names, and use the standing/turning chain count exactly. Marking round starts stops the diagonal 'lean' that misaligns the snowflake
- Skipping blocking and wondering why the
- Wet-block or steam-block the finished square, pinning the four corners into a true square and coaxing the arm tips outward. Blocking is what turns a good snowflake into a crisp, sharp-pointed one


Intermediate
Materials
- Yarn of your choice- 2 color
- Crochet hook – we are using a 3.00mm hook
- Darning Needle
- Scissors
How to Crochet Large Snowflake Granny Square
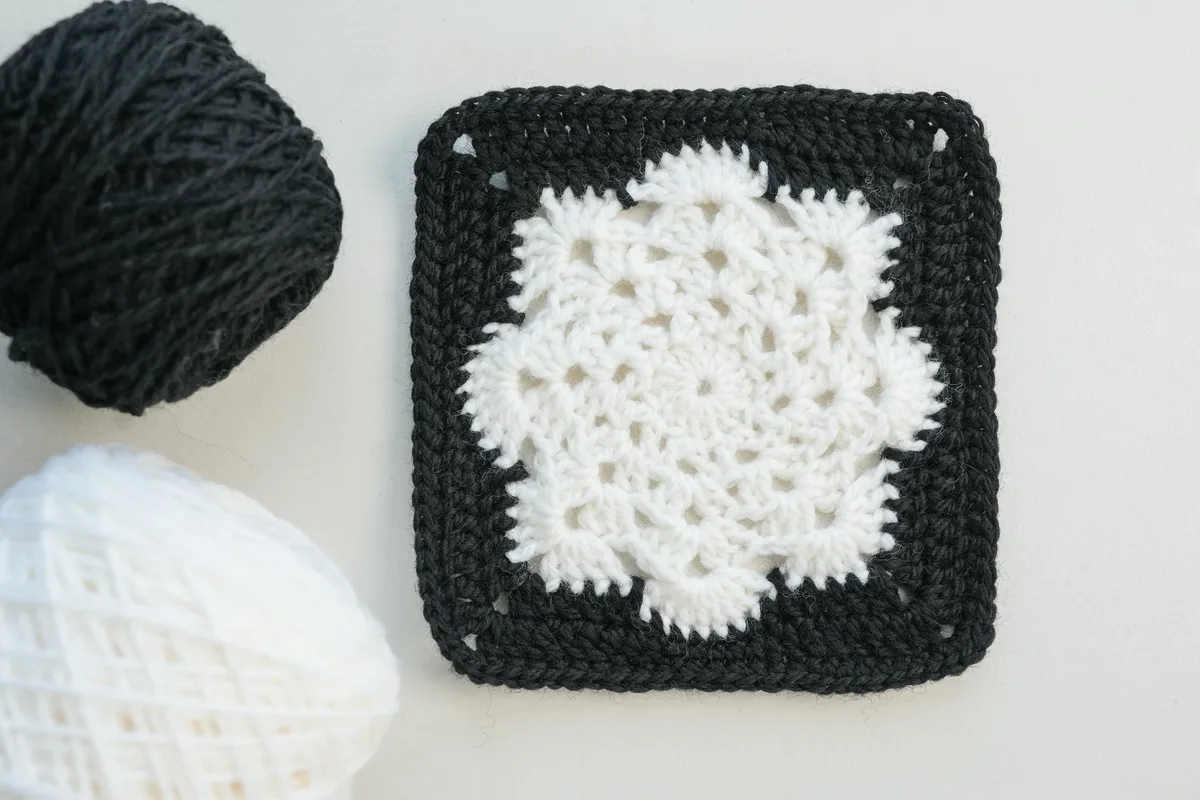
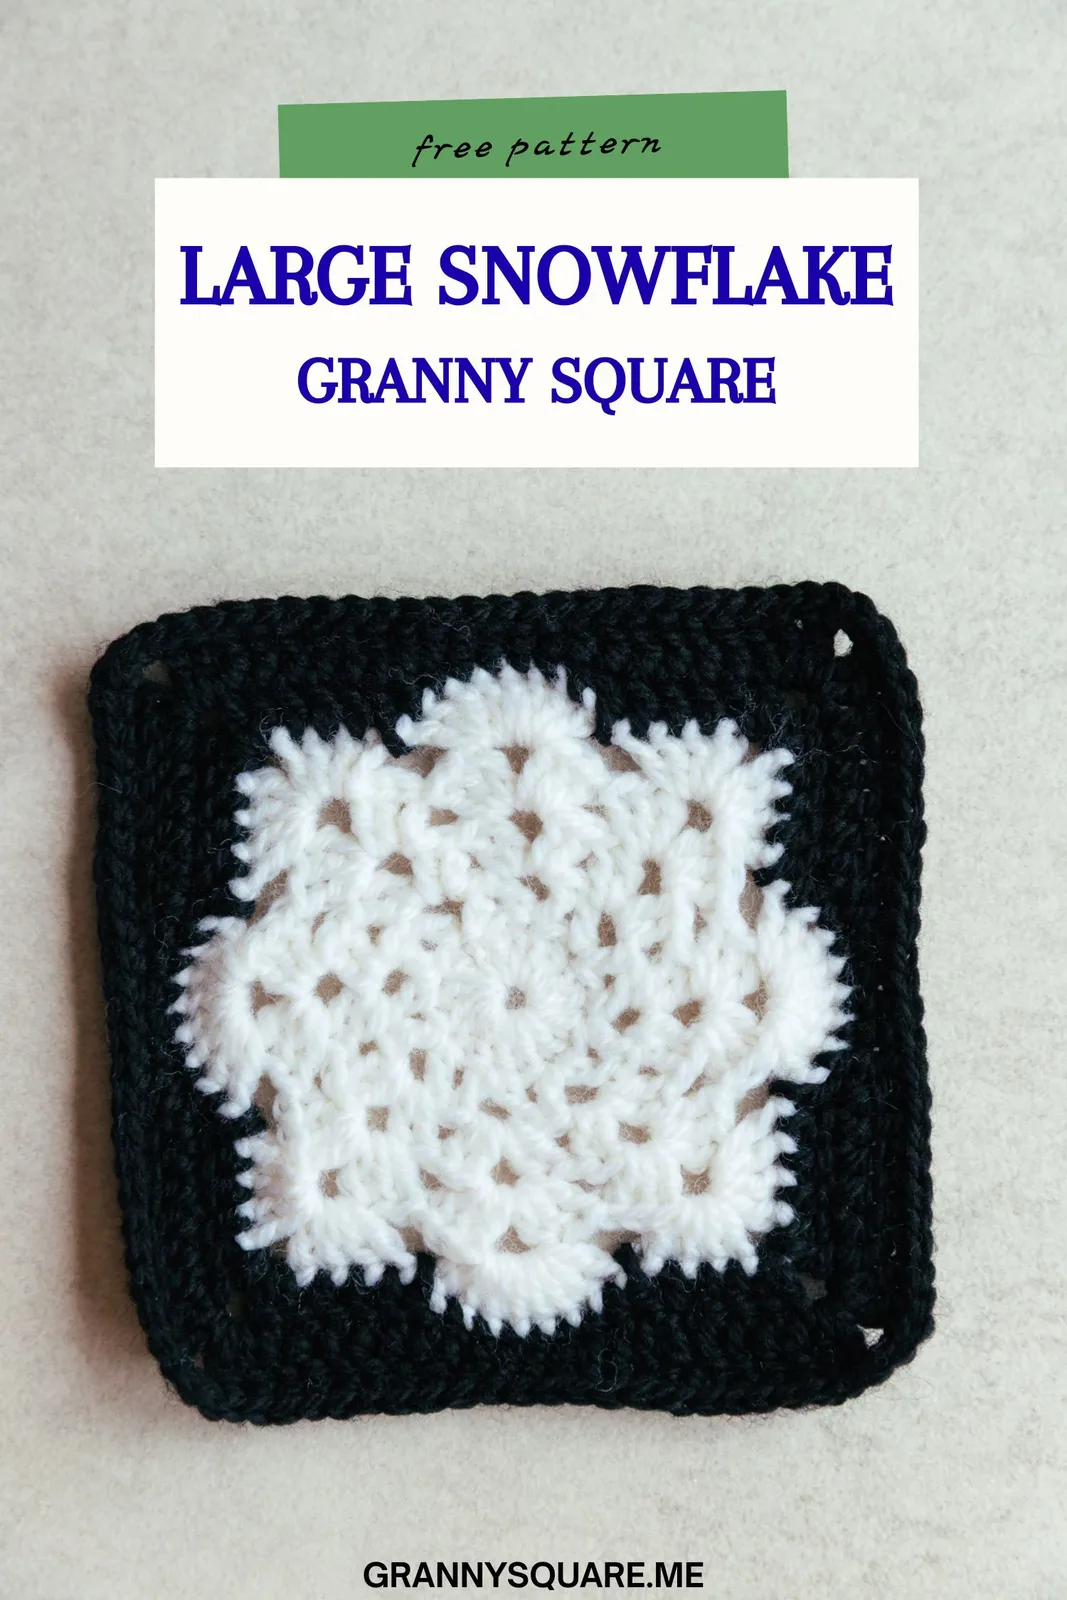
This granny square features an intricate snowflake motif worked in crisp white against a charcoal frame, creating a striking contrast with delicate openwork that mimics nature's frozen lace.
- Round 1Magic ring, ch3(count as dc), 15dc, sl st to the top of ch3 (16).Step by step Start with a magic loop. Make ch3 as a standing st (count as dc). Then make another 1dc in the loop. Make 14dc in the loop, sl st to the top of the first ch3. Round 1 finished. (16)
- Round 2ch3(count as dc)+ch2+dc, [Sk 1, dc+ch2+dc] repeat 7 times, sl st to the top of first ch3 (16).Step by step Make ch3 (count as 1dc), then continue to make ch2. Make 1dc in the same st. Skip 1, dc+ch2+dc in the next st. [Skip 1, dc+ch2+dc in the next st] repeat 6 times, sl st to the top of first ch3. Round 2 finished. (16)
- Round 3Sl st to next st to start in ch-sp, ch3(count as dc)+dc+ch2+2dc, [2dc+ch2+2dc in the next ch-sp] repeat 7 times, sl st to the top of first ch3 (32).(32)
Step by step Sl st to the next st so we can start in the ch-sp. Or you can cut off the yarn and add new yarn in the ch-sp. Ch3 as a standing st (count as 1dc). 1dc in the ch-sp. Ch2, and 2dc in the same ch-sp. [2dc, ch2, 2dc in the next ch-sp] repeat 7 times, sl st to the top of first ch3. Round 3 finished.
- Round 4Sl st in next 2 sts to start in ch-sp, ch3(count as dc)+2dc+ch2+3dc, [3dc+ch2+3dc in the next ch-sp] repeat 7 times, sl st to the top of first ch3 (48).(48)
Step by step Sl st in the next 2 stitches, so we can start in the ch-sp. You can also cut off the yarn and add new yarn in the ch-sp. ch3 as a standing stitch (count as dc). Make 1dc in the same ch-sp. dc+ch2+3dc in the same ch-sp. [3dc+ch2+3dc in the next ch-sp] repeat 7 times, sl st to the top of first ch3. Round 4 finished.
- Round 5Sl st in next 3 sts to start in ch-sp, ch3(count as dc)+3dc+ch2+4dc, 8dc in next ch-sp, [4dc+2ch+4dc in the next ch-sp, 8dc in the next ch-sp] repeat 3 times, sl st to the top of first ch3, fasten off (64).Step by step Sl st to the next stitch. Sl st in the next 2 stitches so we can start in the ch-sp. ch3 as a standing st (count as dc). dc in the ch-sp. 2dc+ch2+4dc in the same ch-sp. 8dc in the next ch-sp. [4dc+2ch+4dc in the next ch-sp, 8dc in the next ch-sp] repeat 3 times, sl st to the top of first ch3, fasten off. Round 5 finished. (64)
- Round 6New yarn in top of the second dc st of one 4dc+ch2+4dc group, ch3(count as dc), 2dc, 2dc+ch2+2dc in the next ch-sp, 4dc, hdc, 5sc, hdc, dc, [3dc, 2dc+ch2+2dc in the next ch-sp, 4dc, hdc, 5sc, hdc, dc] repeat 3 times, sl st to the top of first ch3.Step by step Add new yarn in top of the second dc st of one 4dc+ch2+4dc group. ch3 as a standing st (count as dc). dc, dc. 2dc+ch2+2dc in the next ch-sp. dc in the following 4 sts. hdc, sc in the next 5 sts, hdc, dc. [3dc, 2dc+ch2+2dc in the next ch-sp, 4dc, hdc, 5sc, hdc, dc] repeat 3 times, sl st to the top of first ch3. Round 6 finished.
- Round 7ch3(count as dc), 4dc, 2dc + ch2 + 2dc in the next corner space, 6dc, hdc, 5sc, hdc, dc, [5dc, 2dc+ch2+2dc in the next corner space, 6dc, hdc, 5sc, hdc, dc] repeat 3 times, sl st to the top of first ch3 (92).Step by step ch3 as a standing st (count as dc). dc in the next 4 sts. 2dc + ch2 + 2dc in the next corner space. dc in the next 6 sts, hdc, sc in the next 5 sts, hdc, dc. [dc in the next 5 sts, 2dc+ch2+2dc in the next corner space, dc in the next 6 sts, hdc, sc in the next 5 sts, hdc, dc] repeat 3 times, sl st to the top of first ch3. Round 7 finished. (92)
- Round 8ch+sc, 6sc, 3sc in the next corner space, 16sc, [7sc, 3sc in corner, 16sc] repeat 3 times, sl st to the first sc, fasten off (104).Step by step Make ch1 as a standing st. sc in the same st, sc in the next 6 sts. 3sc in the next corner space. sc in the next 16 sts. [sc in the next 7 st, 3sc in the next corner space, sc in the next 16 sts] repeat 3 times, sl st to the first sc, fasten off. Round 8 finished. (104)
Important notes
💡 Stick with the 3.00 mm hook for the 5.1-inch finished size — if your tension runs loose, drop to a 2.75 mm so the clusters stay dense and the snowflake reads sharply
💡 Place a stitch marker at the start of each round and in the first corner space; on an 8-round square, a drifting start point is the number-one cause of a skewed snowflake
💡 Manage your two colors by carrying the unused strand loosely up the back rather than cutting each time, but only across a round or two — long carries can shadow through a light background
💡 Change color on the very last yarn-over of the previous stitch so the new round starts clean, and leave 6-inch tails so you have room to weave in securely along the color join
💡 Count your chain-loops on the arm-forming rounds before moving on — fixing a miscount now takes seconds, but it's a full round to rip back later
💡 Block every square to the same measured dimensions if you're joining several; consistent blocking is what keeps a multi-square blanket from turning wavy at the seams
More photos
FAQ
What size does one large snowflake granny square end up?
Worked in DK-weight yarn on a 3.00 mm hook, the finished square measures about 5.1 × 5.1 inches. Your exact size will shift slightly with your tension and yarn, so make one test square before cutting a whole batch to length
Do I need two colors, or can I make it in one?
Two colors is what makes the snowflake pop against its background, and it's how the pattern is designed. You can absolutely work it in a single color for a subtle tonal texture, but the snowflake shape will be much quieter without the contrast
Is this pattern suitable for a confident beginner?
If you can already make a basic granny square and keep even tension, you can handle this. The only new challenges are one clean color change and counting the chain-loops that form the arms, both of which are very manageable over just eight rounds
How many squares do I need for a blanket?
roughly 5.1 inches each plus seams, a lap blanket runs about 6 squares wide by 8 tall (48 squares), while a generous throw is closer to 8 by 10 (80 squares). Crochet a swatch of your join first so you can plan the finished dimensions accurately
Why won't my square lie flat?
A rippling edge usually means extra stitches crept into the sides, while cupped corners mean a corner chain space was missed. Recount your corner groups, then wet-block the finished square — pinning the corners square almost always solves a stubborn wave
Made your own square?
This site belongs to every crocheter. Share your design with the world — we’ll math-check the counts, polish it up, and publish it free for everyone, credited to you.
🧵 Share your pattern →
0 / 0 rounds