
Free Pattern
Step-by-Step
Crochet
Granny SquaresLion Granny Square – Free Crochet Pattern with Mane and Ears
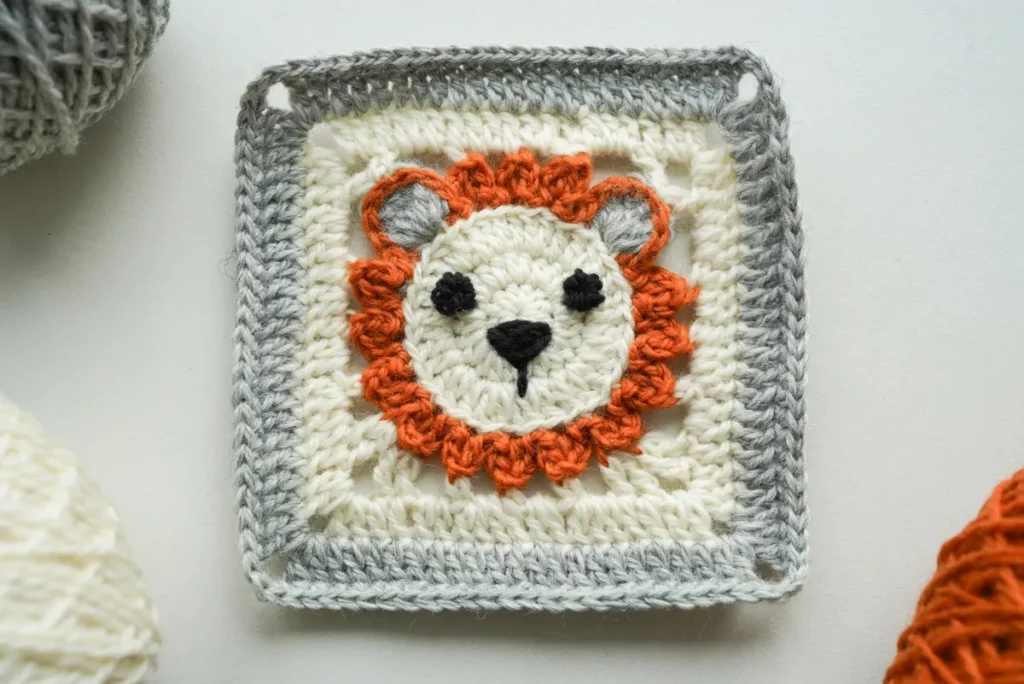
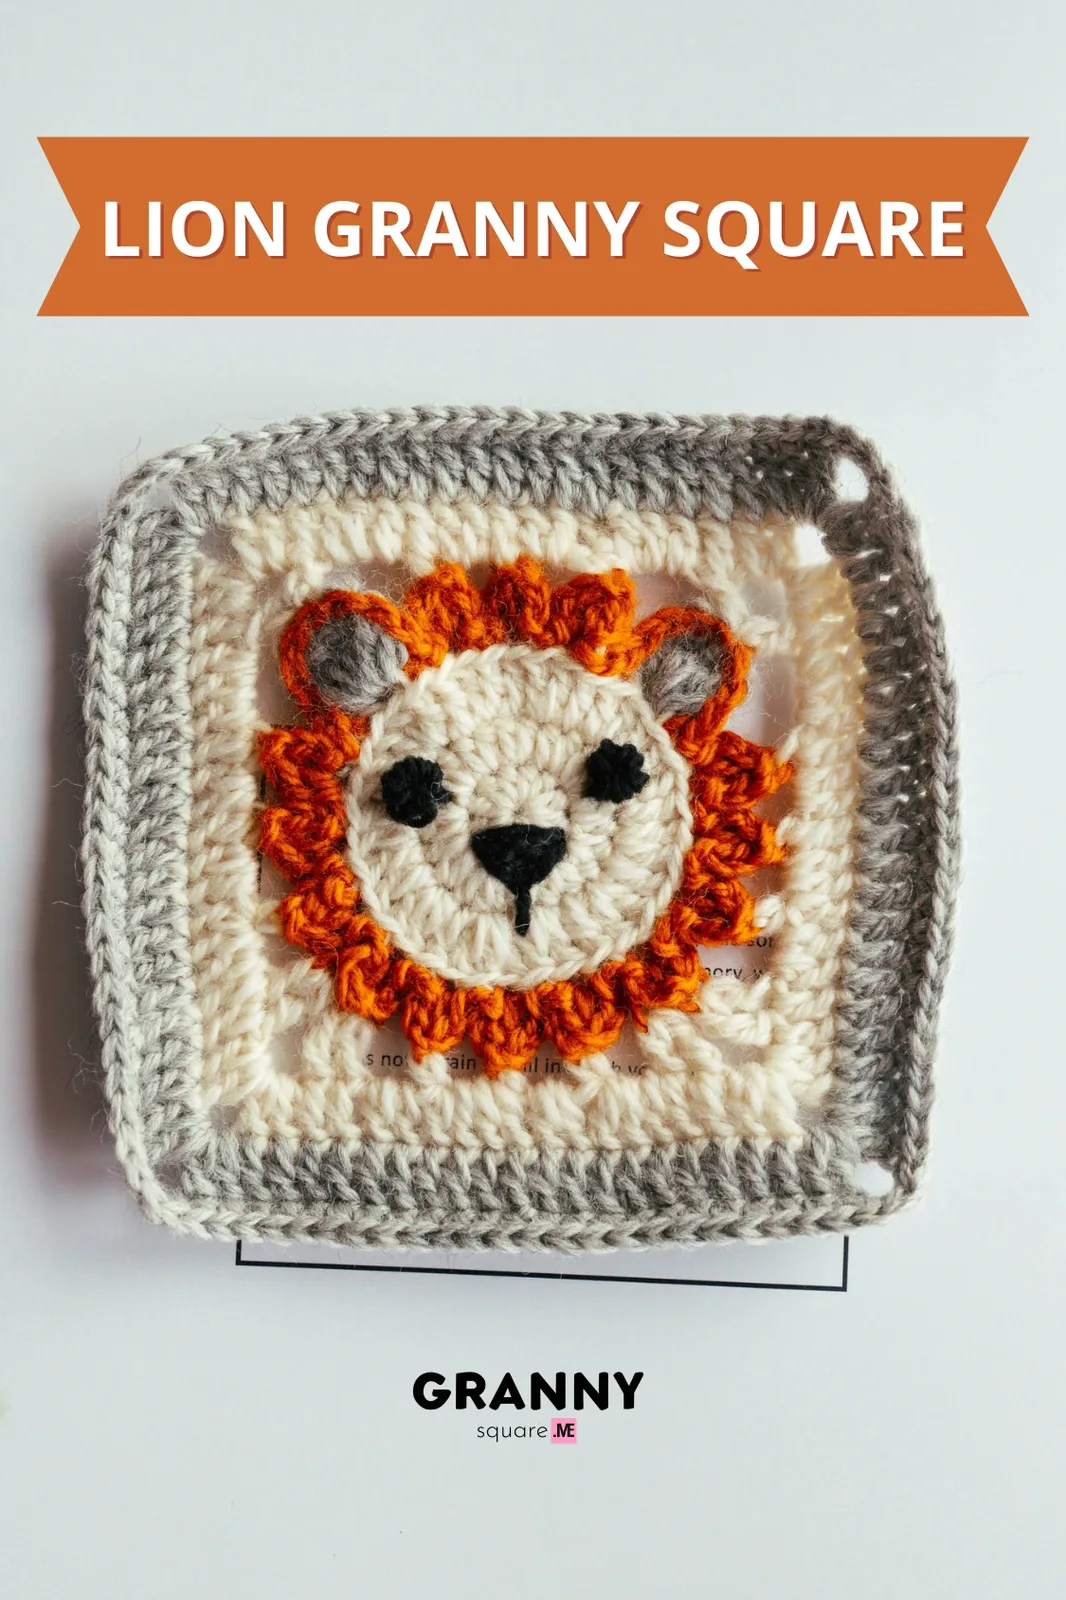
Free lion granny square crochet pattern with a picot mane, hdc increases and gray ears. Beginner-friendly 4.9-inch square in DK yarn and a 3mm hook
Level Easy IntermediateTime 1-2 HoursHook 3.00 mmYarn DK / Sport
About This Pattern
This pattern turns a plain circle-into-square motif into a little lion face, complete with a shaggy orange picot mane and two gray ears worked right into the same round. It starts with a magic ring and 11 hdc, grows through two rounds of hdc increases, then opens out with dc-inc rounds before the mane round transforms it. It's perfect for anyone who loves granny squares but wants a motif with personality, and for crocheters building a safari or zoo-themed blanket one animal at a time
You'll use a magic ring, half double crochet increases, double crochet increases worked in a 1dc / dc-inc rhythm repeated 11 times, back loop only joining, and a ch-1 picot tucked between two hdc to make each tuft of mane. The trickiest part is the mane round, where orange and gray alternate frequently to place the ears among the tufts. Nothing here is advanced, but it does ask for attention. Most crocheters finish a square in one to two hours once the rhythm clicks
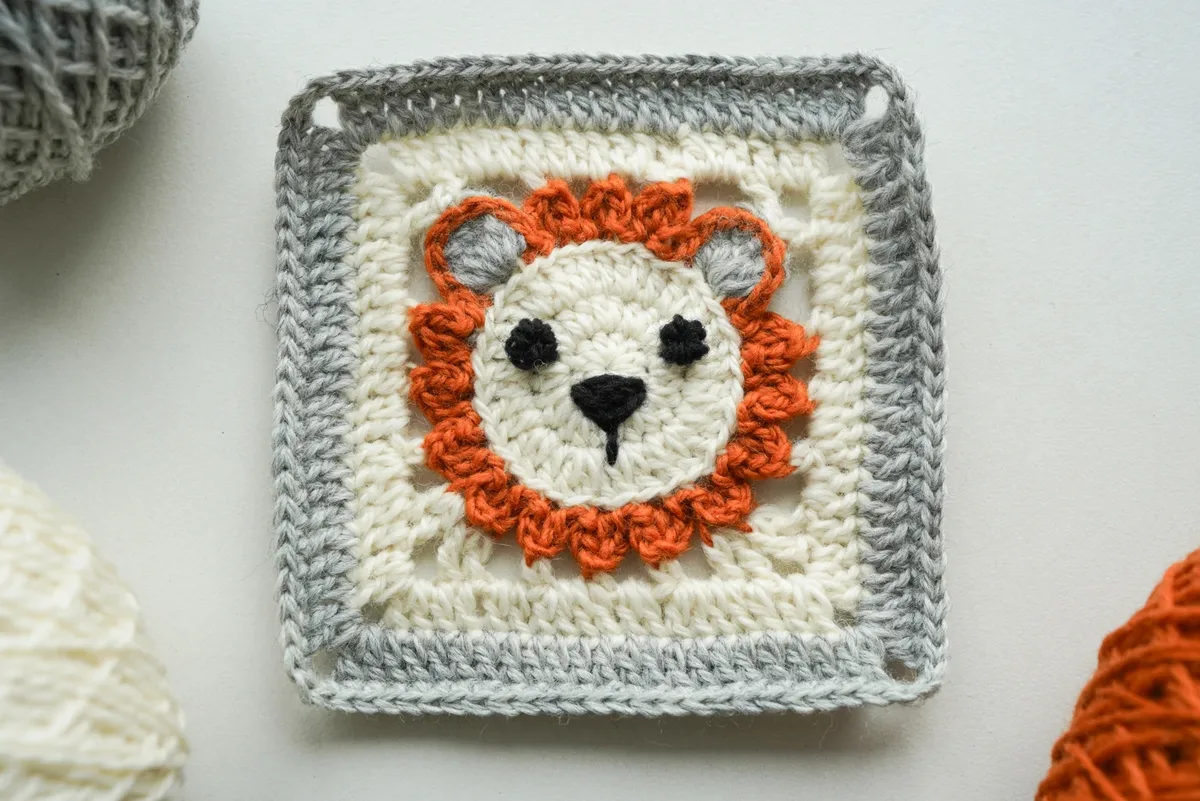
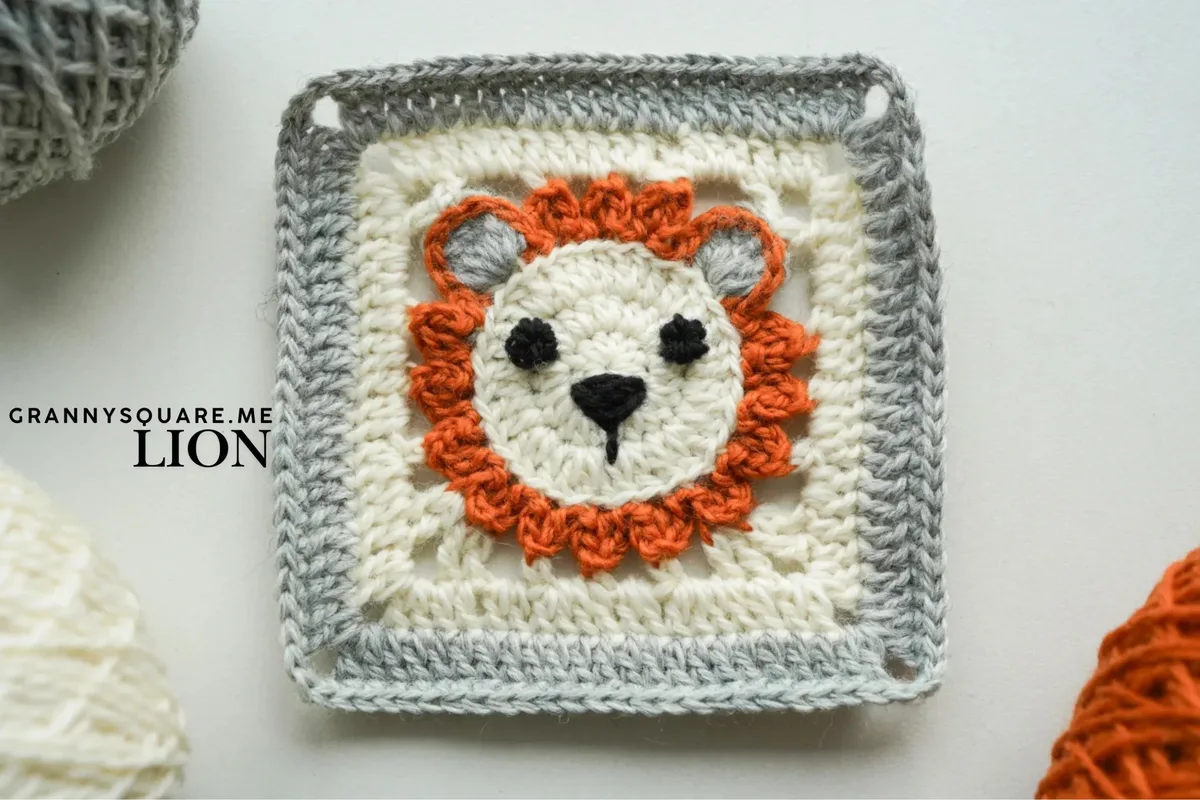
The finished lion measures roughly 4.9 inches by 4.9 inches in DK/sport weight yarn with a 3.00mm hook, which is a lovely size for joining into blankets, pillow fronts or tote panels. The mane sits proud of the surface with a soft, ruffled texture that begs to be touched, while the cream face keeps the features crisp. One square makes a sweet nursery decoration; a dozen make a blanket that a child will drag around for years
Variations
Color is the easiest lever here. Swap the orange mane for deep gold with a caramel picot round and you get a mature, storybook lion; go pale peach with a cream face for a soft nursery version. Trade the gray ears for warm tan and the whole square shifts from graphic to gentle. For a whole safari blanket, keep the exact same rounds and only change palettes: brown mane and cream face for a bear, gray mane and pink ears for a mouse, and skip the picots entirely with a solid dc round for a hippo. Size adjusts predictably. Add one more hdc-inc round after the second increase round and continue the 1dc / dc-inc repeat proportionally to push the square toward 6.5 inches, or drop to a 2.5mm hook with the same rounds for a 4-inch mini. Working in worsted with a 4.00mm hook gives roughly a 6.5-inch square with a chunkier mane — Vanna's Choice or Paintbox Simply Aran both hold the picots nicely. For yarn substitutions in DK, Paintbox Simply DK, Scheepjes Stone Washed and DROPS Merino Extra Fine all keep the stitch definition the picots need. Seasonal versions are fun: a rusty auburn mane with a tiny gold picot for autumn, or a white-tipped mane using a variegated cream-and-gold yarn for a snowy lion. If you want texture instead of picots, swap each picot tuft for a small bobble in the same placement — the mane goes from spiky to plush
I fell for this square the moment the mane round appeared. Up to that point you're making a perfectly nice circle-to-square motif — magic ring, 11 hdc, increase rounds, that satisfying 1dc / dc-inc repeat that clicks along 11 times — and then suddenly you join orange in the back loops only and start dropping in those ch-1 picots between pairs of hdc, and a lion's face looks back at you. It's the fastest transformation I've had in a granny square. I also love that the ears aren't sewn on afterward. They're worked in gray in the same round as the mane, so once you fasten off and weave in your ends, the square is genuinely finished — no assembly, no stuffing, no positioning tiny pieces and second-guessing yourself. The BLO join is a small detail that pays off big: it leaves a crisp ridge line so the mane pops forward instead of lying flat. And because the whole thing is DK weight on a 3.00mm hook, the fabric comes out dense and stable, which means the square holds its shape when you seam it. It's cute, it's quick, and it never gets boring
Common mistakes
- Counting the starting ch2 as a stitch and then adding an extra hdc, so round 1 ends with 12 or 13 hdc instead of 11 plus the ch2
- The ch2 at the start of each hdc round IS your first stitch — it stands in for one hdc, which is why the round reads 'ch2 as a standing st (count as 1 hdc), 11hdc'. Place a stitch marker in the top of that ch2 as soon as you make it, then count 11 more hdc into the ring. When you slip stitch to the top of the ch2 you should have 12 stitches total. If you have 13, you worked an extra hdc into the ring instead of stopping at 11
- Pulling the magic ring closed after only the slip stitch join, so the center gapes open once the square is handled or washed
- Tighten the magic ring firmly before you slip stitch to close round 1, holding the 11 hdc snug against the loop as you pull the tail. Then, when you weave in the tail, run it through the back of a few center stitches, tug the ring once more, and secure with a small split-stitch. A DK-weight ring on a 3.00mm hook can still creep open under tension, so that second tug matters
- Losing track during the dc round's '*1dc, dc-inc* rep 11 times' and ending up with a wavy or cupped square
- Place a removable stitch marker after every third repeat — so at repeats 3, 6 and 9. If your marker rhythm falls out of step, you've either doubled a plain dc or skipped an increase. Waviness means too many increases; cupping means too few. Frog back to the last marker rather than the start of the round; it's usually only a few stitches
- Working the mane round through both loops instead of BLO, which flattens the mane and buries the picot tufts
- The mane round specifically says BLO — join your new orange yarn to any stitch and work into the back loop only for the entire round. This leaves the front loops as a visible ridge that pushes the mane forward. If you've already worked several tufts through both loops, undo them; the difference in how the mane stands up is significant and it will not correct itself with blocking
- Making the ch-1 picot too loose or too tight, so the mane tufts look uneven — some floppy, some barely visible
- Each tuft is (ch1 + 1hdc + ch-1 picot + 1hdc + ch1 + slst) in a single stitch. Work the ch-1 picot with the same tension as your hdc, then slip stitch into the top of the first hdc of that tuft to close it. Consistency comes from keeping the working loop on your hook at hdc height for every picot rather than pulling up extra length. Do a couple of practice tufts on a scrap swatch before committing to the round
- Cutting and rejoining yarn at every single color change in the mane round, leaving a rat's nest of ends inside the square
- The mane round alternates orange and gray frequently for the tufts and ears. Instead of cutting each time, carry the unused color loosely along the back of the round and pick it up when you need it — the BLO ridge hides the float beautifully. Only cut when a color is finished for good. You'll go from twenty-plus ends to about four


Easy Intermediate
Materials
- Yarn of your choice —3 colors- orange, gray, and cream. This lion granny square is made with DK Sports. And the finished lion granny square is about 4.9 inches by 4.9 inches.
- Crochet hook- we are using a 3.00mm hook
- Darning Needle
- Scissors
Main Pattern
- Round 1Lion's Face Start with a magic ring, ch2 as a standing st(count as 1hdc), 11hdc, sl st to the top of the first ch2.
- Round 2ch2 as standing st(count as 1 hdc), another hdc in the same st to form a hdc-inc. hdc-inc in remaining sts, sl st to the top of the first ch2.
- Round 3ch3 as a standing st(count as 1dc), dc-inc. *1dc, dc-inc* rep 11 times, sl st to the top of the first ch3, fasten off.
- Round 4BLO, join new yarn to any st. (ch1 + 1hdc + ch-1 pic + 1hdc + ch1 +slst), slst; [slst, (ch1 + 1hdc + ch-1 pic + 1hdc + ch1 +slst) in this st, slst] repeat 2 times.Now we come to the left ear . 1sc, join grey yarn, (1hdc, 1dc, 3tr, 1dc, 1hdc) . For each stitch: use grey for all steps until the final yo, then complete with orange (this will create stitches with grey post and orange top loops) . Continue with orange yarn, 1sc. The left ear finished.*slst, (slst + ch1 + 1hdc + ch-1 pic + 1hdc + ch1 + slst)* rep 11 times, sl st to next st.Now we come to the right ear . make this ear follow the same steps as left ear. Finally, sl st to the next st, and sl st to the joining st, fasten off.
- Round 5The Square TLO. Join new yarn to the ch-1 pic that on the left of right ear. All sts work in the ch-1 pic . ch1+1sc in this st, ch2, sl st to next pic, ch2, 1sc, ch3, (1dc+ch4+1dc)in the middle tr of the left ear, ch3, 1sc, ch2, 1sc, ch2, 1hdc, ch2, (1dc+1tr) in the hdc before next pic, ch3, (1tr+1dc) in the hdc after next pic, ch2, 1hdc, ch2, 1sc, ch2, 1hdc, ch2, (1dc+1tr) in the hdc before next pic, ch3, (1tr+1dc)in the hdc after next pic, ch2, 1hdc, ch2, 1sc, ch2, 1sc, ch3, (1dc+ch4+1dc) in the middle tr of the right ear, ch3, sl st to the first sc.Round 6 ch3 as a standing st(count as 1dc). 2dc in next ch-sp, 1dc, 2dc in next ch-sp, 1dc, 3dc in next ch-sp, 1dc, (2dc+ch3+2dc) in next corner sp . 1dc, 3dc in next ch-sp, *1dc, 2dc in next ch-sp*rep 3 times, 2dc, (2dc+ch3+2dc)in next corner sp .2dc. *2dc in next ch-sp, 1dc* rep 3 times, 2dc in next ch-sp, 2dc, (2dc+ch3+2dc) in next corner sp , 2dc, *2dc in next ch-sp, 1dc*rep 3 times, 3dc in next ch-sp, 1dc, (2dc+ch3+2dc) in next corner sp , 1dc, 3dc in next ch-sp, sl st to the top of the first ch3, fasten off.
- Round 7Join new yarn to any corner sp, ch3 as a standing st(count as 1dc),(1dc+ch3+2dc)in the same corner sp. dc in remaining sts, while (2dc+ch3+2dc) in each corner sp, sl st to the top of the first ch3.
- Round 8ch1+1sc in this st, sc in remaining sts, 3sc in each corner sp, sl st to the first sc, fasten off.Round 9 – Facial Details Eyes: make two French Knot s and attach them evenly spaced in the upper portion of the faceFor the Nose: embroider a small triangle in the center of the face, then stitch a vertical line beneath it for the mouth .
Important notes
💡 Use a 3.00mm hook with DK/sport weight yarn to hit the stated 4.9 x 4.9 inch finished size. If your squares are coming out at 5.3 inches or larger, drop to a 2.75mm hook rather than tightening your tension, which will only make the picots stiff and hard to work into
💡 Make all your plain squares first, then do every mane round in one sitting. Batching the color-change round means you set up your orange and gray once, get into the rhythm of (ch1 + 1hdc + ch-1 picot + 1hdc + ch1 + slst), and your tufts stay far more consistent across a whole blanket
💡 Mark your two ear positions before you start the mane round. Count out where the gray sections land relative to the corners and drop in removable markers — once you're mid-round juggling two colors and picots, it's very easy to place an ear a stitch off and end up with a lopsided lion
💡 Block gently and face-down on a towel. Pin the four corners square, mist lightly, and let the mane hang free — pressing the picot tufts flat under a blocking board will crush the exact texture you worked so hard for. A light steam hover works well for DK acrylic blends
💡 If this square is going into a baby blanket, weave your ends in twice and in opposite directions, especially the magic ring tail and the mane color joins. Little fingers find loose ends first, and the BLO ridge that makes the mane pop is also a spot where a lazy weave can work its way loose
More photos
FAQ
Do I need to stuff this lion granny square?
No — this is a flat motif, not an amigurumi, so there's no stuffing and no assembly. The mane and both ears are worked directly into the final round, so once you fasten off and weave in your ends the square is completely finished
Can I make this in worsted weight instead of DK?
Absolutely. Work the same rounds in worsted with a 4.00mm hook and you'll get roughly a 6.5-inch square with a chunkier, fuller mane. Just make sure every square in a project uses the same yarn and hook so they join evenly
Why does the mane round say BLO, and does it really matter?
Working the mane round in back loops only leaves the front loops as a raised ridge, which pushes the picot tufts forward so the mane stands proud of the square. If you work through both loops the mane lies flat against the face and loses most of its dimension
How many squares do I need for a baby blanket?
4.9 inches each, a 6 x 8 grid gives you roughly a 30 x 39 inch blanket before any border, which is a good stroller or crib-topper size. Many people alternate lion squares with plain solid squares to keep the mane texture from overwhelming the finished piece
What's the best way to join these squares without flattening the mane?
Use a flat join such as mattress stitch or a slip stitch join worked through the back loops of the final dc round, keeping your needle below the mane tufts. Avoid a bulky standing join round the outside, since it competes visually with the picots and can push the ears out of shape
Made your own square?
This site belongs to every crocheter. Share your design with the world — we’ll math-check the counts, polish it up, and publish it free for everyone, credited to you.
🧵 Share your pattern →
0 / 0 rounds