
Free Pattern
Step-by-Step
Crochet
Granny SquaresNautical Star Granny Square – Free Crochet Pattern
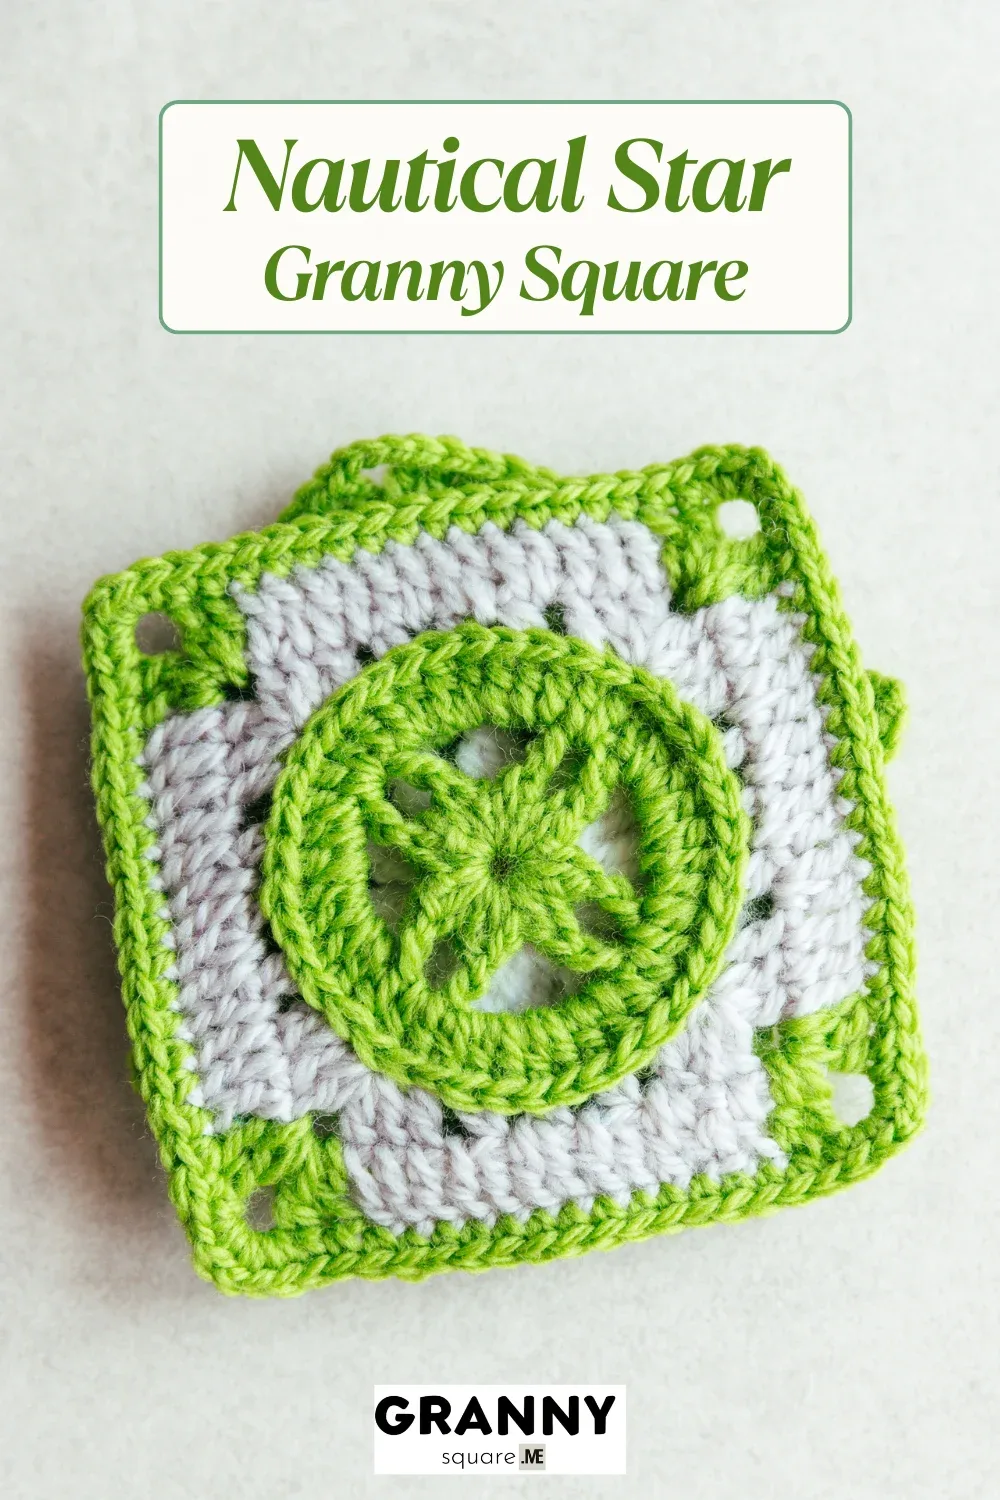
Crochet a Nautical Star Granny Square with this free pattern. Picot stitches, a magic ring, and two colors make a crisp 4.33-inch star block for throws
Level IntermediateTime 1-2 HoursYarn Worsted
About This Pattern
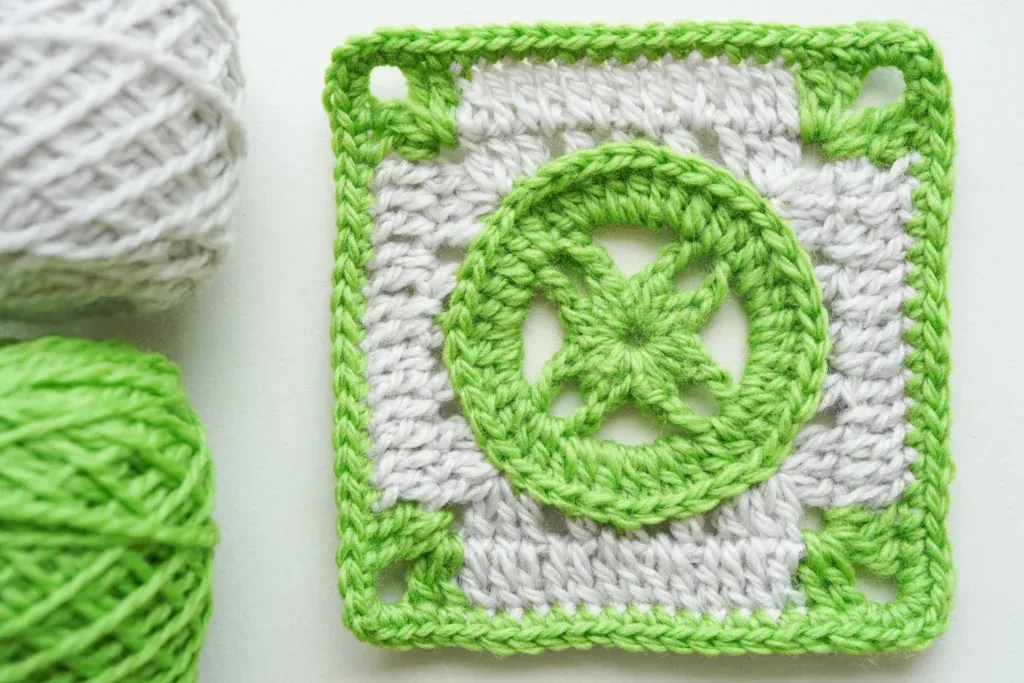
The Nautical Star Granny Square turns a tiny magic ring into a crisp, eight-pointed star framed by a classic square border. Unlike a standard granny, the center is built entirely from ch-1 picots sandwiched between half double crochets, so each point has a sharp, defined tip rather than a soft cluster. It's a square for crocheters who love motifs with real structure – a compass rose feel that looks far more intricate than the six rounds it takes to make. Perfect for anyone planning a coastal throw, a lighthouse-themed nursery, or a Fourth of July table runner
You'll lean on a handful of techniques that make this square feel special: the magic ring, the ch-1 picot (chain one, hook into the third loop of that chain, slip stitch), half double crochet, and long chain-6 arches that lift the star points into a circle before the corners square everything off. The second round starts with an invisible standing stitch in any picot, which is a lovely skill to learn if you've only ever joined new yarn with a chain-2. I'd call this intermediate because the picots demand precision. Budget one to two hours for your first square, much less for the ones after that
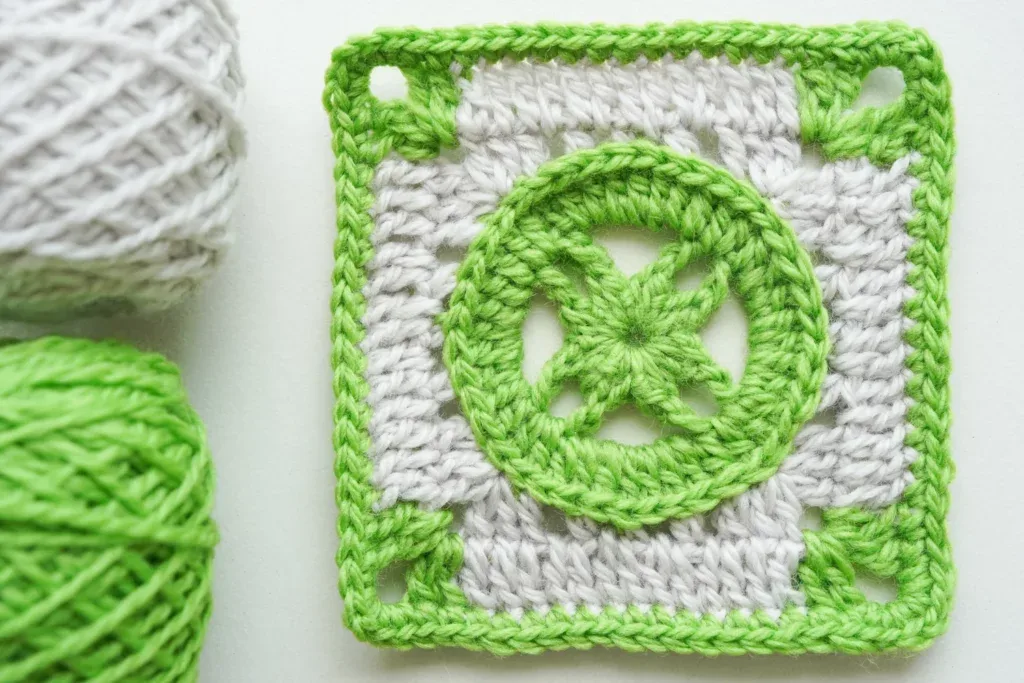
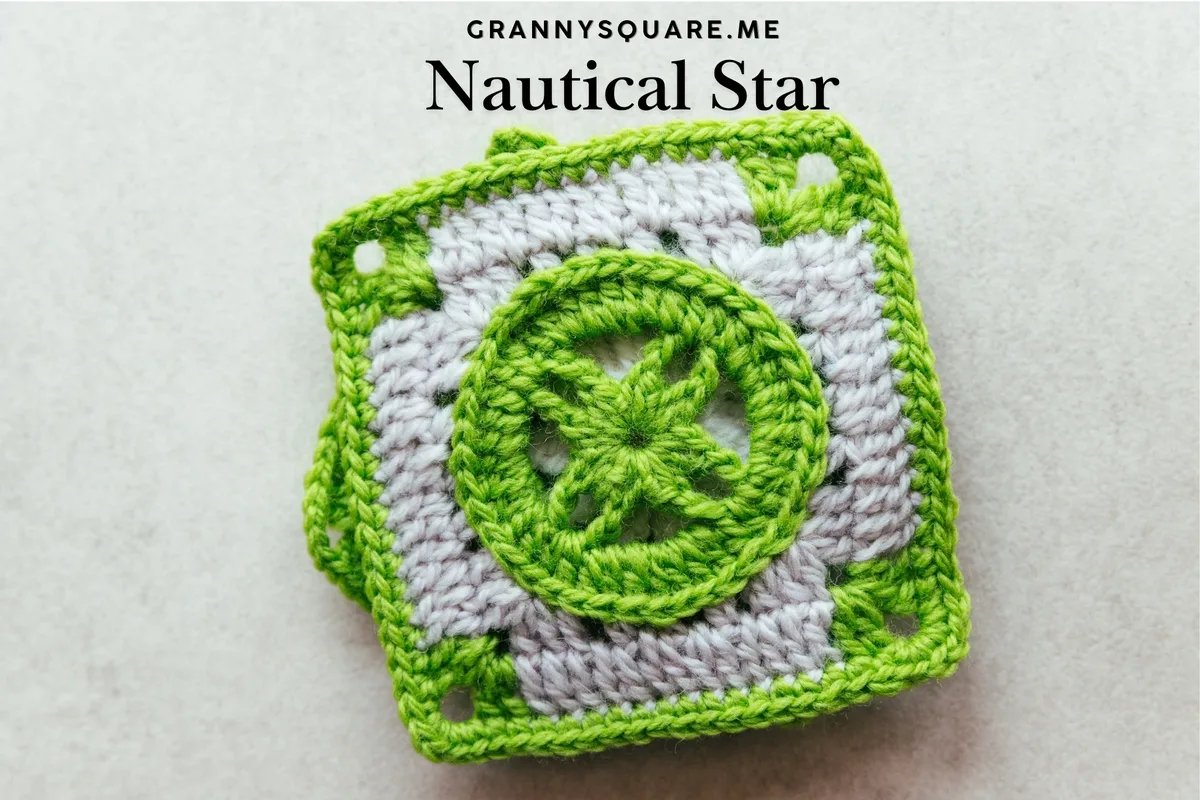
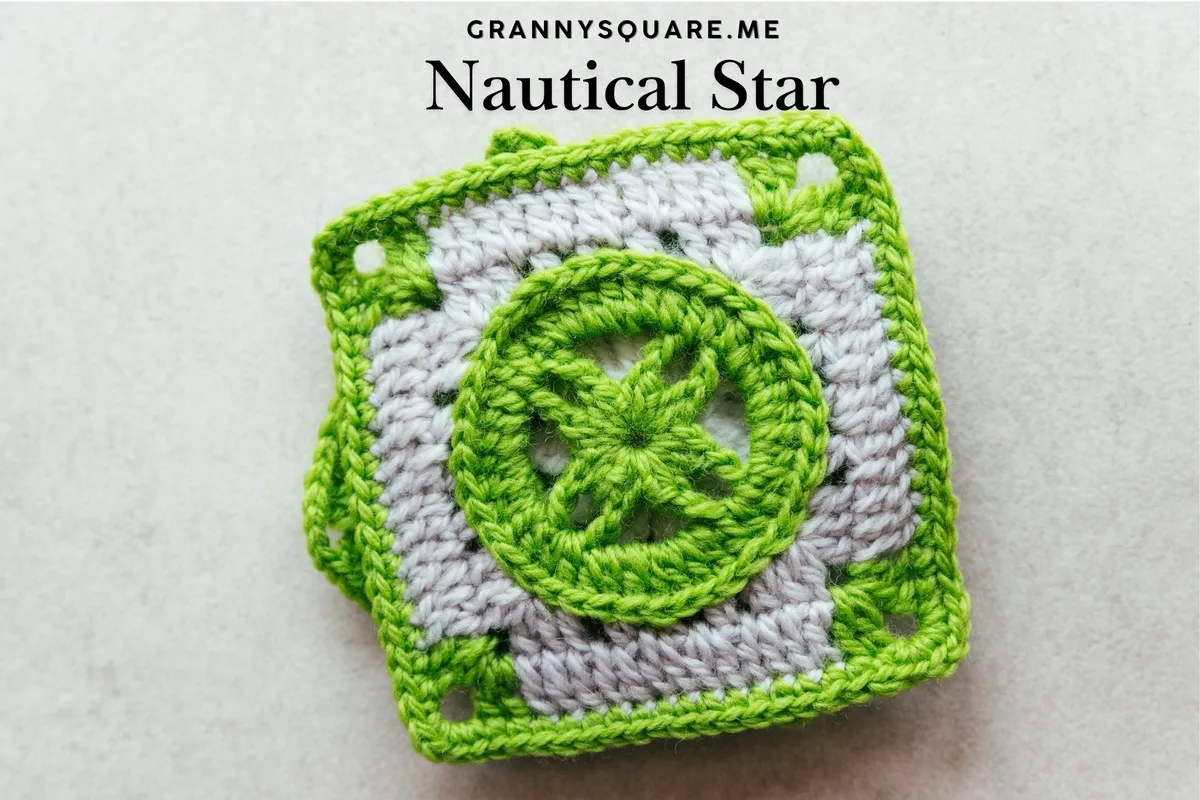
When you weave in the last tail, you'll have a square measuring roughly 4.33 × 4.33 inches in worsted weight yarn, with a star that sits proudly in the center and a border flat enough to join without blocking. The two-color construction means the star really pops against its background – navy on white reads as maritime, mint on white feels fresh and modern. Sixteen of these make a generous baby blanket, four make a pillow front, and a single square on a stiff backing becomes a very sweet coaster or gift tag for the sailor in your life
Variations
I'll be honest: I am usually a bit impatient with picots. But the ch-1 picot in this pattern changed my mind, because each one becomes a genuine star point, not just decoration. Working that first round – hdc, picot, hdc, chain, slip stitch, eight times around the magic ring – has a lovely rhythm, and when you pull the ring tight and the eight little tips snap into a star, it's a real moment. Round 2 is where the design gets clever: you work hdc into the picots and bridge pairs of them with chain-6 arches, which is what gives the star its breathing room inside the circle. I also love that the pattern teaches an invisible standing stitch for joining the second color, so there's no chunky chain-2 ruining the symmetry. The whole thing is only six rounds and uses tiny amounts of yarn, which makes it my favorite stash-buster for leftovers of navy, cream, and red. And because it lies flat straight off the hook, joining a whole blanket of them is painless
Common mistakes
- Working the ch-1 picot into the wrong
- After you chain 1, insert the hook into the third loop of that chain, exactly as the pattern describes, and slip stitch firmly. The picot should close into a tight little bump that sits directly on top of the hdc. Practice three or four picots on a scrap chain before starting the magic ring so your hands learn the motion
- Leaving the magic ring loose, so the
- Once all eight star points of round 1 are worked and you've slip stitched to the first chain, pull the starting tail firmly until the hole closes completely. Then weave that tail back and forth through the wrong side of the center stitches at least three times before trimming. A magic ring tail that's only woven once will work its way out in the wash
- Miscounting the repeat in round 1 and
- The first point is worked separately (ch, hdc, picot, hdc, ch, sl st), then the starred repeat is worked seven more times for a total of eight. Count your picots before fastening off – there should be exactly eight little bumps around the ring. If you have the wrong number, it is far easier to rip back now than after round 2 has been worked into the picots
- Making the chain-6 arches in round 2
- Chain loosely and evenly – the six chains need to span the gap between one pair of picots and the next without tugging. If your square cups, go up half a hook size for the chains only, or consciously loosen your tension on every chain stitch. A flat round 2 is what makes the later border rounds square up neatly
- Joining the second color with a bulky
- Use the invisible standing stitch the pattern suggests: put a slip knot on your hook, insert into any picot, yarn over and pull up a loop, then complete the hdc as normal. That standing stitch counts as your first hdc and blends in with its neighbors. If you do use a chain-2 instead, join the round to the second chain so the seam sits as flat as possible
- Working the round 2 hdc into the chain
- Each hdc in round 2 goes through the closed loop of the picot – the slip stitch bump – not the chain space on either side. Hold the square up and look for the eight picot tips; each one should be caught by a hdc. Getting this right keeps the star perfectly centered in the finished square


Intermediate
Materials
- Yarn of your choice- 2 color
- Crochet hook
- Darning Needle
- Scissors
Main Pattern
ch-1 picot How to make a ch-1 picot stitch: work ch1, insert the hook into the third loop of this ch, then make a sl st to complete a ch-1 picot.
- Round 1magic ring, ch, hdc, ch-1 pic, hdc+ch in this loop, sl st to the loop, *ch+hdc+pic+hdc+ch+sl st*rep 7 times, sl st to the first ch, fasten off, round 1 finished.Step by step Step by step: Start with a magic ring. ch. hdc, ch-1 pic, hdc+ch in this loop, sl st to the loop. *ch+hdc+pic+hdc+ch+sl st*rep 7 times, sl st to the first ch, fasten off, round 1 finished.
- Round 2Insert the hook into any pic, make an invisible standing st (count as hdc), or you can make ch2, hdc in the next pic, ch6, [hdc in each of the next 2 pic, ch 6]rep 3 times, sl st to the top of the first invisible standing st, round 2 finished.
Step by step Step by step: Insert the hook into any pic. Add new yarn in this pic. ch1 as a standing st, make an invisible standing st (count as hdc), or you can make ch2, hdc in next pic, ch6. [hdc in each of the next 2 pic, ch 6]rep 3 times, sl st to the top of the first invisible standing st, round 2 finished.
- Round 3ch3(count as dc), 2dc in next gap, dc in next hdc, 6dc in next ch-sp, *dc in next hdc, 2dc in next gap, dc in next hdc, 6dc in next ch-sp* rep 3 times, sl st to the top of the first ch3, fasten off, round 3 finished.Step by step Step by step: ch3 as a standing st (count as dc). 2dc in next gap, dc in next hdc, 6dc in next ch-sp. *dc in next hdc, 2dc in next gap, dc in next hdc, 6dc in next ch-sp* rep 3 times, sl st to the top of the first ch3, fasten off, round 3 finished.
- Round 4Third loop(tl) of dc only for this round. Join the new yarn in any dc, ch3(count as dc), dc+ch3+2dc in this tl, dc+ch, sk1, hdc+ch, sk1, sc+ch, sk1, hdc+ch, sk1, dc. *2dc+ch3+2dc in the next tl, dc+ch, sk1, hdc+ch, sk1, sc+ch, sk1, hdc+ch, sk1, dc* rep 3 times, sl st to the top of the first ch3, round 4 finished.
Step by step Step by step: Third loop(tl) only for this round. Join the new yarn in the tl of any dc, ch3 as a standing st (count as dc). dc+ch3+2dc in this tl, dc+ch in next tl, sk1, hdc+ch in next tl, sk1, sc+ch in next tl, sk1, hdc+ch in next tl, sk1, dc. All sts work in tl of dc except where specially mentioned. *2dc+ch3+2dc in the next tl, dc+ch, sk1, hdc+ch, sk1, sc+ch, sk1, hdc+ch, sk1, dc* rep 3 times, sl st to the top of the first ch3, round 4 finished.
- Round 5ch3(count as dc), incomplete dc in next st, yo(with new yarn), pull through, 2dc+ch3+dc+ incomplete dc in next ch-sp, yo( with original yarn), pull through, 11dc(1 in each st and ch-sp). [dc, incomplete dc, yo(with new yarn), pull through, 2dc+ch3+dc+incomplete dc in next ch-sp, yo( with original yarn), pull through, 11dc (1 in each st and ch-sp)] rep 3 times, sl st to the top of the first ch3, fasten off, round 5 finished.
Step by step Step by step: ch3 as a standing st (count as dc). Make an incomplete dc in next st, yo(with new yarn), then pull through all loops. 2dc+ch3+dc+ incomplete dc in next ch-sp, yo( with original yarn), then pull through all loops. 11dc (1 in each st and ch-sp). [dc, incomplete dc, yo(with new yarn), pull through all loops, 2dc+ch3+dc+incomplete dc in next ch-sp, yo( with original yarn), pull through, 11dc (1 in each st and ch-sp)] rep 3 times, sl st to the top of the first ch3, fasten off, round 5 finished.
- Round 6new yarn in any corner sp, 2sc+ch+2sc in next corner space, 17sc, *2sc+ch+2sc in the corner sp, 17sc* rep 3 times, sl st to the first sc, round 6 finished.Step by step Step by step: Join new yarn in any corner sp, ch. 2sc+ch+2sc in this corner space, 17sc. *2sc+ch+2sc in the corner space, 17sc* rep 3 times, sl st to the first sc, round 6 finished.
Important notes
💡 The completed nautical star granny square measures approximately 4.33×4.33 inches
💡 Count your stitches religiously in the second round – one missed skip and your star turns into a wonky blob. The star shape only truly appears in round 3, so trust the process while the early rounds still look like a tangle of chains
💡 Hook size matters more than usual here. For worsted weight yarn, a 4.5 mm or 5 mm hook gives crisp picots and a square close to the stated 4.33 inches. If your picots look loose and sloppy, drop down half a size; if the chain-6 arches cup, go up half a size for round 2 only
💡 Place a stitch marker in the very first picot you make in round 1. It makes counting the eight points quick and tells you exactly where to slip stitch to close the round, which is easy to lose track of on such a tiny ring
💡 Cut the first color with a 6-inch tail after round 1 and weave it in before you start round 2. The center is tiny and gets crowded once the arches are added, so it is far easier to hide the tail while it's still accessible
💡 When adding your second color, the pattern lets you choose between an invisible standing stitch and a chain-2. For a blanket where the squares will be seen from both sides, take the extra minute for the standing stitch – the difference in neatness is noticeable once you have sixteen squares side by side
💡 Keep your chain-6 arches consistent across all four of them. If you tend to chain tighter as you go, count your chains out loud or pause after each arch to compare its length to the first one. Even arches are what make the star look symmetrical
💡 These squares are small, so make a gauge square first and measure it before committing to a blanket. At 4.33 inches, sixteen squares joined in a 4×4 grid with a simple slip-stitch join gives you roughly 18 inches square – add a border round or two to reach a comfortable baby blanket size
More photos
FAQ
What exactly is a ch-1 picot and how is it different from a regular picot?
A standard picot is usually chain 3 and slip stitch back into the first chain. The ch-1 picot in this pattern is smaller and tighter: you chain just one, insert the hook into the third loop of that chain, and slip stitch. It creates a tiny firm bump that becomes a sharp star point rather than a soft loop
How much yarn do I need for one Nautical Star Granny Square?
Each square uses very little – roughly 10 to 12 yards of the star color for round 1 and about 25 to 30 yards of the second color for the arches and border rounds in worsted weight. A single 50-gram ball of each color will comfortably make eight or more squares, which makes this a wonderful stash-busting project
Can I make this square in one color instead of two?
Absolutely. Work round 1 and continue into round 2 without fastening off – you can simply slip stitch into the nearest picot and carry on. You'll lose some of the star-on-background contrast, but a single-color version has a lovely textured, lace-like look that works beautifully for a tonal throw
Why isn't my finished square lying flat?
The two usual culprits are chain-6 arches that are too tight in round 2, or a magic ring that wasn't pulled snug before the border rounds were added. Loosen your chain tension on the arches and make sure the center is closed completely. A quick steam block with the square pinned to 4.33 inches will also flatten minor ripples
How do I join multiple Nautical Star squares into a blanket?
Because the final round gives you a tidy square edge, a simple slip-stitch join through the back loops or a whip stitch with a darning needle works well. For a more decorative look, a join-as-you-go chain join in the border color matches the openwork feel of the star. Lay the squares out first so all the stars are oriented the same way
Made your own square?
This site belongs to every crocheter. Share your design with the world — we’ll math-check the counts, polish it up, and publish it free for everyone, credited to you.
🧵 Share your pattern →
0 / 0 rounds