
Free Pattern
Step-by-Step
Crochet
Granny SquaresPear Granny Square Free Crochet Pattern
Crochet a cheerful pear granny square free pattern with easy color changes, a cute stem and leaf, and a 4-inch block perfect for fruit blankets
Level IntermediateTime 1-2 HoursHook 3.00 mmYarn DK
About This Pattern
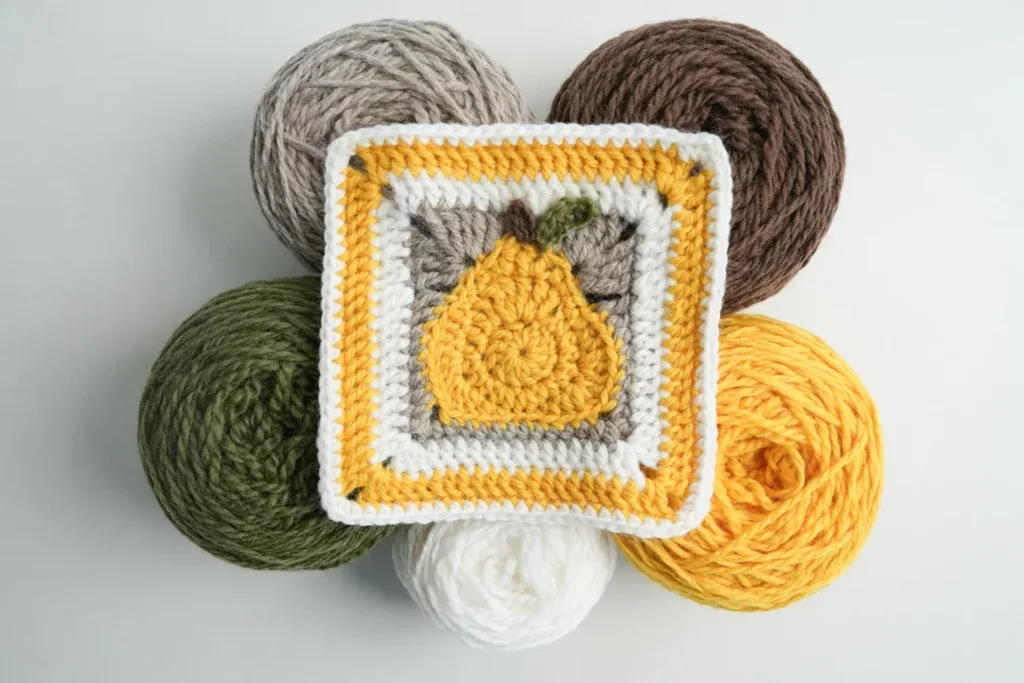
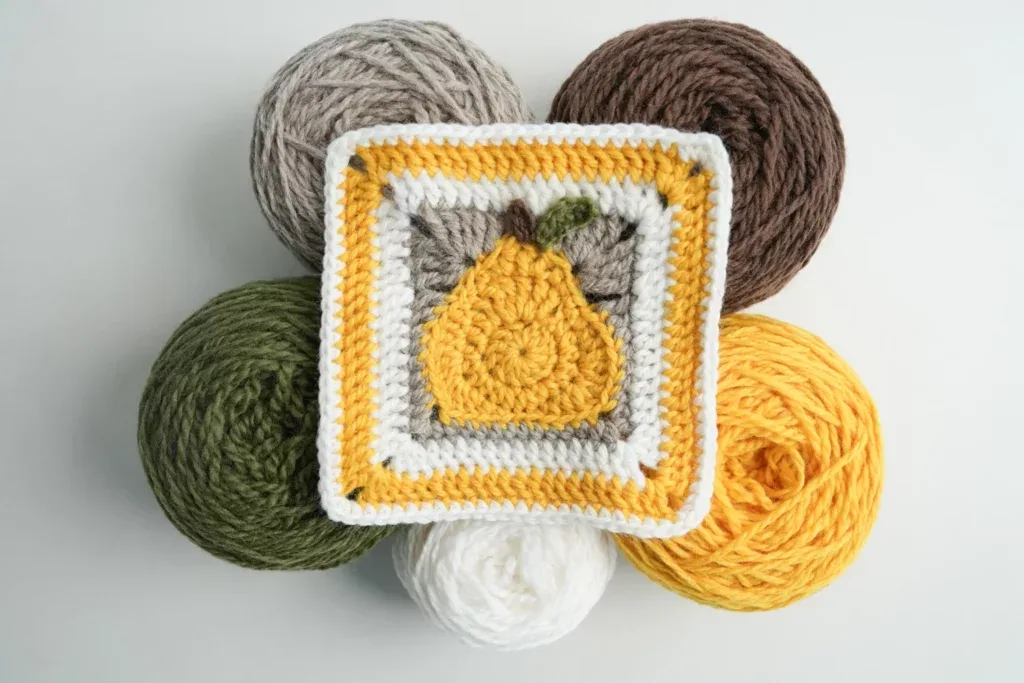
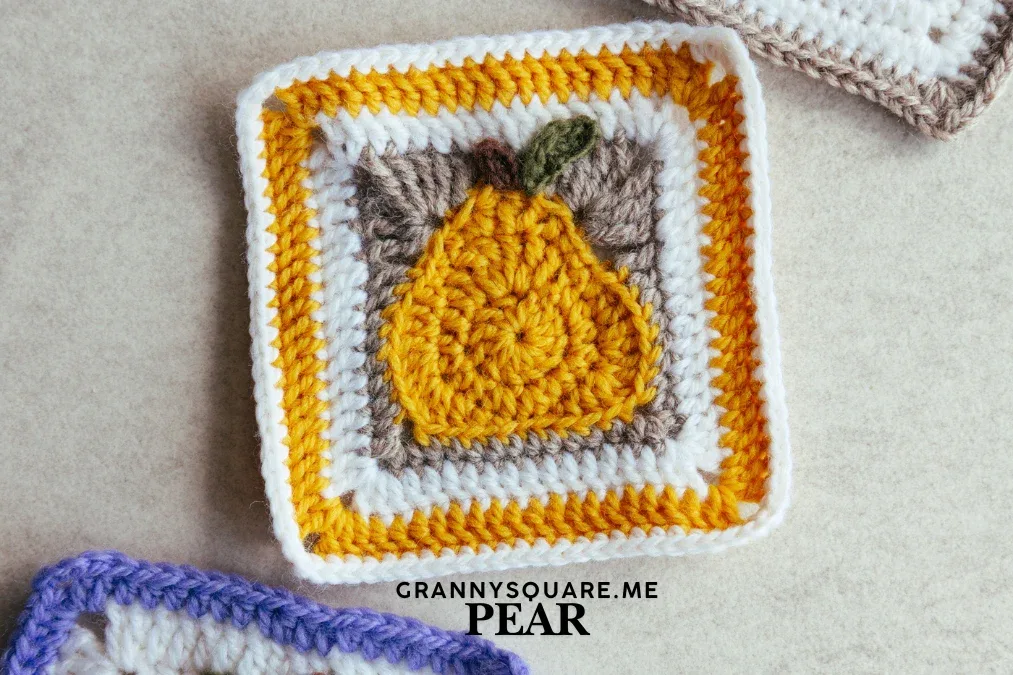
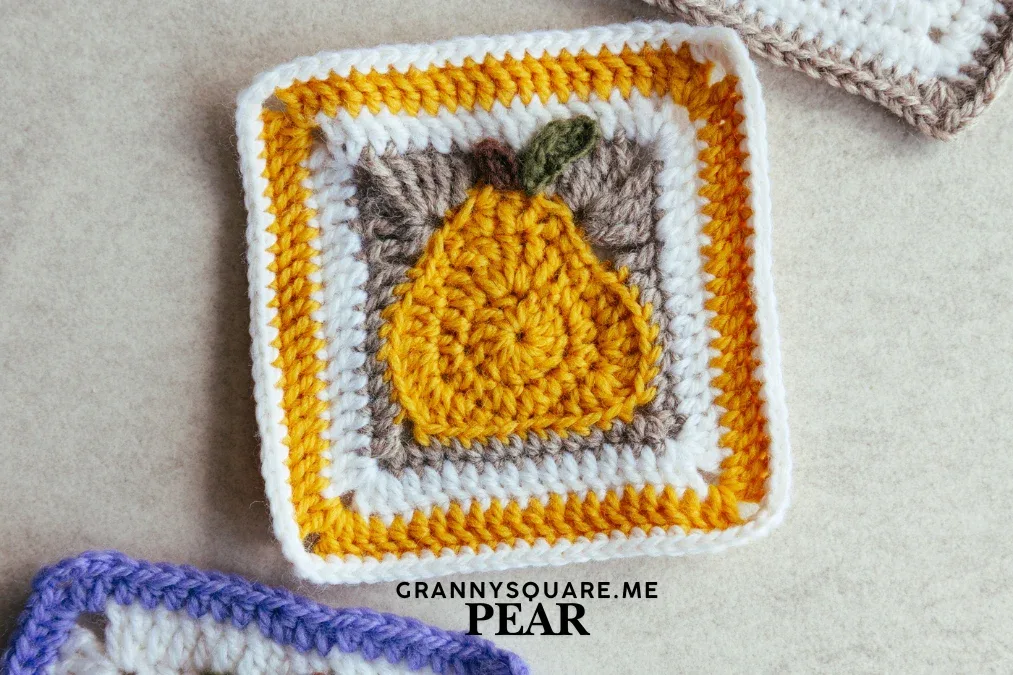
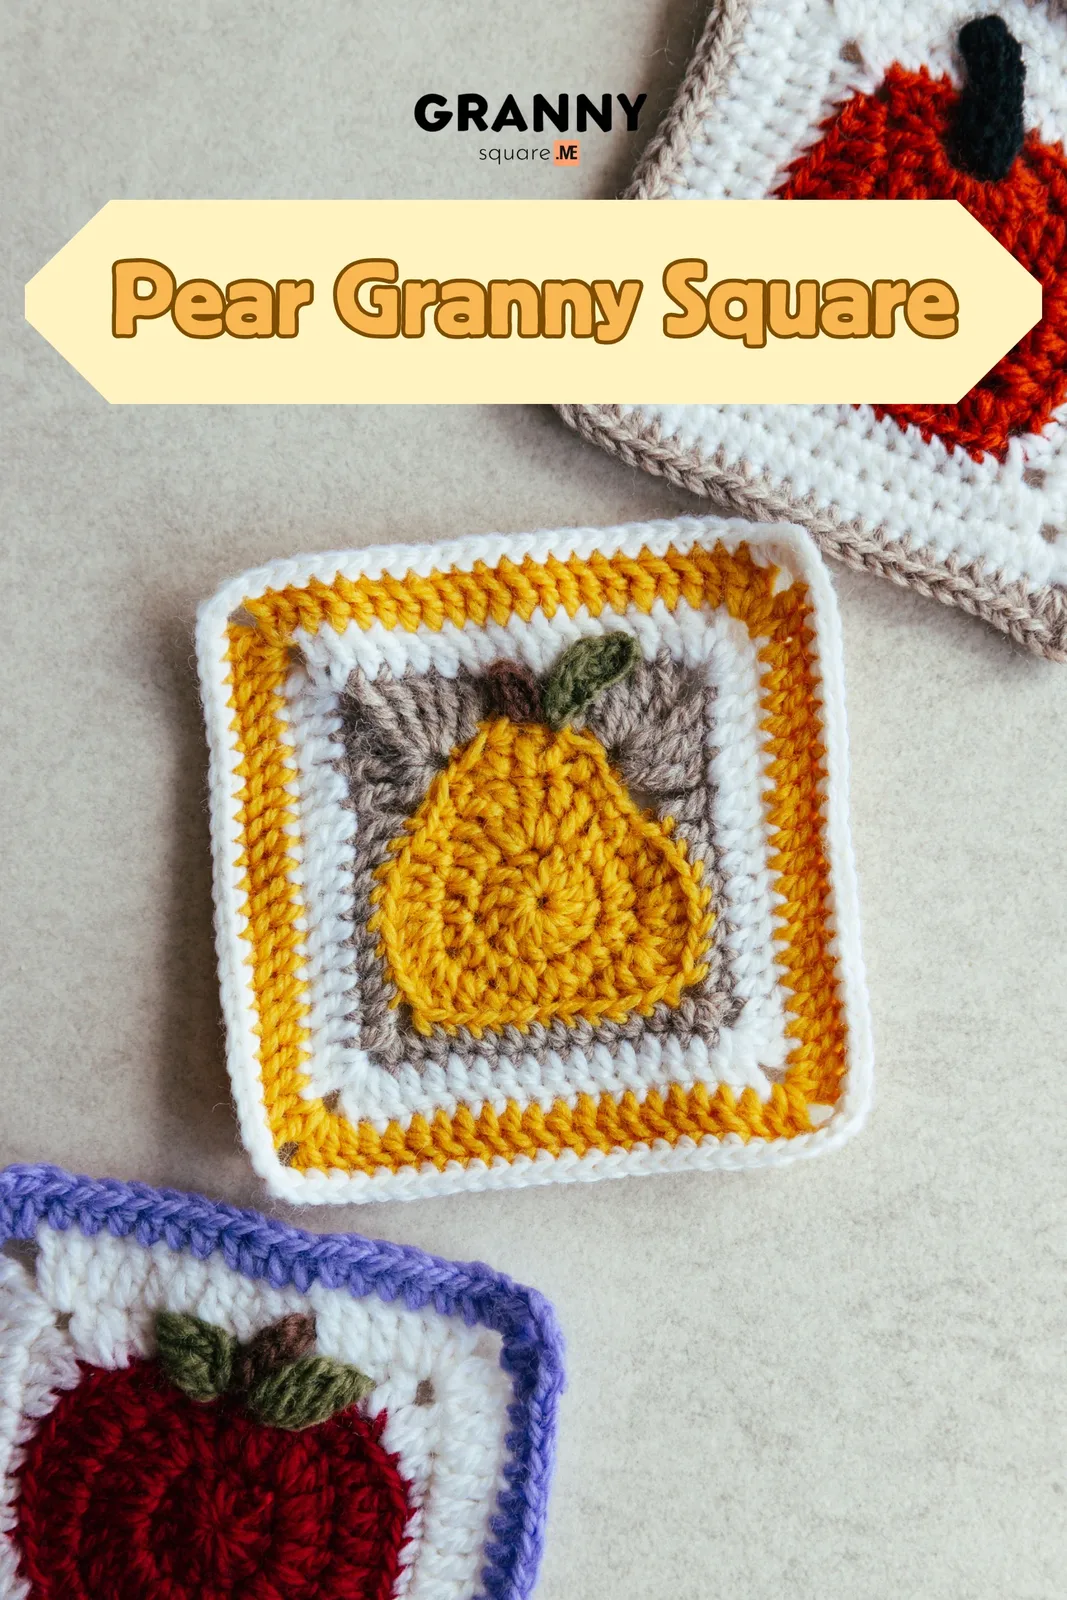
This free pear granny square turns a humble piece of fruit into a joyful crochet block. Worked flat over seven rounds, it builds a plump Bartlett pear right into the center of a classic granny-style square, then finishes with a hand-sewn stem and leaf for that just-picked look. It's perfect for crocheters who love fruit and food motifs, anyone building a kitchen-themed blanket, or makers who simply want one cheerful square to brighten a cushion or tote
To make this pear you'll work in the round, change colors to shape the fruit against a crisp white background, and stitch two small appliqués — a stem and a leaf — that get attached with your darning needle. It sits comfortably at an intermediate level: if you can crochet a basic granny square and manage a color change without puckering, you're ready. Set aside about one to two relaxed hours, a little longer if color work is still new to you
The finished square measures roughly 4.13 by 4.13 inches — a tidy, poppable size that plays nicely with other 4-inch blocks. The sunny yellow pear feels warm and summery, the neutral tones keep it timeless, and the raised stem and leaf give the piece a soft, dimensional charm you'll want to run your thumb over. Stitch a single one as a coaster or drink mat, or make a whole orchard for a fruit sampler blanket that would delight any crochet-loving friend
Variations
This pattern practically begs to be recolored, so play with the whole fruit bowl. Swap the sunny yellow for a leafy green body with a brown stem to make an Anjou pear, or go bold with a deep burgundy body and black stem for a dramatic Red Bartlett that really sings against a white background. From there it's a short hop to other fruit: a red or green apple, a purple plum, or an orange persimmon all use the same round structure with different color placement. Want it bigger? Because the base is a granny square, you can keep adding rounds after round 7 in your background color — each extra round adds three corner clusters and grows the block by about an inch, which is handy if you want 5- or 6-inch squares to match a specific blanket. For a chunkier version, size up to a 4.00mm or 5.00mm hook with a worsted-weight yarn like Vanna's Choice or Paintbox Simply Aran; the pear will read softer and the finished square will land closer to five inches. For themed makes, try warm autumn ambers and rust for a fall harvest pillow, or pastel butter-yellow with a cream background for a nursery. A mini three-by-three grid of pears makes a sweet kitchen hot pad, and cotton yarn like Paintbox Cotton DK gives the crispest fruit definition if you plan to frame or gift your square
Common mistakes
- Dark yarn tails showing through the white background
- Because the pear sits on a pale ground, loose ends love to peek through. Always weave each tail back into a matching color block — run yellow ends through the pear body and background ends through the white — never straight across the back of a contrasting area
- Pulling the carried yarn too tight between color sections
- When you carry the background or pear color behind a few stitches, keep the float relaxed and matching the width of the stitches it spans. Tight floats pucker the square and make it curl instead of lying flat
- A wonky, non-square shape after finishing
- Uneven corner clusters are usually the cause. Make sure every corner gets the same cluster-chain-cluster grouping on each round, then wet- or steam-block the finished square to sharp 4.13-inch corners
- Stem and leaf sewn on crooked or off-center
- The appliqués are what sell the pear, so don't rush them. Pin the stem to the top center and angle the leaf beside it, step back to check placement, then whip-stitch them down with your darning needle in a matching thread
- Losing count across the seven rounds
- The pear only reads correctly if the color placement lines up round to round. Drop a stitch marker in the first stitch of each round and check your stitch count before moving on, especially where the yellow widens and narrows to form the pear's curves


Intermediate
Materials
- Yarn of your choice- 5 colors
- Crochet hook – we are using a 3.00mm hook
- Darning Needle
- Scissors
Main Pattern
- Round 1Ch3(count as dc), 11dc in a magic loop, sl st to the top of the first ch3 (12).Step by step: Start with a magic ring; Make ch3 as a standing st (count as dc). dc in the loop; 10dc in the loop, sl st to the top of the first ch3, round 1 finished.(12)
- Round 2ch2, dc, 4tr, dc hdc, hdc, hdc inc in the following 7 sts, hdc, sl st to the top of the first ch2.Step by step: ch2 as a standing st. dc in the next st. 4tr in the next st. dc hdc in the next st, hdc in the next st.hdc inc in the following 7 sts, hdc, sl st to the top of the first ch2. Round 2 finished.
- Round 3ch, sc in the next st, sc, hdc, dc tr, tr dc, hdc, 2sc, hdc, dc inc, 3dc, 3dc, dc, hdc, sc, sl st in the next 2 sts, sc, hdc, dc, 3dc, 3dc, dc inc, hdc, sl st to the first sc, fasten off (34).Step by step: ch as a standing st. sc in the next st. sc in the next st, hdc, dc tr, tr dc. hdc in the next st, 2sc, hdc, dc inc, 3dc, 3dc. dc in the next st, hdc, sc, sl st in the next 2 sts, sc in the next st, hdc, dc, 3dc, 3dc, dc inc, hdc, sl st to the first sc, fasten off. Round 3 finished.(34)
- Round 4BLO. Join new yarn in the second tr st, ch2, dc, 4tr ch3 3tr in the next st, skip 2 sts , dc, dc, hdc in the following 5 sts, 2hdc ch2 2hdc in the next st, hdc in the following 10 sts, 2hdc ch2 2hdc in the next st, hdc in the following 5 sts, dc, dc, skip 2 sts , 3tr ch3 4tr in the next st, dc, hdc, sl st to the top of the first ch2, fasten off.Step by step: Back loop only for this round; Join new yarn in the second tr st. ch2 as a standing st. dc in the next st; 4tr ch3 3tr in the next st, skip 2 sts , dc, dc, hdc in the following 5 sts.2hdc ch2 2hdc in the next st, hdc in the following 10 sts, 2hdc ch2 2hdc in the next st, hdc in the following 5 sts.dc, dc, skip 2 sts , 3tr ch3 4tr in the next st, dc, hdc, sl st to the top of the first ch2, fasten off. Round 4 finished.
- Round 5Add new yarn in the last corner space you made in the previous round, ch3 dc in this corner space, dc in the following 5 sts, dc inc, dc inc, dc in the next 5 sts, 2dc ch2 2dc in the corner space, dc, dc, dc inc, dc inc, dc in the following 8 sts, 2dc ch2 2dc in the next corner space, dc in the following 14 sts, 2dc ch2 2dc in the next corner space, dc in the following 8 sts, dc inc, dc inc, dc, dc, 2dc in the last corner space, ch2, sl st to the top of the first ch3, fasten off.
Step by step: Add new yarn in the corner space of the last corner stitch group of the previous round. ch3 as a standing st. dc in the same corner space. dc in the following 5 sts, dc inc, dc inc, dc in the next 5 sts. 2dc ch2 2dc in the corner space, dc, dc, dc inc, dc inc, dc in the following 8 sts, 2dc ch2 2dc in the next corner space. dc in the following 14 sts, 2dc ch2 2dc in the next corner space, dc in the following 8 sts, dc inc, dc inc, dc, dc, 2dc in the last corner space, ch2, sl st to the top of the first ch3, fasten off. Round 5 finished.
- Round 6Add new yarn in any corner space, ch3 (count as dc), dc in the same corner space, dc in the following 18 sts, 2dc in the next corner space, ch3, [2dc in the same corner space, dc in the following 18 sts, 2dc in the next corner space, ch3] repeat 3 times, sl st to the top of the first ch3, fasten off.Step by step: Add new yarn in the corner space. ch3 as a standing st (count as dc). dc in this corner space. dc in the following 18 sts, 2dc in the next corner space, ch3. [2dc in the same corner space, dc in the following 18 sts, 2dc in the next corner space, ch3] repeat 3 times, sl st to the top of the first ch3, fasten off. Round 6 finished.
- Round 7Add new yarn in any corner space, ch as a standing st, sc in this corner space, sc in the following 22 sts, 2sc in the next corner space, [sc in the same corner space, sc in the following 22 sts, 2sc in the next corner space] repeat 3 times, sl st to the first sc, fasten off.Step by step: Add new yarn in any corner space. ch as a standing st. sc in the same corner space. sc in the following 22 sts, 2sc in the next corner space. [sc in the same corner space, sc in the following 22 sts, 2sc in the next corner space] repeat 3 times, sl st to the first sc, fasten off. Round 7 finished.
Stem Part
(Crochet with fine yarn) Add new yarn in the front loop of the first tr dc from round 3, ch5, sc in the BL of the 4th, 3rd, 2nd, and 1st chains, sl st to the next tr st. Weaving the end behind the stem to keep it upright.
(Separate the yarn and crochet with a single strand)
Step by step: Add new yarn in the front loop of the first tr dc from round 3. ch5. In the back loop of the 4th, 3rd, 2nd, and 1st chains, make a sc. Sl st to the next tr st. Leave a slightly long tail, secure the stem by weaving the end behind it to keep it upright. The stem part finished.
Leaf Part
(Crochet with fine yarn), add new yarn in the front loop of the first tr dc from round 3, ch8, then, sc in the BL of the 7th ch, hdc in the BL of the 6th ch, dc in the BL of the 5th and 4th ch, hdc in the BL of the 3rd ch, sc in the BL of the 2nd ch, sl st to the BL of the first ch, weaving the end near top on back.
(Separate the yarn and crochet with a single strand)
Step by step: Add new yarn in the front loop of the first tr dc from round 3. ch8. Make the following stitches: sc in the BL of the 7th ch, hdc in the BL of the 6th ch, dc in the BL of the 5th and 4th ch, hdc in the BL of the 3rd ch, sc in the BL of the 2nd ch, sl st to the BL of the first ch. Leave a slightly long tail, secure the leaf by weaving the end behind it near the top to keep it upright. The leaf part finished.
Important notes
💡 Stick with the recommended 3.00mm hook for a firm, defined pear; if your color-change tension runs loose, drop to a 2.75mm so the white background doesn't show gaps
💡 Use a smooth DK or light worsted for the clearest fruit shape — cotton gives crisp edges and holds a block beautifully, while a fuzzy yarn will blur the pear's outline
💡 Wind small bobbins or short lengths for the stem and leaf colors instead of pulling from full skeins; it keeps your work tangle-free during the color changes
💡 Place a stitch marker in the first stitch of every round — with seven rounds of shaping, one skipped stitch can throw the pear off-center
💡 Leave a generous 8-10 inch tail when you finish the stem and leaf so you have plenty of yarn to sew them on securely without joining a new strand
💡 Block the square before joining it to anything — a quick wet-block squares up the corners and evens out any tension differences between the pear and the background
More photos
FAQ
How big is the finished pear granny square?
Worked as written with a 3.00mm hook, each square comes out to about 4.13 by 4.13 inches. You can add rounds in the background color to reach 5 or 6 inches if you need it to match a particular blanket
What yarn and colors do I need?
You'll want five colors — a sunny yellow for the pear body, a brown stem, a green leaf, a white background, and a highlight tone — plus a smooth DK or light worsted yarn of your choice. Cotton gives the crispest fruit definition
Is this pattern beginner friendly?
It's best for confident beginners moving into intermediate work. If you can crochet a basic granny square and change colors without puckering, you'll be fine. The trickiest parts are the color changes and sewing on the stem and leaf
How do I keep the stem and leaf from falling off?
Sew them on with your darning needle using small, even whip stitches all the way around each piece, not just a couple of tacking stitches. Leaving a long tail when you finish those parts gives you enough yarn to secure them firmly
Can I use these squares in a blanket?
Absolutely — that's one of the best uses. Because they're a standard 4-inch granny format, they join easily with other 4-inch squares. Make a full grid of pears, or mix them with apples and plums for a fruit sampler throw
Made your own square?
This site belongs to every crocheter. Share your design with the world — we’ll math-check the counts, polish it up, and publish it free for everyone, credited to you.
🧵 Share your pattern →
0 / 0 rounds