
Free Pattern
Step-by-Step
Crochet
Granny SquaresHow to Crochet a Provence Flower Granny Square – Free Pattern
Crochet a Provence flower granny square with layered 3D petals in front and back loops. This free pattern includes tips, variations, and FAQs
Level IntermediateTime 1-2 HoursHook 3.00 mmYarn DK
About This Pattern
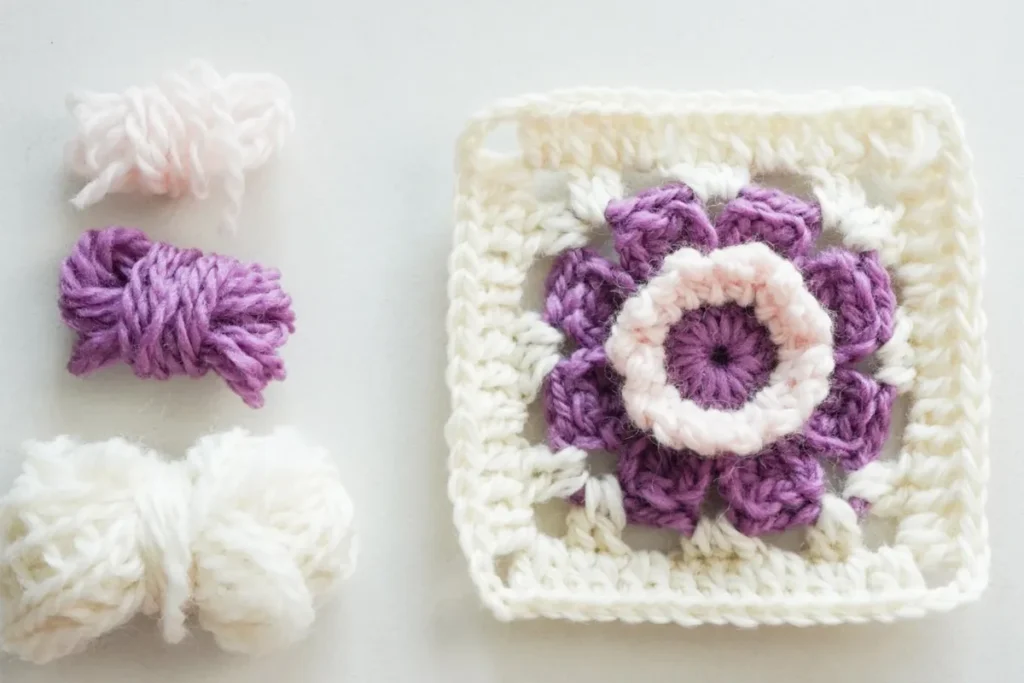
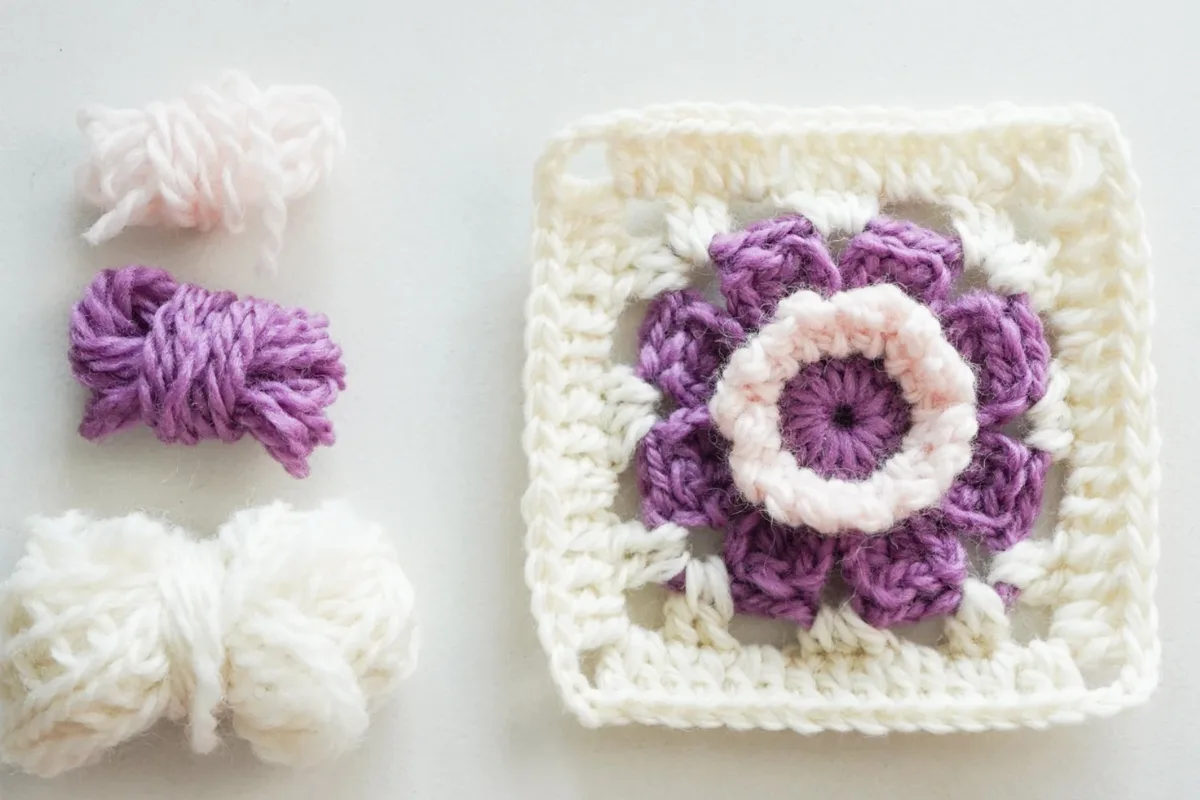
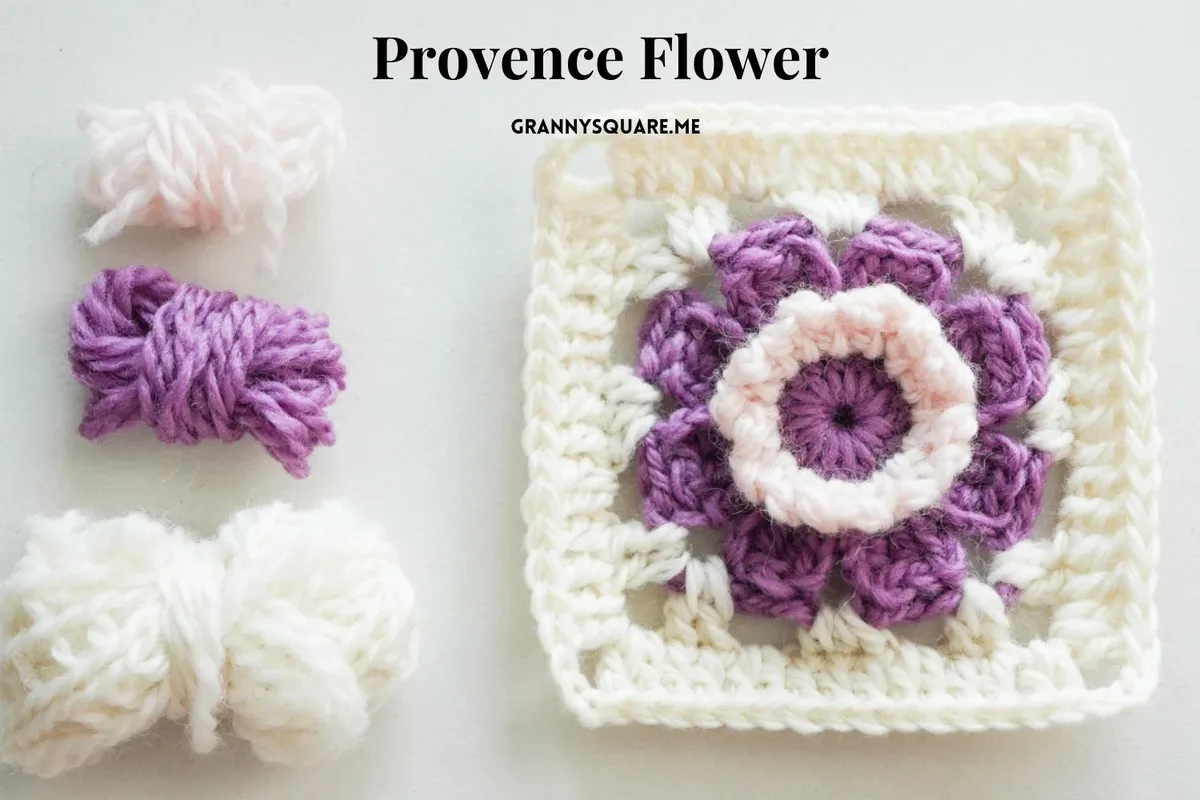
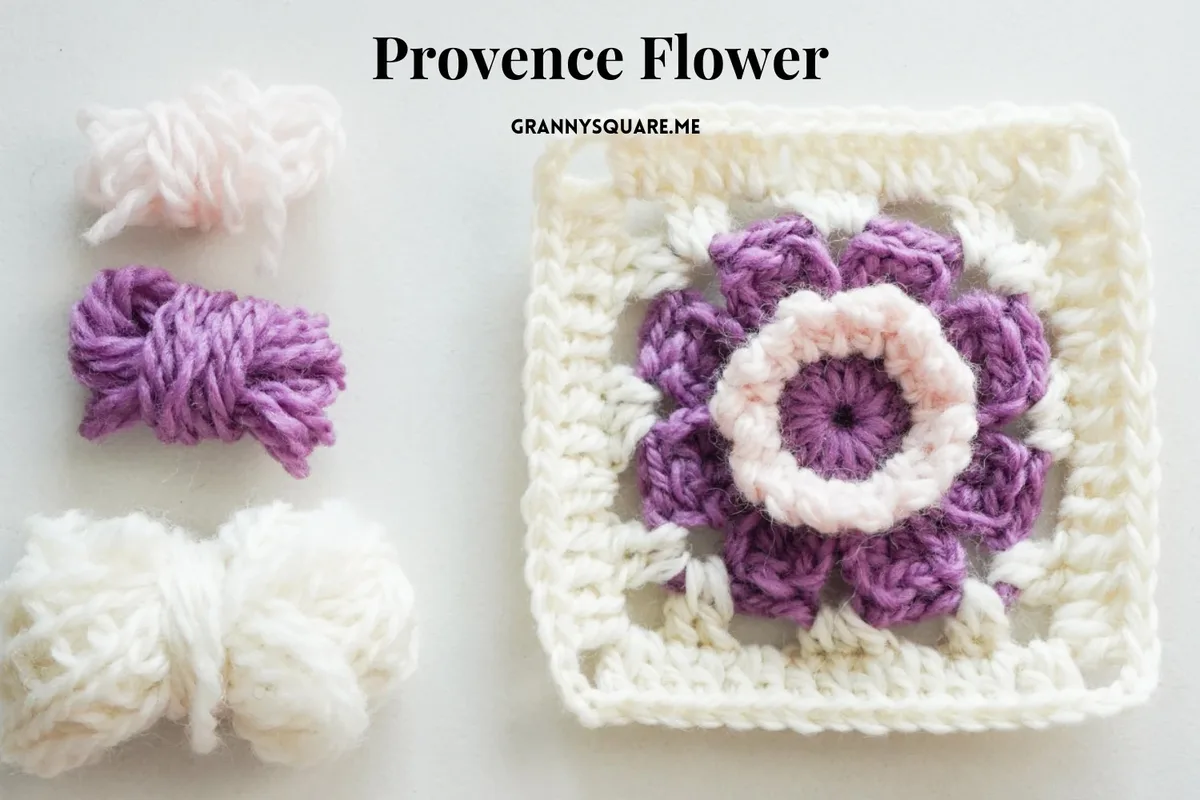
The Provence Flower Granny Square turns a simple half-double-crochet circle into a dimensional bloom with two full layers of petals — a raised ring of dainty pink chain-loop pistils in front, and eight taller treble-crochet petals fanning out behind them. Inspired by Provence's waves of purple flowers, the sample works a purple center and purple petals around that pink pistil ring — an impression of those purple flower fields rather than a literal lavender plant. A delicate chain lattice frames the flower before two border rounds give it that classic granny shape. It's perfect for crocheters who are bored of flat motifs and want something that looks far more intricate than it actually is
This square leans on a few clever techniques: working into the front loops only for the first petal layer, returning to the unused back loops for the second, and a lattice round anchored into the tops of the outer petals' chain-4 loops. If you're comfortable with trebles and can tell your front loop from your back loop, you're ready. Expect one to two relaxing hours per square, with most of the seven rounds fastening off cleanly before the next begins
Worked in wool with a 3.00 mm hook, the finished square measures roughly 3.5 inches (9 cm) — small enough for coasters and appliqués, and ideal for multiplying into cushions, bags, and blankets. The layered petals give it real depth you can feel under your fingers, while the double-crochet border keeps the edges tidy for seaming. A stack of these in Provence-inspired colors makes a genuinely special handmade gift
Variations
The original Provence colorway is a purple flower center circled by a ring of pink pistils, with eight purple petals spreading behind — a little wave of those Provence flower fields rather than a literal lavender plant. But this little square loves a costume change. Try a sunflower version with a chocolate-brown center, golden-yellow petals in both layers, and a deep green final two rounds. For autumn, go rust, mustard, and olive; for a coastal vibe, pair a pale aqua flower with a sandy cream border. A tone-on-tone square in three shades of the same color looks stunningly modern, letting the texture do all the talking. For sizing, the easiest tweak is repeating Round 7 — one double crochet in each stitch with 2dc + ch3 + 2dc in every corner — once or twice more; each repeat adds close to half an inch. Or simply swap yarn weights: worsted weight with a 4.00 mm hook grows this to roughly a 4.5-inch square, great for a quicker blanket. For yarn, Scheepjes Catona gives crisp cotton petals in over a hundred shades, Paintbox Simply DK is a budget-friendly acrylic workhorse, Stylecraft Special DK is a blanket-maker's classic, and Drops Merino Extra Fine keeps the soft woolly feel of the original sample. Project-wise: four squares make a sweet mug-rug set, sixteen become a gorgeous cushion front, and forty-eight join into a lap blanket where every bloom pops. You can even skip Rounds 6 and 7 entirely and use the lattice-framed flower as a round appliqué for hats and tote bags
I'll be honest — the moment I finished Round 3 of this square, I did a little happy dance. Those tiny pink chain-4 pistils worked into the front loops only stand up like a real flower center, and then Round 4 sneaks back into the leftover back loops to grow a second layer of treble petals behind them. Two layers of petals from one little 16-stitch circle! Genius. My favorite part, though, is the lattice round: slip-stitching chains between the tops of each outer petal creates this airy honeycomb frame that makes the flower look like it's floating. And because the petal and border rounds each fasten off, the color changes are wonderfully crisp — no muddy transitions. The squaring rounds are soothing after all that petal work, just half doubles, doubles, and tidy chain-3 corners. It's the kind of motif that makes people ask, 'wait, you MADE that?' — and each one only takes an evening
Common mistakes
- Working the Round 3 petals through both
- Tilt your work toward you — the front loop is the strand closest to you on each Round 2 stitch. The ch4 + slst petals must go into front loops only, because Round 4's treble petals need those untouched back loops. If Round 4 has nowhere to go, this is why; pull back and redo Round 3 in the front loops
- Ending Round 2 with 15 stitches instead
- The ch2 counts as your first hdc, so you work 15 more hdc for a total of 16. Count before fastening off — both petal rounds are worked into these 16 stitches, and one missing stitch throws off the petal spacing all the way around
- Joining the Round 4 trebles into Round
- Fold the pink petals forward and look behind them — you'll see the free back loops of Round 2 sitting in a neat ring. Join your new yarn into one of those back loops. The outer petals should sit behind the pink layer, not on top of it
- Slip-stitching the Round 5 lattice into
- Every outer petal has a left ch-4 and a right ch-4 at its top. The lattice sequence deliberately alternates between the right leg of the next petal and the left leg of the same petal. If your mesh twists or drags petals sideways, place a locking marker on the left leg of each petal before starting so the sequence stays consistent
- Working a full ch-3 at the end of Round
- That ch1 + hdc join replaces the final ch3 and lands your hook in the middle of the last corner space, positioning you perfectly for Round 7. If you chain 3 and slip stitch instead, your final round's starting corner will sit lopsided
- Skipping blocking and wondering why the square ripples
- Two layers of petals plus a chain lattice pack a lot of fabric into a small space, so a fresh square almost always waves a little. Pin it to 3.5 inches with pins at each ch-3 corner and hover a steamer over the edges — the border flattens beautifully while the petals keep their loft


Intermediate
Materials
- Yarn of Your Choice – 3 colors. The sample is made with wool yarn and a 3.00 mm hook. The finished granny square measures approximately 3.54 × 3.54 inches
- Crochet Hook – we used a 3.00 mm hook
- Darning Needle
- Scissors
Main Pattern
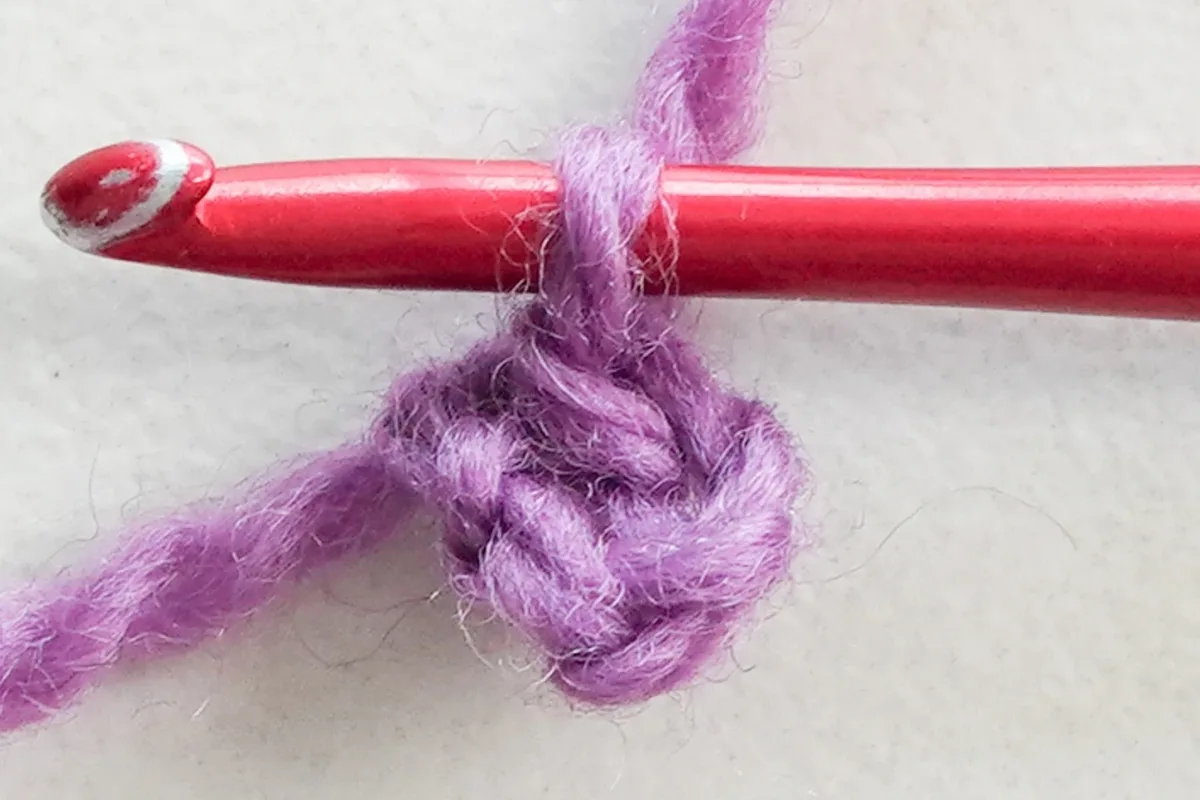
- Round 1Foundation loop Ch4, slst to the first ch to form a loop.
- Round 2Flower center Ch2 (count as 1hdc), 15hdc, slst to the top of the first ch2. Fasten off.Pink pistil: work in the FLO of the flower center to create a raised, 3D textured ring.
- Round 3Inner petal FLO. Add pink yarn in any st, ch4+slst; [slst+ch4+slst] in each remaining st. Slst to the join st, and fasten off.Work in the remaining BLO of the flower center, forming the base layer of petals behind the pink petal.
- Round 4Outer petal Work in the unused BLO of Round 2. Join new yarn in any BL, ch4+1tr, 1tr+ch4+slst; Repeat [slst+ch4+1tr, 1tr+ch4+slst] all the way around. Slst to the join BL, and fasten off.
- Round 5Squaring Third loop only, using only the top of each outer petal’s ch-4 . Join yarn to the top of any outer petal’s left ch-4. Ch3, slst to the next petal’s right ch-4, ch2, slst to the left ch-4 of the same petal, ch2, slst to the next petal‘s right ch-4, ch2, slst to the next ch-4 of the same petal. Repeat from around, fasten off at the end.
- Round 6First border Work only in ch-sp. Add new yarn in any ch-sp, ch3 (count as 1dc)+1dc+ch2, 3hdc+ch2, 2dc+ch3; Repeat [2dc+ch2 in the same ch-sp, 3hdc+ch2, 2dc+ch3] 3 times, replace the final ch3 with ch1, then 1hdc into the top of the initial ch3.
- Round 7Final border Ch3 to start (count as 1dc), 1dc in the same ch-sp. Work 1dc in each st, 2dc in each ch-2 sp, 2dc+ch3+2dc in each ch-3 sp. When you reach the end of the round and return to the starting ch-sp, work 2dc+ch3. Slst to the top of the first true dc, and fasten off.
Important notes
💡 Drop a locking stitch marker into the join stitch of every round. Four of the seven rounds start by joining new yarn in any stitch, and that marker is the only thing telling you where your round truly began and ended
💡 Rounds 3 and 4 both live in Round 2's stitches — front loops for the pink pistil petals, back loops for the treble petals. Fold the first petal layer forward with your thumb while you work Round 4 so you can see the free loops clearly
💡 Because most rounds fasten off, you'll finish with around a dozen tails. Weave each one in as soon as the round is done, or lay the tails along the top of the stitches and crochet over them during Rounds 6 and 7
💡 Keep your ch-4 petal chains relaxed. If your chains run tight, the petals will curl inward and the lattice round will fight you — going up half a millimeter in hook size just for Rounds 3-5 is a painless fix
💡 Check your size after Round 6, when the square shape is established. The 3.00 mm hook and wool yarn from the sample give a 3.5-inch square; if you're seaming these into a blanket, matching size here matters more than matching gauge exactly
💡 When steaming the finished square, pin the corners and lattice but never press the iron onto the flower — the 3D petal layers are the whole point. Hover the steam above them, then gently pinch each petal forward while damp
More photos
FAQ
Can I use cotton instead of the wool from the sample?
Absolutely — mercerized cotton like Scheepjes Catona gives crisper, more defined petals and sharper lattice chains. Your square may come out slightly smaller and stiffer than the wool version, which is actually lovely for coasters and bag appliqués
Why does the pattern work into front loops and then back loops?
Splitting the loops lets one 16-stitch circle host two complete layers of petals. The front loops hold the small pink chain-loop petals, while the untouched back loops anchor the taller treble petals behind them — that's what gives the flower its layered 3D look
My petals flop instead of standing up — what went wrong?
Loose tension or a heavy, drapey yarn is usually the culprit. Keep the ch-4 chains snug but not tight, use a slightly smaller hook than your yarn's ball band suggests, and give the petals a light steam while pinching them forward to set their shape
How many squares do I need for a blanket, and how do I join them?
3.5 inches per square, a 6-by-8 layout of 48 squares makes a sweet baby blanket, and about 120 gives you a generous lap throw. Join them with a whip stitch or slip stitch through the back loops of the final dc round, using your border color so the seams disappear
Made your own square?
This site belongs to every crocheter. Share your design with the world — we’ll math-check the counts, polish it up, and publish it free for everyone, credited to you.
🧵 Share your pattern →
0 / 0 rounds