
Free Pattern
Step-by-Step
Crochet
Granny SquaresPuff Stitch Daisy Granny Square – Free Crochet Pattern
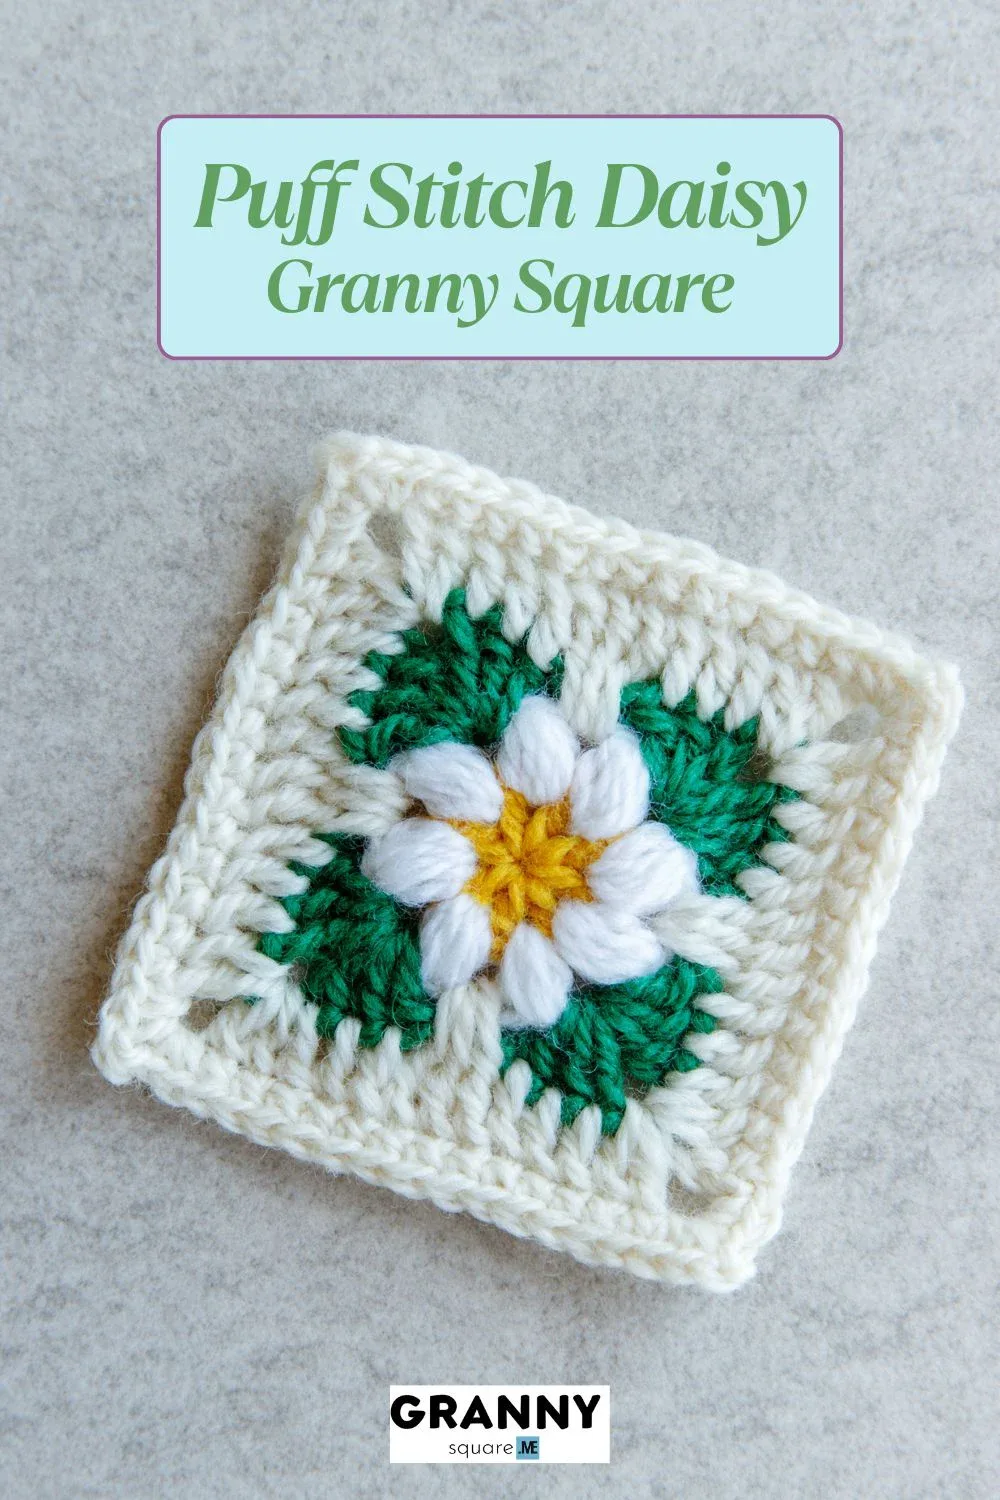
Free puff stitch daisy granny square pattern with a 4-color floral center. Learn 4-hdc puffs and standing stitches in this 3-inch square
Level IntermediateTime 1-2 HoursHook 3.00 mmYarn DK
About This Pattern
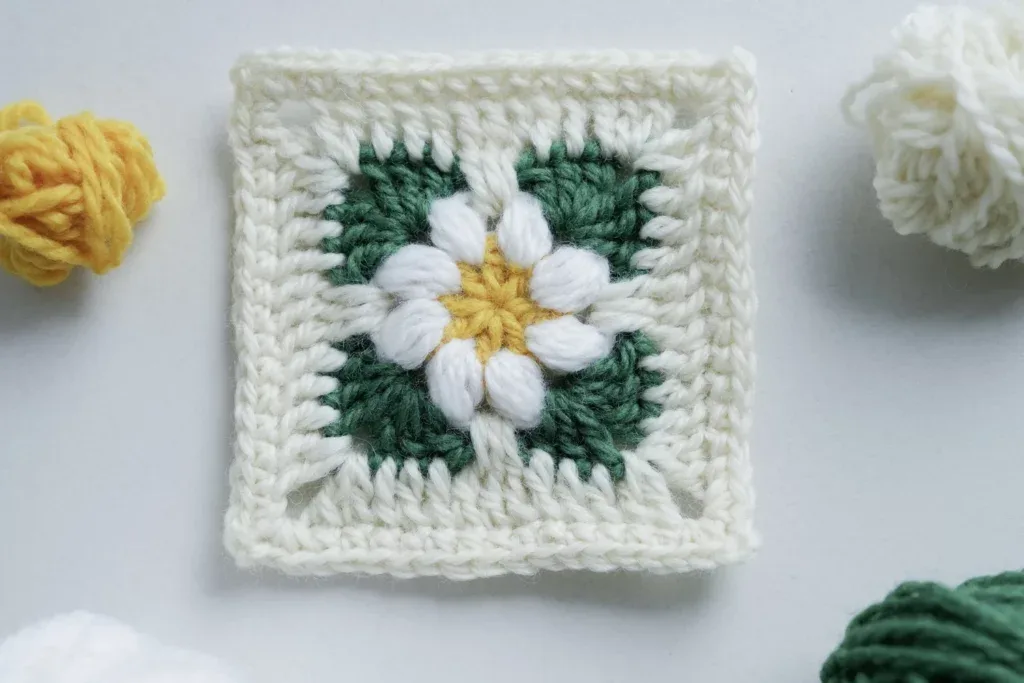
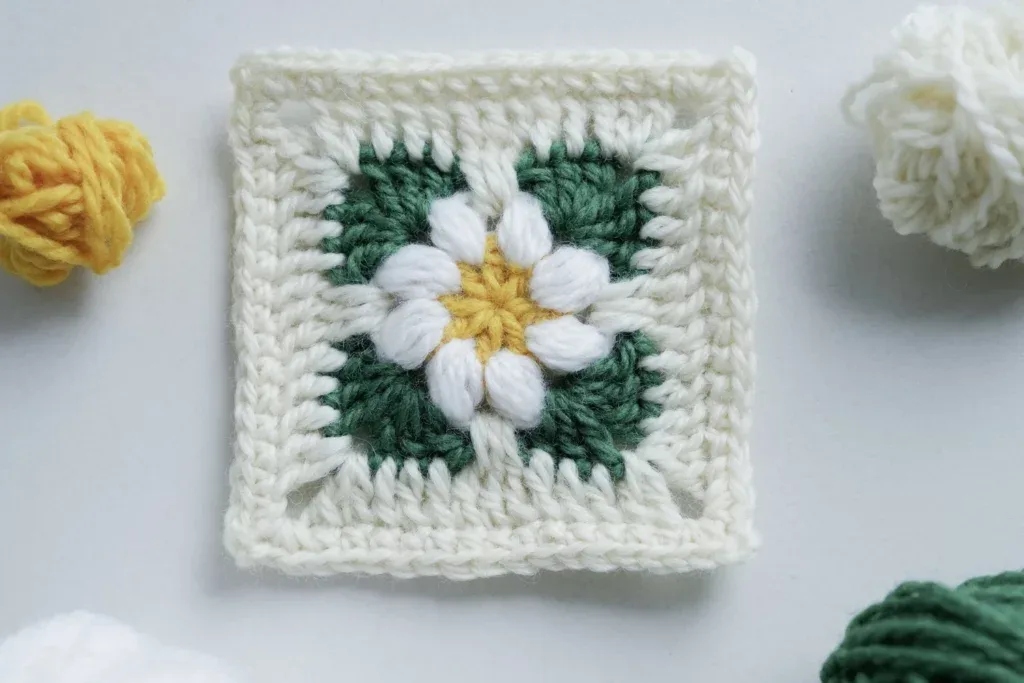
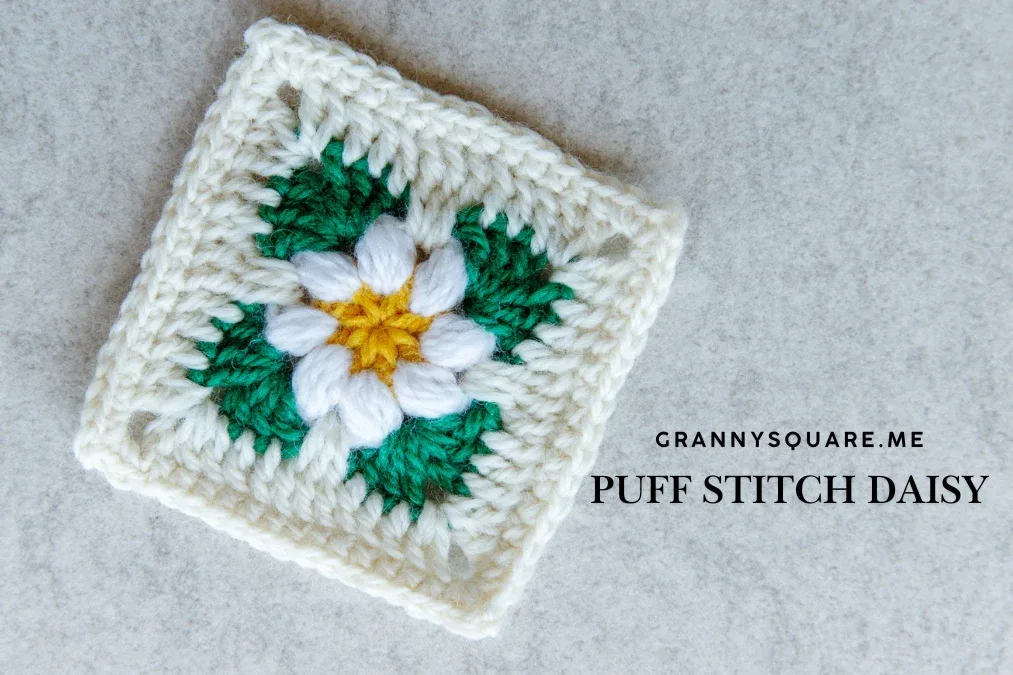
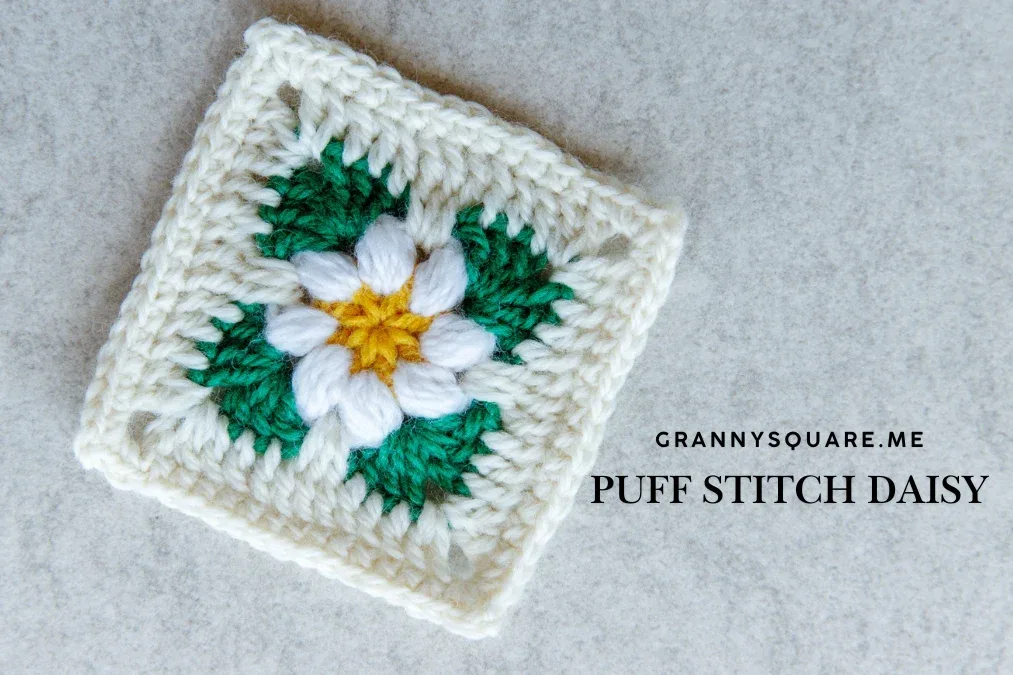
This pattern creates a compact four-color daisy granny square built from two full rounds of chunky 4-hdc puff stitches radiating out from a magic loop center. What makes it special is the double puff layer — the first round of eight puffs sits like a tight flower bud, and the second round of eight puffs blooms outward behind it, giving the daisy real depth instead of the flat petals you get in most flower squares. It's perfect for crocheters who have a basket of leftover DK scraps and want a motif that looks far more complicated than it is
You'll be working with a magic loop, double crochet, and the star of the show: the 4-hdc puff stitch, where four incomplete half double crochets are worked into one stitch and pulled through together in a single satisfying yarn over. Each of the five rounds is fastened off and rejoined with a standing stitch, so you're also practicing clean color changes and neat joins. Expect an intermediate experience — the stitches themselves are basic, but the puff tension and the standing-stitch starts take a bit of focus. Plan on 1 to 2 hours for your first square
The finished square measures roughly 3.15 by 3.15 inches on a 3.00mm hook, making it a genuinely small, dense motif with a lovely pebbled hand-feel from all those puffs. The two puff rounds create a raised daisy that catches light from every angle, framed by two crisp classic granny rounds of 3dc clusters and ch-2 corners. Stitch a handful together and you have a stunning coaster set; stitch a hundred and you have an heirloom blanket. As a gift, even a single square framed or turned into a bookmark charm feels thoughtful and handmade
Variations
I fell for this square the moment I finished round three. There's something so satisfying about that second layer of 4-hdc puffs — you pull the yarn through all nine loops on the hook, the puff pops into shape, and suddenly the flat little circle you started with has an actual three-dimensional daisy sitting on it. I love that the pattern uses four separate colors and fastens off every single round, because it means you get to make four different decisions about your palette instead of one, and every square in a stash-busting batch turns out unique. The standing stitch starts are my favorite detail here: instead of a lumpy ch-3 seam wandering across your daisy, each round begins invisibly, so the petals stay perfectly symmetrical. The final two granny rounds feel like a reward — after all that concentration on puff tension, you get to relax into familiar 3dc clusters and ch-2 corners while the square squares itself. At just over three inches, you finish fast enough to actually see progress, which is dangerous for anyone who says they'll 'just make one.'
Common mistakes
- Puff stitches come out loose, floppy and uneven across the round
- The 4-hdc puff lives or dies on loop height. Before each yarn over, draw your loop up to the same height every time — roughly the height of a double crochet — and use your left thumb to pinch the base of the puff so the loops can't slide. If your puffs still look slack, drop half a hook size for the two puff rounds only and go back up for the granny rounds. Consistency matters more than tightness
- Pulling through all the loops snags or splits the yarn on the final yarn over
- You have nine loops on the hook at that moment, which is a lot to drag through at once. Rotate your hook so the throat faces down as you pull through, and pull in two smooth motions rather than one yank — first easing the loops onto the shaft, then off. A hook with a deep, smooth throat such as a Clover Amour helps enormously here compared to an inline hook
- Round 2 ends up with more or fewer than 8 puffs
- Round 1 gives you 8 dc in the magic loop (the ch-3 counts as the first dc plus 7 dc). Round 2 needs exactly one 4-hdc puff in each of those 8 stitches, with a ch between them. It's easy to accidentally work a puff into the ch-3 as well as the stitch beside it. Count your 8 dc before starting round 2 and place a stitch marker in the first puff so you know where to slip stitch closed
- The magic loop center loosens and the daisy develops a hole
- After you slip stitch to close round 1 and before fastening off, pull the magic loop tail firmly one last time. Then weave that tail across the back of the center stitches rather than snipping it short — the friction of the weave locks the loop. Never trust a magic loop with a 1-inch tail; leave at least 5 inches to weave
- The standing stitch starts unravel or leave a visible gap at the join
- Each round begins with a chain that counts as an incomplete hdc worked into a stitch with brand new yarn, and that first stitch is fragile until it's anchored. Hold a 4-inch tail against the work and crochet over it for the first two or three stitches, or tie a temporary slip knot on the tail and undo it after the round is closed. Give the tail a gentle tug once the round is slip stitched to snug the base
- Skipping the wrong ch-space in the granny rounds, so the corners land off-center
- Rounds 4 and 5 alternate between working 3dc plus ch-2 in the current ch-space and skipping the next one. The skip creates the side, the paired clusters create the corner. Mark all four corner spaces with removable stitch markers as you make them so you can immediately see if your square is drifting into a diamond. If two corners end up adjacent with no skipped space between, frog back to the last correct corner rather than fudging it


Intermediate
Materials
- Yarn of your choice- 4 colors
- A crochet hook, we are using a 3.00mm hook
- Darning Needle
- Scissors
Main Pattern
- Round 1Flower Center Magic loop, ch3(count as dc), 7dc in the loop, sl st to the top of the first ch3, fasten off.
- Round 2Petals New yarn in any st, ch(count as an incomplete hdc)+ 3 incomplete hdc in this st, yo, pull through all the loops on the hook, a 4-hdc-puff finished, ch. [4-hdc-puff+ch]rep 7 times, sl st to the top of the first puff, fasten off.
- Round 3Leaves New yarn in any ch-sp, ch3(count as dc),2dc+ch2 in this ch-sp, sk the next ch-sp, 3dc+ch2 in the next ch-sp. *3dc+ch2 in the current ch-sp, sk the next ch-sp, 3dc+ch2 in the next ch-sp*rep 3 times, sl st to the top of the first ch3, fasten off.
- Round 4The Background New yarn in any corner sp, ch3(count as dc), dc in this corner sp, 3dc, 3tr in the next ch-sp from Round 2, 3dc, 2dc+ch2 in the next corner sp. *2dc in the current corner sp, 3dc, 3tr in the next ch-sp from Round 2, 3dc, 2dc+ch2 in the next corner sp*rep 3 times, sl st to the top of the first ch3, fasten off.
- Round 5The Border Add new yarn in any st, ch to start, sc in each st, 2sc+ch2+2sc in each corner sp, finally sl st to the top of the first sc, fasten off.
Important notes
💡 A 3.00mm hook is the sweet spot for DK weight here — it keeps the 4-hdc puffs dense enough to stand proud without making the final yarn over a struggle. If you go up to worsted, move to a 4.00mm and expect the finished square to grow to about 4 inches
💡 Because every one of the five rounds is fastened off and rejoined, you will finish with 10 yarn tails on a 3-inch square. Weave them in as you go rather than saving them all for the end — future you will not thank present you for a basket of squares and eighty loose ends
💡 Place a removable stitch marker in the top of the first puff of rounds 2 and 3. The puff tops are surprisingly hard to identify once the round is underway, and the marker makes finding your slip-stitch join instant
💡 Wind small bobbins or use mini skeins for the four colors instead of pulling from full balls. Each round only eats a few yards, and bobbins stop your working yarn from tangling every time you fasten off and rejoin
💡 Block your squares before joining. A quick steam block or a wet block pinned to 3.15 inches square evens out the puff rounds and forces the ch-2 corners into true right angles, which makes joining a batch dramatically faster and neater
💡 If you're making a batch, do all the round 1 centers first, then all the round 2 puffs, and so on. Assembly-line crocheting keeps your puff tension identical across every square, which is the single biggest factor in whether a finished blanket looks handmade or homemade
More photos
FAQ
Do I really have to fasten off after every round?
Yes, if you want the four-color daisy look — each round is a different color, so fastening off and rejoining with a standing stitch is what keeps the join invisible. If you'd rather work a single-color square, you can carry the yarn and slip stitch up into position instead, though the puff rounds will show a slight seam
What exactly is a 4-hdc puff and how is it different from a bobble?
A 4-hdc puff is four incomplete half double crochets worked into the same stitch, then finished by yarning over and pulling through all the loops on the hook at once. A bobble uses double crochets and closes differently, which makes it taller and narrower — the hdc puff is rounder and softer, which is exactly what gives this daisy its petal shape
How many squares do I need for a blanket?
3.15 inches each, a baby blanket roughly 30 by 36 inches needs about 10 squares across by 11 down, so around 110 squares plus joining. A lap blanket at 40 by 50 inches needs closer to 200. Many crocheters add a simple sc round to each square first to bump it to 4 inches and cut the count significantly
Can I use cotton yarn instead of acrylic?
Absolutely, and cotton actually shows off the puff texture beautifully because it has less halo and crisper stitch definition. Cotton has no memory though, so keep your puff tension a touch firmer than you would with acrylic, and be aware that a cotton square will drape more and block larger
My square isn't square — it's coming out rounded at the corners. What went wrong?
That's almost always a granny-round issue rather than a puff issue. Check that rounds 4 and 5 have exactly four ch-2 corner spaces with the correct skipped ch-space creating each side, and that you haven't accidentally worked a cluster into a skipped space. A firm wet block pinned at all four corners will also correct mild rounding
Made your own square?
This site belongs to every crocheter. Share your design with the world — we’ll math-check the counts, polish it up, and publish it free for everyone, credited to you.
🧵 Share your pattern →
0 / 0 rounds