
Free Pattern
Step-by-Step
Crochet
Granny SquaresSmiley Face Granny Square — Free Crochet Pattern
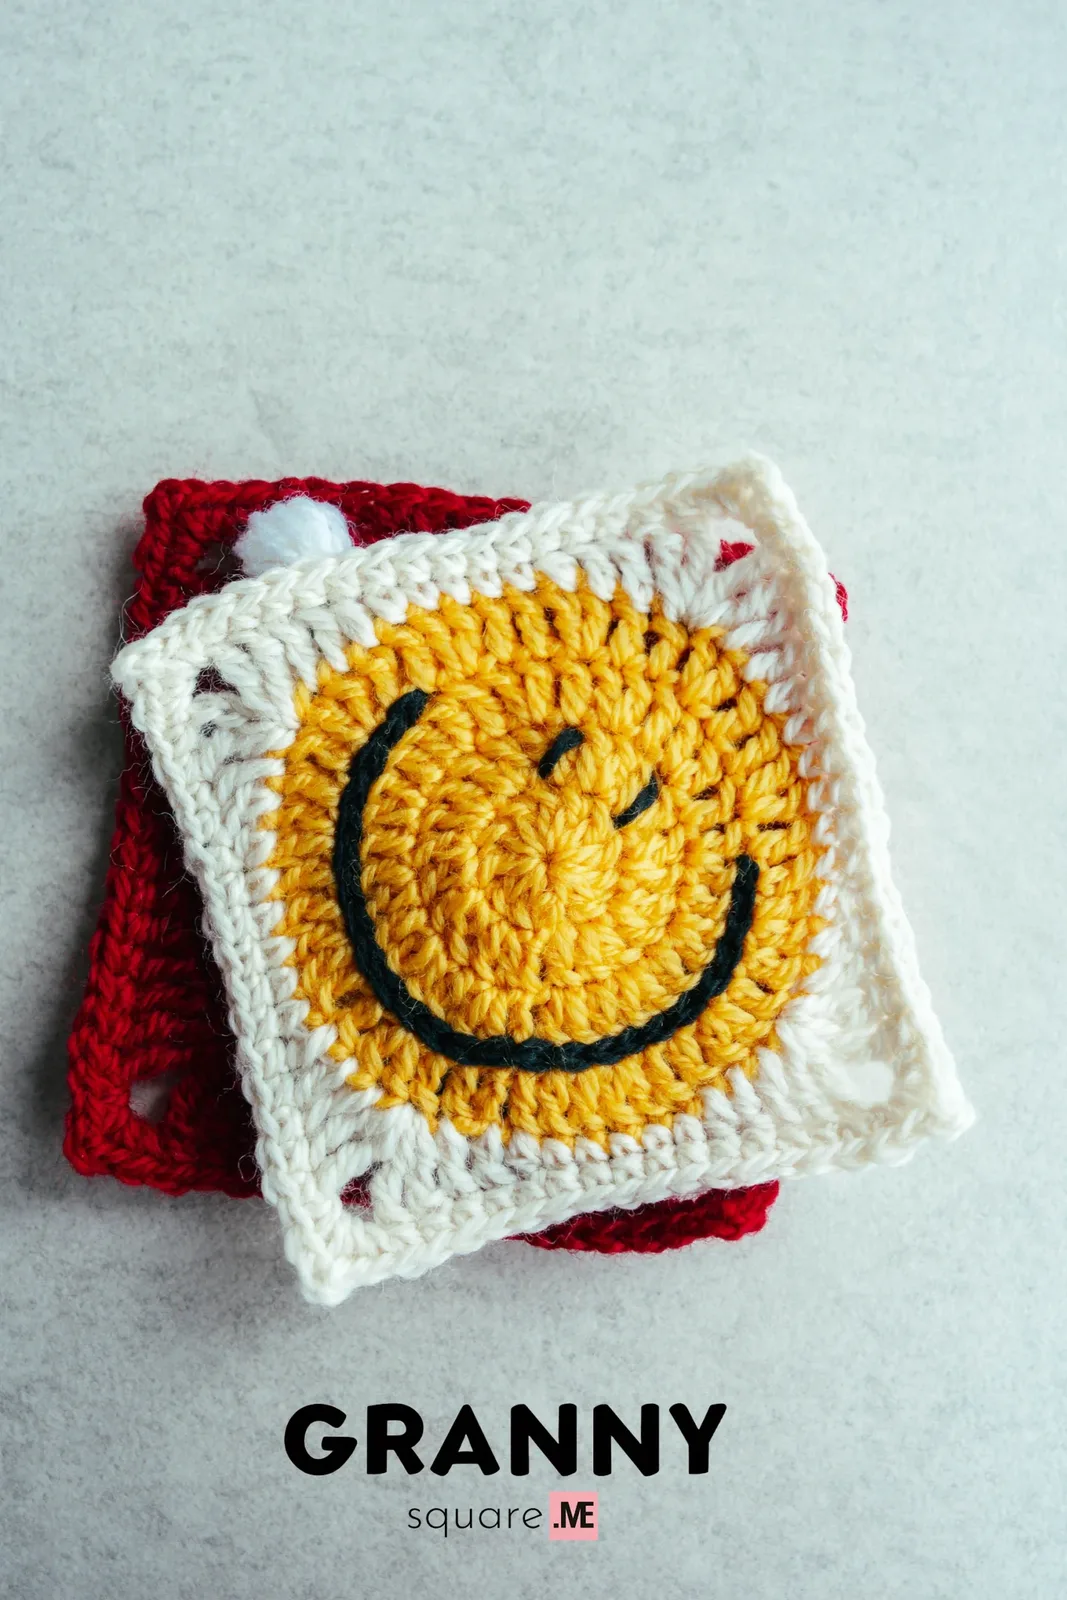
Free smiley face granny square crochet pattern with 6 easy rounds. Make cheerful 4.4-inch squares for blankets, bags and cozy handmade gifts
Level Easy-IntermediateTime 1-2 HoursHook 3.00 mmYarn Worsted
About This Pattern
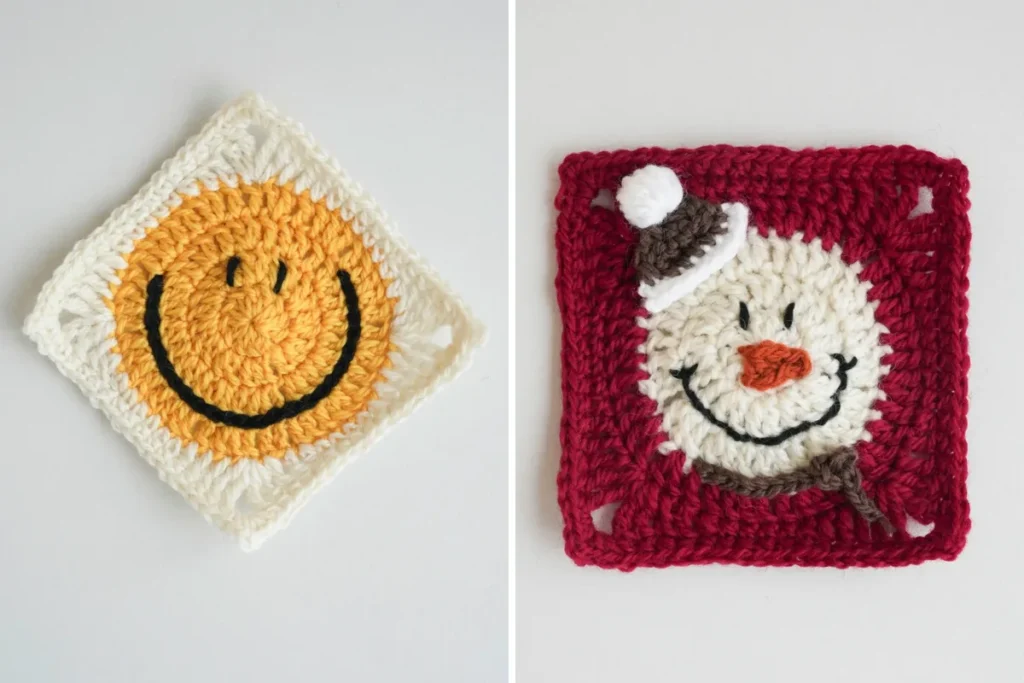
This pattern turns a humble worked-in-the-round circle into a beaming smiley face granny square — six rounds that start in a magic loop, grow through steady double crochet increases, and finish with a clever corner round that squares everything off. The face itself comes from a simple color change plus a few embroidered details, so you get a bold graphic motif without any intarsia or bobbin juggling. It's perfect for anyone who loves retro '70s energy and wants a square that makes people smile before they even touch it
You'll use a magic loop, ch-3 standing double crochets, double crochet increases, and then a mixed corner round that steps through treble, double, half double and single crochets to build the four corners. Nothing here is fussy — if you can work a granny square and count to twelve, you can make this. The rhythm of [dc inc, 2dc] repeats becomes almost meditative by round four. Expect around 45 to 75 minutes per square, faster once you've made two or three and stop reading the pattern line by line
The finished square measures roughly 4.41 × 4.41 inches in wool with a 3.00 mm hook, which is a lovely tight, dense fabric that holds its shape and blocks beautifully. The face reads clearly from across the room — flat, graphic, a little bit vintage. Three colors gives you the classic smiley; six colors gives you the snowman variation. Make one for a bag panel, thirty for a blanket, or a single one as a coaster for someone who needs a good day
Variations
I fell for this square the second I finished round four and watched the circle start behaving like a square. There's something so satisfying about that [dc inc, 2dc] repeat — you can feel the fabric widening evenly under your fingers, and then round five swoops in with the tr inc, 2dc, 1hdc, 5sc, 1hdc, 2dc, tr inc, ch2 sequence and suddenly you have corners. That graduated stitch height, tall at the corners and short in the middle of each side, is honestly a little bit of engineering magic, and it never gets old. I also love how forgiving it is. The smiley face is embroidered on after the fact, so if your eyes end up slightly crooked, you just pull the yarn and redo them — no unraveling three rounds. Working with a 3.00 mm hook and wool gives you this dense, squishy little tile that feels substantial in your hand. And the sc border being optional means you can adapt to whatever joining method you already love. It's the rare pattern that's quick enough to finish in an evening but charming enough that people ask where you bought it
Common mistakes
- Counting the ch-3 as a stitch on some
- This pattern is explicit — the ch-3 always counts as one dc, and you always slip stitch into the TOP of that first ch-3 to close. Put a stitch marker in the top chain of the ch-3 at the start of each round so you can't miss it when you close. If your round-two count isn't 24 dc, that ch-3 is almost always the culprit
- Pulling the magic loop closed before
- Work all 12 double crochets loosely into the loop first, then pull the tail gently and evenly until the center closes. If you tighten as you go, the stitches crowd and the circle cones. Give the tail a final firm tug after the slip stitch, then weave it in securely — magic loops can loosen over time, so a couple of extra weaving passes are worth it
- Losing track of the [1dc, dc inc]
- Place a removable stitch marker after every repeat — you should have 11 repeats plus the initial setup. If your circle ruffles, you've added extra increases; if it cups into a bowl, you've missed some. Count your stitches at the end of every round and write the number on a sticky note before you set the project down
- Skipping or misplacing the ch-2 at each
- The ch-2 IS the corner space and it's what lets the fabric turn ninety degrees. Work the tr inc, then chain 2 loosely, then start the next tr inc in the SAME stitch as the previous tr inc ended. If your corners pull in, try chaining those 2 loosely or going up a hook size just for that round
- Joining the new yarn for round five
- Before joining, lay the circle flat and decide where the face will point. Count your round-four stitches into four equal groups and join at the start of one group so each corner falls at the same spot on all four sides. If you're making a full blanket, join at the same relative position on every square so the seams match
- Embroidering the eyes and smile
- Use the same weight yarn as the square, split the strand if you want finer lines, and keep your surface stitches snug but not tight enough to pucker the fabric. Anchor the start and finish with a small backstitch on the wrong side rather than a knot, and steam block the square once the face is on so everything settles evenly
- Adding the optional single crochet
- The sc border changes the edge stitch count, which matters for join-as-you-go and mattress-stitch seams alike. Make one test square, try your chosen join on it, and only then decide whether the border helps or fights you. If you're doing a whipstitch join, skipping the border usually gives a flatter, less bulky seam


Easy-Intermediate
Materials
- yarn of your choice —3 colors for basic style, 6 colors for snowman style; the sample is made with wool yarn. The finished granny square is about 4.41 × 4.41 inches
- Crochet Hook, We used a 3.00 mm crochet hook
- Darning Needle
- Scissors
Main Pattern
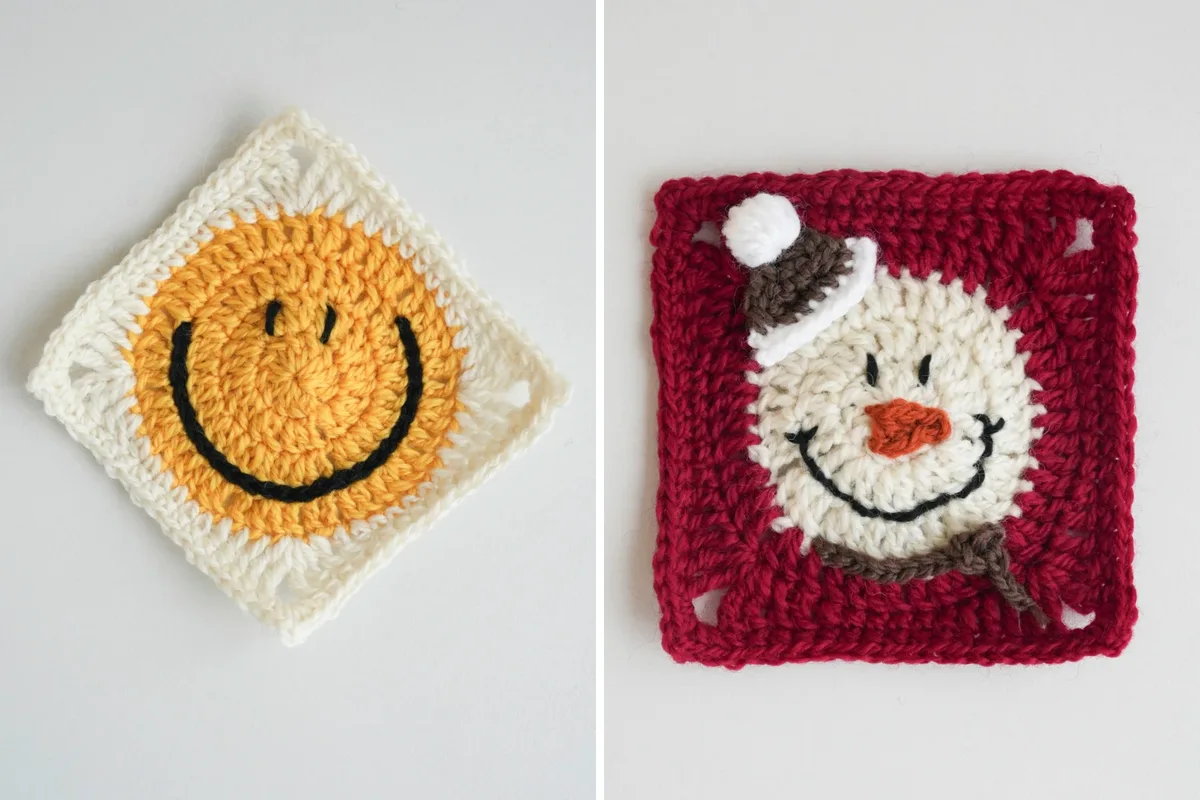
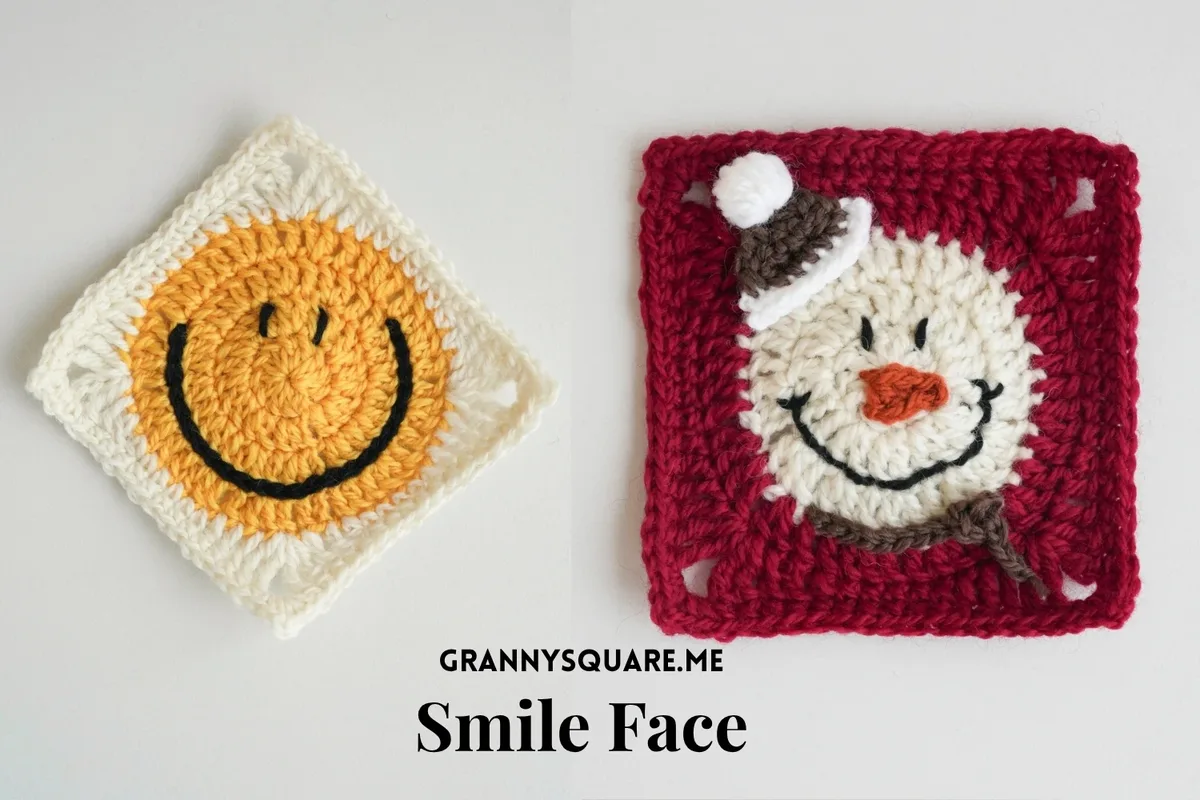
Overview The smiley face is a lovely, decorative, and fun granny square for beginners. It is basically a large circle in the center with a granny-square border. There are two versions here: the popular basic smiley face, and a snowman version with a hat, nose and scarf.
Round 1 — Make a circle Round 1 makes the circle at the center of the square. Everything is worked into a magic loop, and the ch3 at the start counts as your first dc.
- Round 1Magic loop, ch3 as a standing st(count as 1dc), 11dc, slst to the top of the first ch3.
- Round 2ch3(count as 1dc), 1dc in the same st, dc inc in the remaining sts, slst to the top of the first ch3.
- Round 3ch3 as a standing st(count as 1dc), dc inc, [1dc, dc inc] repeat 11 times, slst to the top of the first ch3.
Round 4 — Finish the small face Round 4 finishes the small face — this is the last round worked in the face color before the border color takes over.
- Round 4Ch3 as a standing st(count as 1dc), 1dc in the same st, 2dc; [dc inc, 2dc] repeat 11 times, slst to the top of the first ch3, fasten off.Round 5 — Turn the circle into a square Round 5 turns the circle into a square. The graduated stitch heights — treble at the corners, then dc, hdc and sc through the middle of each side — are what pull the round shape out into four corners.
- Round 5New yarn into any st, ch4(count as 1tr), 1tr in the same st, 2dc, 1hdc, 5sc, 1hdc, 2dc, tr inc, ch2; [tr inc in the same st, 2dc, 1hdc, 5sc, 1hdc, 2dc, tr inc, ch2] repeat 3 times, slst to the top of the first ch4 (60).Round 5 step by step Step by step: join new yarn into any st; ch4 as a standing st (count as 1tr); 1tr in the same st, 2dc, 1hdc, 5sc, 1hdc, 2dc, tr inc, ch2; then [tr inc in the same st, 2dc, 1hdc, 5sc, 1hdc, 2dc, tr inc, ch2] repeat 3 times, slst to the top of the first ch4. (60)
Round 6 — Single crochet border (optional) The single crochet border is optional. You can skip this based on your joining method.
- Round 6ch1+1sc in this st, 1sc in each st around, 2sc+ch2+2sc in each corner as you go, slst to the first sc at the end. Fasten off.Snowman color change To make a snowman smile-face granny square, first change the color for round 4 to the border color, since we need space for the cute hat. Snowman colors To give this square a wintery, Christmas feel, we use dark red for the border and the last round of the face (to create a smaller face), and beige for the first three rounds of the face. Nose ch4, return, sk1 and in third loop only, slst, 1sc, 1hdc, ch1. Fasten off, leave long tails for attaching. Hat-Row 1 ch9, return, sk1, 1sc in each remaining ch, fasten off. Hat-Row 2 Add new yarn in the right-most st, ch1 as a standing st, sc2tog over next 2 sts, 4sc, sc2tog. Hat-Row 3 Turn over, ch1 as a standing st, sc2tog over next 2 sts, 2sc, sc2tog. Hat-Row 4 Turn over, ch1 as a standing st, work sc2tog 2 times. Hat-Row 5 Turn over, ch1 as a standing st, sc2tog, ch1. Fasten off. Leave a long tail for attaching. Pom-pom Magic loop, ch3, 7-dc-bo, ch3, slst to the loop, pull the tail tightly and fasten off. Leave long tails for attaching. Scarf Ch21. Make a knot on one side of the chain. Leave a long tail on another side for attaching.
Square or diamond You can either use the square as a "square" or as a "diamond" — decide which way up the face will sit before you stitch the features on.
Stitch the mouth and eyes Use a contrasting color yarn to stitch the mouth and eyes onto the granny square. You can personalize the expression or create two round eyes for a unique touch.
Snowman Variation Snowman Smile Face Granny Square
The nose Let's make a cute nose for the snowman.
The hat The snowman's hat is crocheted in rows. We will finish this part with two colors of yarn and 5 rows.
Pom-pom of the hat Using a bobble stitch is a quick way of making a small pom-pom for the hat.
Assemble Attach the hat, nose, and scarf to your smiley face granny square, then sew the pom-pom onto the top of the hat.
Important notes
💡 The sample uses a 3.00 mm hook with wool yarn to hit that 4.41 × 4.41 inch finished size. If you're using a heavier worsted, go up to 4.00 mm and expect a square closer to 5.5 inches — just be consistent across every square in a project, because mismatched sizes are painfully obvious once you start seaming
💡 Make your first square as a gauge test, then measure it and multiply. For a 40 × 50 inch throw at 4.41 inches per square you'll need roughly 9 across and 11 down, so 99 squares plus a border. Knowing that number before you start saves a mid-project yarn panic
💡 Keep a removable stitch marker in the top of every ch-3 and ch-4 standing stitch. Because those chains count as stitches, the marker is your insurance against slip-stitching into the wrong loop when you close the round — the single most common source of a wonky granny square
💡 Round five uses four different stitch heights in one pass — tr, dc, hdc, sc, then back up again. Read the sequence out loud as you work it the first time, and don't worry if it feels awkward; that height gradient is exactly what pulls a circle into a square, and by the third corner your hands will know it
💡 For the color change into round five, don't cut the previous yarn too short. Leave a 6-inch tail, weave it in along the back of the round-four stitches rather than across the face, and it'll disappear completely once the square is blocked
💡 Block every square before joining. Wool responds beautifully to a light steam or wet block, and pinning each square to exactly the same measurement on a blocking mat means your seams line up perfectly instead of easing in wobbly edges square by square
💡 If you're making the six-color snowman variation, wind small butterfly bobbins of each accent color before you start rather than working from full skeins. Six balls tangling on your lap is the fastest way to lose enthusiasm for an otherwise cheerful project
More photos
FAQ
How big is the finished smiley face granny square?
The sample measures about 4.41 × 4.41 inches using wool yarn and a 3.00 mm crochet hook. Your size will vary with yarn weight and tension, so always make one square first and measure before you commit to a full blanket's worth
How many colors do I actually need for this pattern?
Three colors gets you the classic smiley — one for the face, one for the background and corners, and one for the eyes and smile. The snowman variation calls for six colors so you can add a hat, nose and scarf details
Do I have to add the single crochet border round?
No, it's completely optional and depends on how you plan to join your squares. If you're using join-as-you-go or a whipstitch seam, skipping the border often gives a flatter, tidier result; if the squares are standing alone as coasters, the border gives a nice crisp finish
Why is my square coming out as a wavy circle instead of flat?
Rippling almost always means extra increases crept into round three or four, while cupping means you missed some. Count your stitches at the end of every round and check that you worked exactly 11 repeats of each bracketed sequence before closing
Can I use cotton yarn instead of wool for this pattern?
Absolutely — cotton gives a crisper, less stretchy square that's ideal for coasters, potholders and washcloths. Just note that cotton has less give, so you may want to go up half a hook size to keep the round-five corner chains from pulling tight
Is this pattern suitable for a confident beginner?
Yes, if you're comfortable with a magic loop and double crochet increases. Rounds one through four are very repetitive and forgiving, and round five is the only genuinely new skill — just take it slowly and read each stitch of the corner sequence as you go
Made your own square?
This site belongs to every crocheter. Share your design with the world — we’ll math-check the counts, polish it up, and publish it free for everyone, credited to you.
🧵 Share your pattern →
0 / 0 rounds