
Free Pattern
Step-by-Step
Crochet
Granny SquaresSnake Granny Square: Free Crochet Appliqué Pattern
Free snake granny square pattern! Crochet a wiggly S-shaped snake appliqué on a 5-round solid square. Beginner-friendly 4.2-inch blanket block
Level IntermediateTime 2-3 HoursHook 3.00 mmYarn DK
About This Pattern
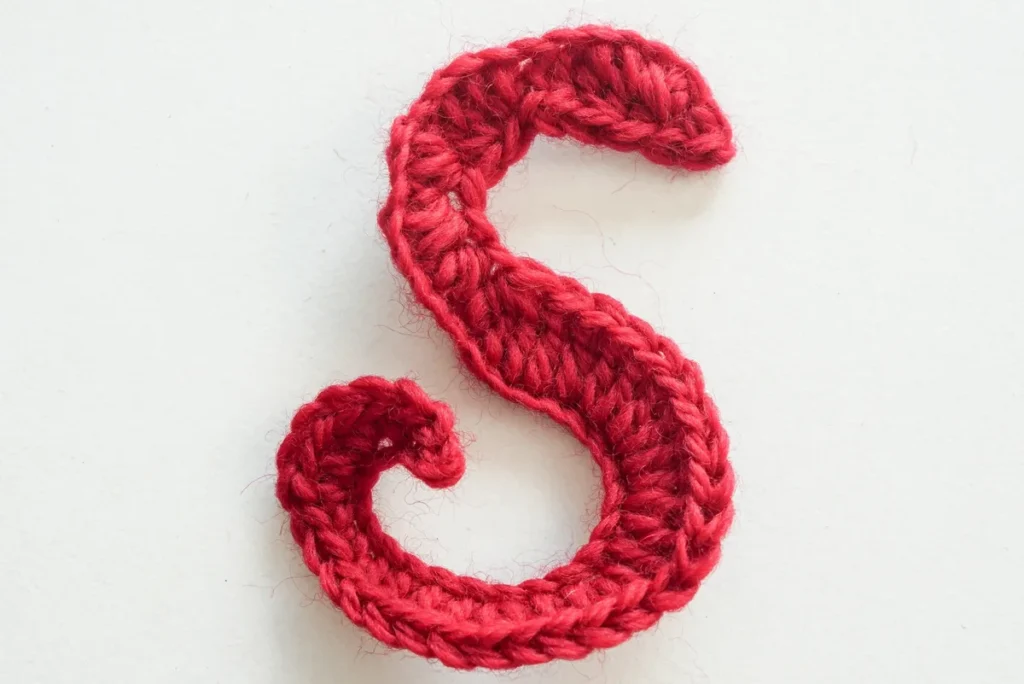
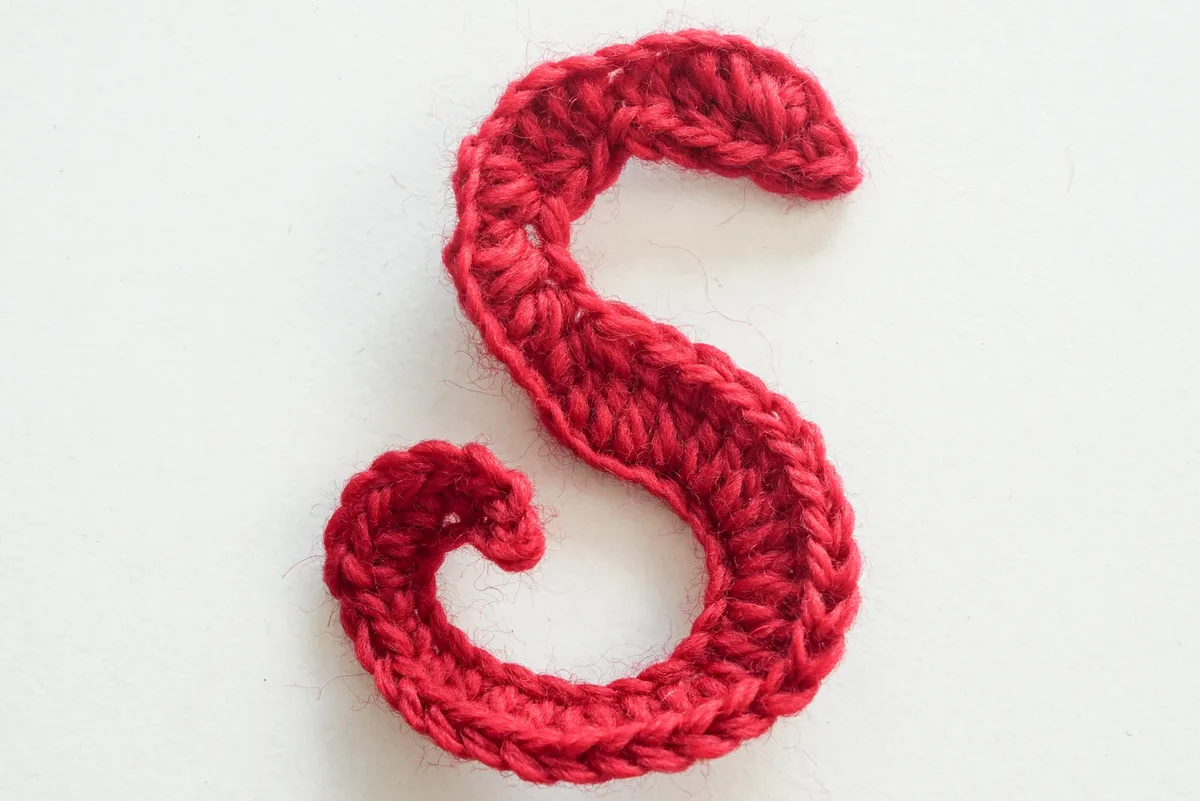
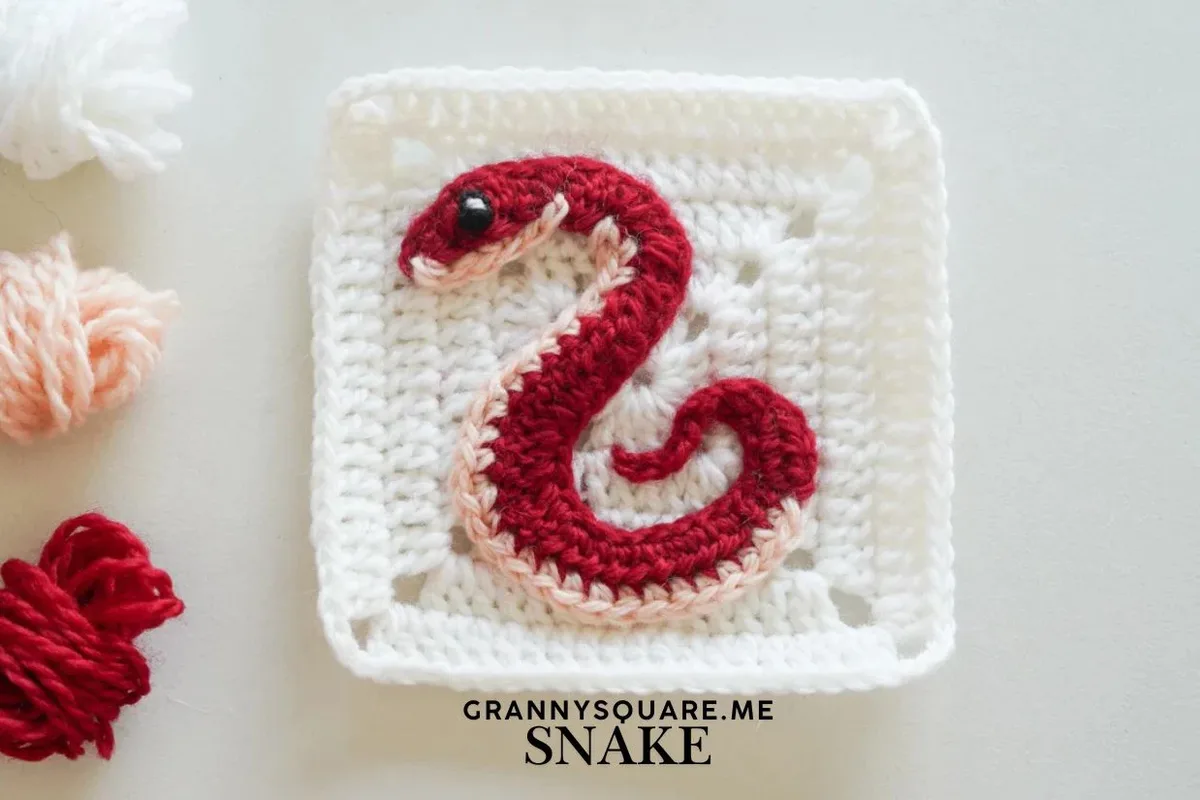
This pattern gives you a wiggly little snake appliqué sewn onto a solid granny square background, making one 4.2-inch by 4.2-inch block that slots straight into an animal-themed blanket. The snake is worked flat as one long shaped strip rather than in the round, so its body naturally curves into a lazy S when you position it. The tapering head, the widening mid-body, and the tiny chain-6 curl at the tail give it real personality — it looks like it's mid-slither across the square
You'll be working in back loops only for most of the snake, which is what creates that gorgeous ridged spine down its back. The stitch sequence moves through sc, hdc, and dc heights within a single row, plus increases and some chunky decreases like hdc3tog and dc3tog that pull the shape in at the tail. Two more BLO rows worked on the reverse side build out the belly. Nothing here is exotic, but the row does demand attention — expect around 2 to 3 hours total including the background square
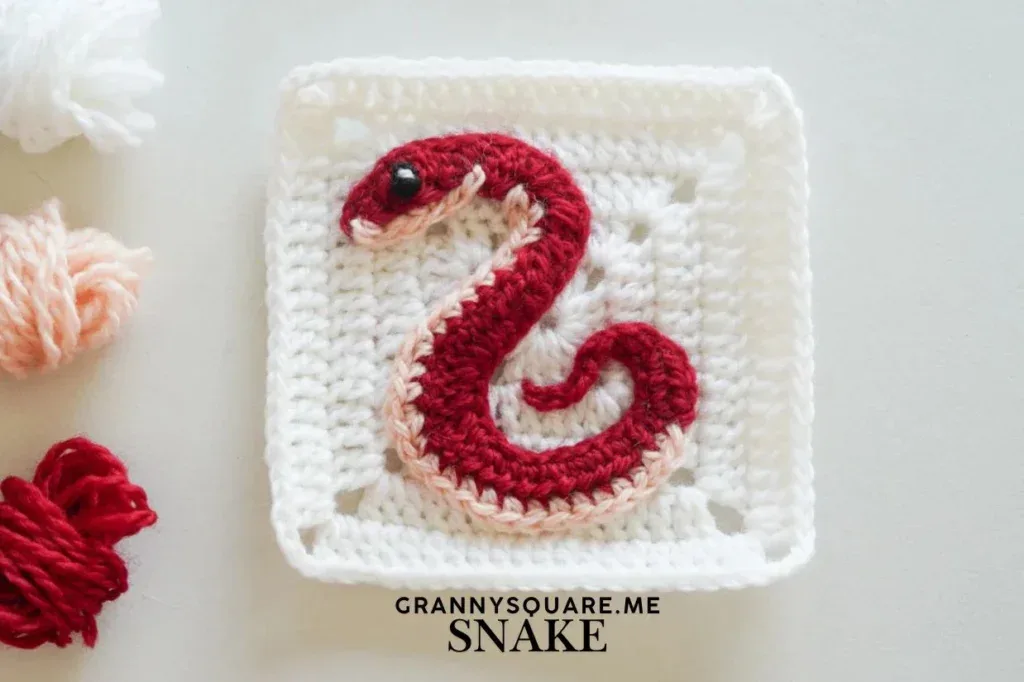
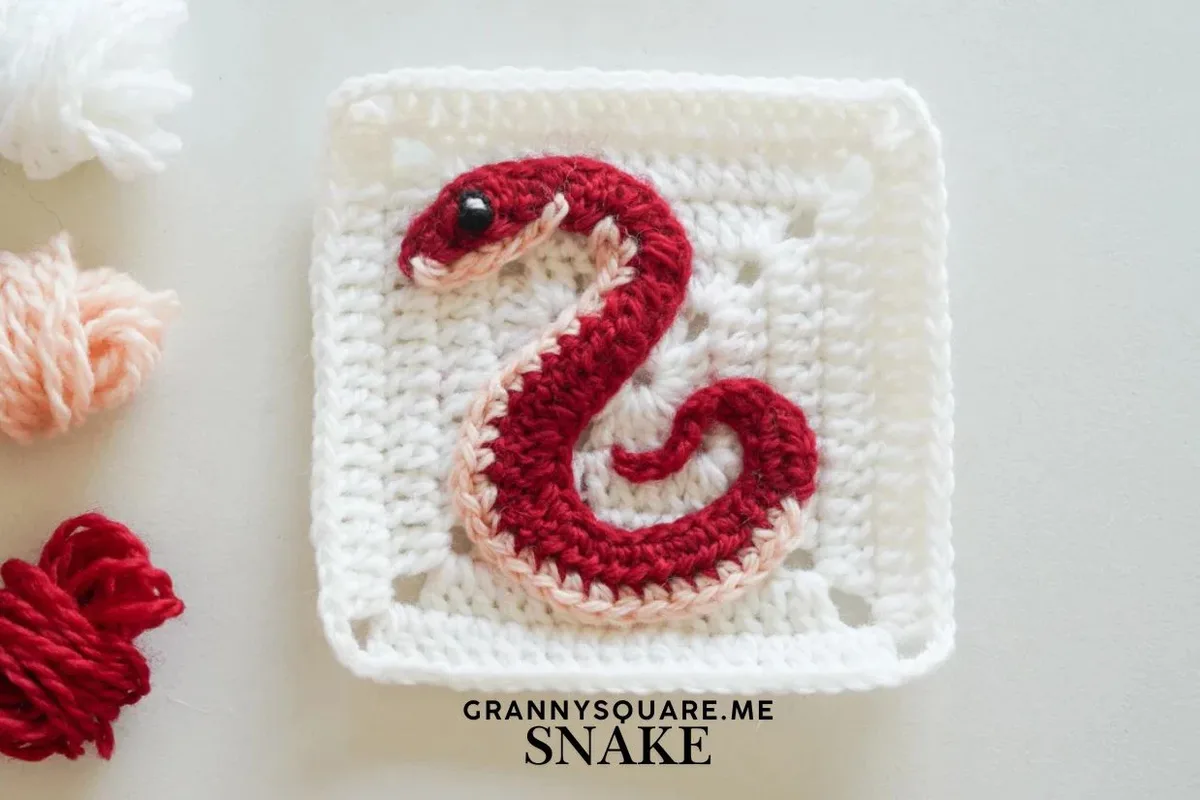
The finished square measures about 4.2 inches on each side in DK weight with a 3.00mm hook, matching our whale granny square exactly so the two can share a blanket without any blocking gymnastics. The snake sits raised off the solid background with a lovely dimensional quality, finished with a black French knot eye and a single white shine stitch that brings it to life. Make a whole nest of them in different colorways for a baby blanket, a cushion front, or a reptile-loving kid's bedroom
Variations
Colour is where this snake gets fun. The classic route is emerald green body with a lighter sage belly on a cream background — very garden snake. But a coral snake version is stunning: work the main body row in red, join the belly rows in cream, and use a black background square so the bands pop. For something softer for a nursery, try dusty pink with an off-white belly on a pale mint square. A yellow-and-brown python colourway looks fantastic too, especially if you swap the background to a warm tan. For size changes, the whole block scales cleanly. Go up to worsted weight with a 4.00mm hook and you'll land around 5.5 inches, which means the background square needs 6 rounds instead of 5 to keep up — check after round 5 and add if needed. Dropping to fingering with a 2.25mm hook gives you a dainty 3-inch square, lovely for a doll blanket. The snake itself keeps its proportions at any weight because it's a single shaped row. Yarn-wise, Paintbox Simply DK and Scheepjes Catona (held as DK by doubling) both give crisp stitch definition, which matters here because the BLO ridge is the whole visual point. Avoid anything fuzzy — mohair will swallow the spine detail entirely. For themed spins, a white snake with silver eyes reads as a winter ice serpent. Make the tail curl longer, ch12 instead of ch6, and you get a whimsical storybook look. Or skip the background square, add a pin back, and wear it as a brooch
I'll be honest — I did not expect a snake to be the square I kept making over and over, but here we are. What hooks me is that the entire body is one continuous row that changes stitch height as it goes: you start with a slst and sc at the nose, climb through hdc into those four consecutive dc-increases that fatten the belly, then squeeze back down through dc3tog and hdc3tog to taper the tail. Watching the shape appear under your hook as the stitch heights shift is genuinely addictive. And because it's all worked in back loops only, you get this beautiful ribbed spine running the full length of the snake with zero extra effort. The finishing details are my favourite part though. That black French knot with one tiny white shine stitch on top takes about forty seconds and completely transforms the face — before it, you have a wiggly strip; after it, you have a creature with an opinion. The chain-6 tail curl is the other little joy. It costs almost nothing and it's what makes the snake read as moving rather than lying there
Common mistakes
- Working into both loops instead of back loops only on the main snake row
- The BLO instruction runs through the entire body row, not just the start. If you work both loops, you lose the raised ridge that reads as the snake's spine and the piece sits flat and shapeless. Before each stitch, tilt the work toward you and make sure you can clearly see the front loop sitting unworked below your hook. If you catch the error a few stitches later, it's worth frogging back — the ridge has to be continuous to look right
- Miscounting the four consecutive dc-increases in the belly section
- The (dc-inc)×4 run is what gives the snake its fat middle, and it's easy to work three or five when you're in the rhythm. Place a removable stitch marker in the first stitch of the sequence and count your increase pairs out loud as you go. You should end that section with 8 dc total from 4 base stitches. If the belly looks skinny or lumpy compared to the photo, this is almost always where it went wrong
- Making the hdc3tog and dc3tog decreases too tight
- These triple decreases pull three stitches into one at the tail end, and if you yank the final yarn-over through hard, the tail kinks into a sharp point instead of tapering smoothly. Keep your yarn-overs loose and even across all three stitches before pulling through, and give the finished decrease a gentle stretch. The tail should narrow gradually, not fold
- Joining the second-side yarn in the wrong place after turning over
- The instruction says to join to the rightmost stitch on the snake's head after turning over — this is the head end, not wherever your hook happened to be. Lay the piece flat with the head to your right before joining, and remember there are two separate joins on that side with a sk1 between them. Getting these backwards makes the belly build up on the tail instead of the head, which throws the whole S-curve off
- Sewing the appliqué down as a straight line instead of an S shape
- Pin the snake into its S position on the background square first and check it from a distance before a single stitch goes in. The curve needs the head and tail to swing in opposite directions with the belly bulge sitting near the square's center. Pin at the nose, the mid-body, and just before the tail curl, then sew with the tail you left after fastening off, catching only the back loops of the appliqué so your stitches disappear
- Placing the French knot eye too far back on the head
- The eye belongs at the center of the head, roughly where the sc-inc and first hdc sit near the nose end. Too far back and the snake looks vacant; too far forward and it looks cross-eyed. Do the black French knot first, step back and look at it, then add the single small white stitch across one side of the knot for the shine highlight. That white stitch should be tiny — one strand-width, not a full sewn line


Intermediate
Materials
- Yarn of your choice —4 colors; the sample is made with DK Sports. The finished granny square is about 4.2 inches by 4.2 inches. The background is a 5-round solid granny square, sharing the same size as our whale granny square.
- Crochet hook- we are using a 3.00mm hook
- Darning Needle
- Scissors
Main Pattern
- Round 1Foundation chain of the snake Knot, ch44.
- Round 2Dorsal Return , sk1. BL: slst, sc-inc, 1sc+1hdc, 1hdc, 1hdc+ch1+1sc, 2sc, 3hdc, hdc-inc, 2hdc, hdc-inc, 1dc, (dc-inc)×4, 2dc, (dc+dc+hdc)tog, hdc2tog, hdc3tog×2, dc3tog, ch1, 1sc, 1hdc, dc2tog, hdc2tog, 1sc, slst. fasten off.
- Round 3Ventral Turn Over. Join new yarn to the rightmost st on the snake’s head. ch1. BLO: 3sc, sc2tog . sl st, fasten off. sk1 and join new yarn, ch1, 2sc, sc2tog, 4sc, sc-inc, 2sc, sc-inc, 14sc, slst, fasten off.Turn Over. Join new yarn to the rightmost st in the snake’s head. ch1. BLO: 3sc, sc2tog . sl st, fasten off. sk1 and join new yarn, ch1, 2sc, sc2tog, 4sc, sc-inc, 2sc, sc-inc, 14sc, slst, fasten off.
Part 2
Round 1: Start with a magic loop. ch3 as a standing st(count as 1dc). 3dc, ch3. *(4dc, ch3) * rep 3 times omitting final ch3, ch1, 1hdc connects back to your starting ch3.
- Round 2-4ch3(counts as dc), 1dc in this corner. (2dc+ch3+2dc) in remaining corners. 1dc in remaining sts. 2dc in the start corner. ch1, 1hdc connect back to the first ch3.
- Round 5ch3 as a standing st(count as 1dc), 1dc in this corner sp. (2dc+ch3+2dc) in remaining corners. 1dc in remaining sts. 2dc in the starting corner, ch3, sl st to the true dc after first ch3, fasten off.
Assemble Sew the snake piece to the center of the solid granny quare.
Important notes
💡 The 3.00mm hook is deliberately smaller than most DK recommendations. A tight fabric keeps the appliqué firm enough to hold its S-curve without stuffing or interfacing, so resist sizing up unless you're also sizing the background square to match
💡 Leave a generous 12-inch tail when you fasten off the snake's tail end. That's your sewing yarn for attaching the appliqué to the background — cutting short here means adding a join later, which shows through the front
💡 Work the 5-round solid granny square background first and block it flat before sewing. A square that's still curling will fight the appliqué and the snake will end up sitting crooked no matter how carefully you pin
💡 Use four separate small balls or bobbins rather than cutting from one big ball each time. This pattern has multiple fasten-offs and rejoins across four colours, and having them pre-portioned saves you constantly hunting for the right end
💡 Mark the head end with a scrap of contrast yarn as soon as the main row is done. Once the strip is off the hook it's genuinely hard to tell head from tail at a glance, and both turn-over joins depend on getting that right
💡 Weave in the ends on the snake's belly side before sewing it down, not after. Once the appliqué is attached to the square you can't reach behind it, and any loose ends will work their way out to the front over time
More photos
FAQ
Do I need to make the whale granny square too?
Not at all — this square stands completely on its own. The whale is mentioned only because both use the same 5-round solid granny square background at 4.2 inches, so they pair up perfectly if you're building an animal blanket
Why is the snake worked flat instead of in the round?
Working it flat as one long shaped row is what lets the stitch heights change from sc to hdc to dc along the body, creating the natural taper at the head and tail. It also keeps the appliqué thin enough to sit flush against the background square without bulking up your blanket
What does hdc3tog actually mean here?
It means working three half double crochets together into three separate stitches, leaving all loops on your hook, then pulling through them all at once to make one stitch. It appears twice in a row at the tail end and is the main thing pulling that section narrow
Can I use worsted weight instead of DK?
Yes, with a 4.00mm hook you'll get a square around 5.5 inches instead of 4.2. Just make sure every square in your project uses the same weight and hook, and add a sixth round to the background if it's coming up short against the appliqué
How do I stop the snake appliqué from lifting at the edges?
Sew all the way around the outline rather than tacking at a few points, catching the back loop of each appliqué stitch. Pay extra attention to the head, the tail curl, and the outer edge of the belly curve, since those are the spots that catch on fingers and blanket edges
Made your own square?
This site belongs to every crocheter. Share your design with the world — we’ll math-check the counts, polish it up, and publish it free for everyone, credited to you.
🧵 Share your pattern →
0 / 0 rounds