
Free Pattern
Step-by-Step
Crochet
Granny SquaresStarfish Granny Square – Free Crochet Pattern
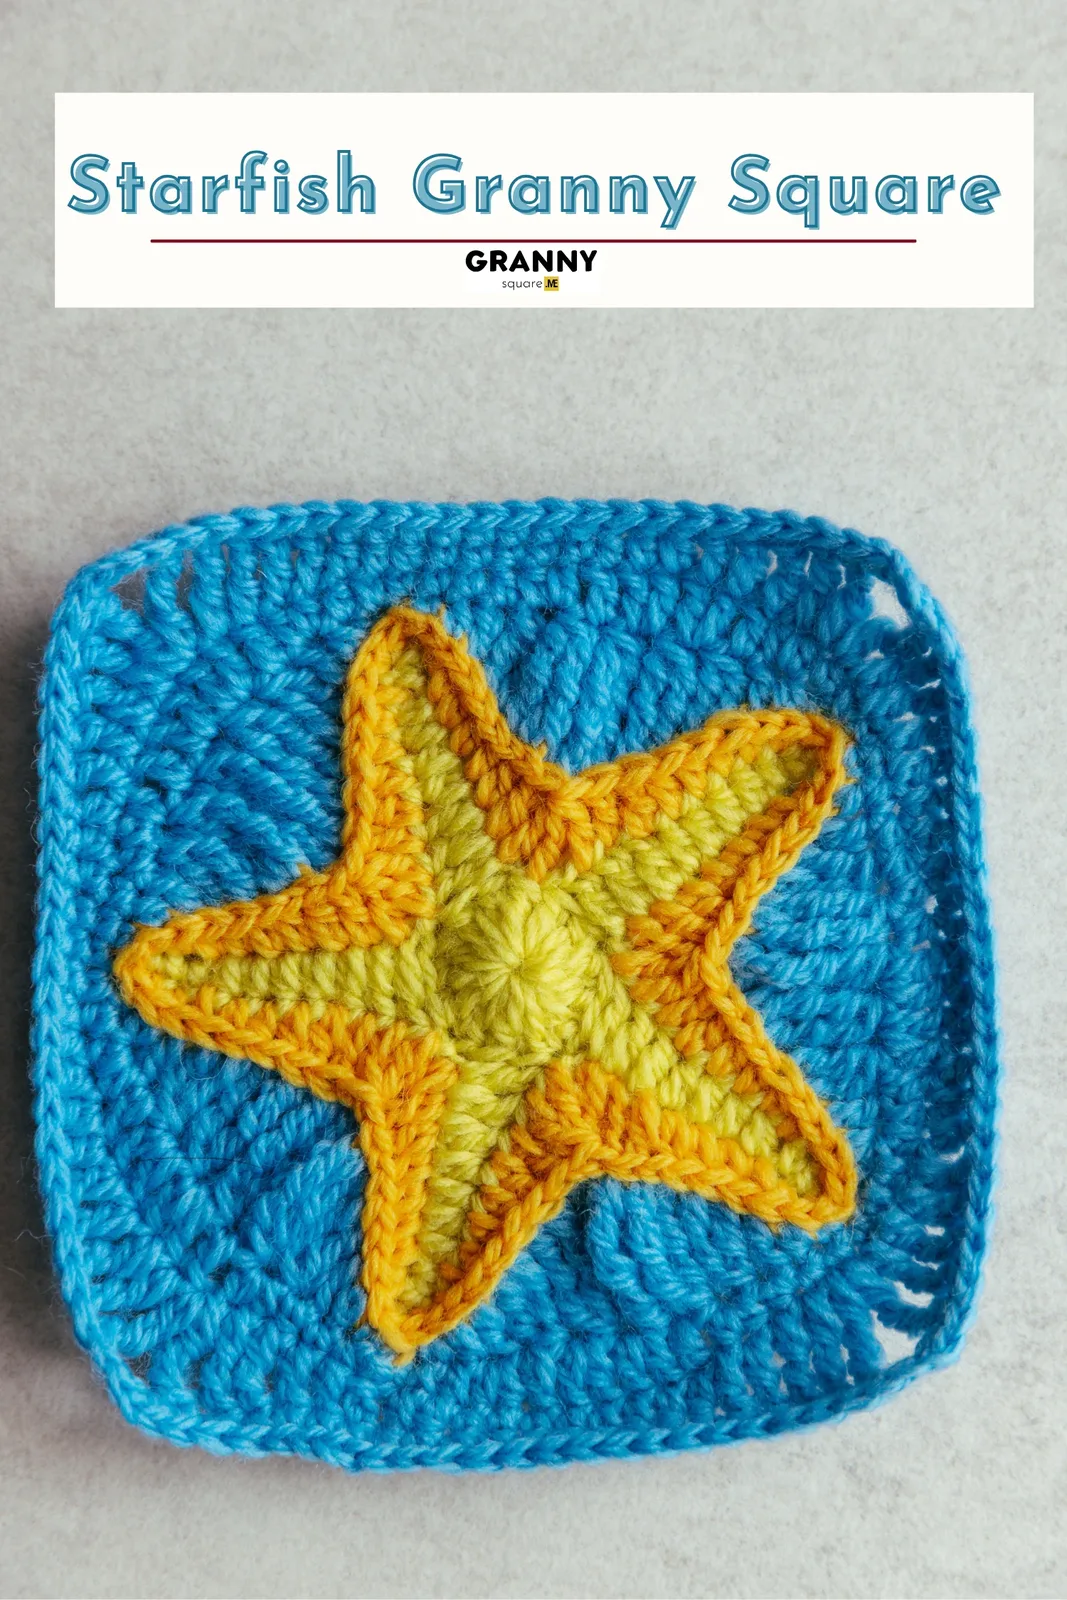
Crochet this free starfish granny square pattern in 7 rounds with a 3-color gradient. A 5.5-inch ocean-themed block perfect for beach blankets and bags
Level Confident BeginnerTime 1-2 HoursYarn Worsted
About This Pattern
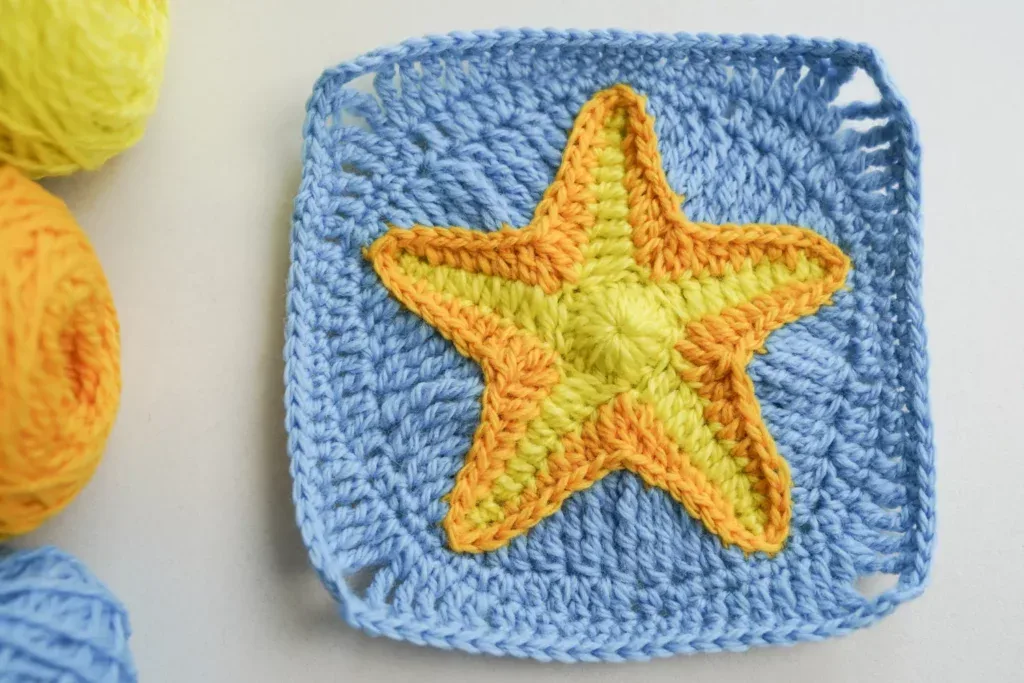
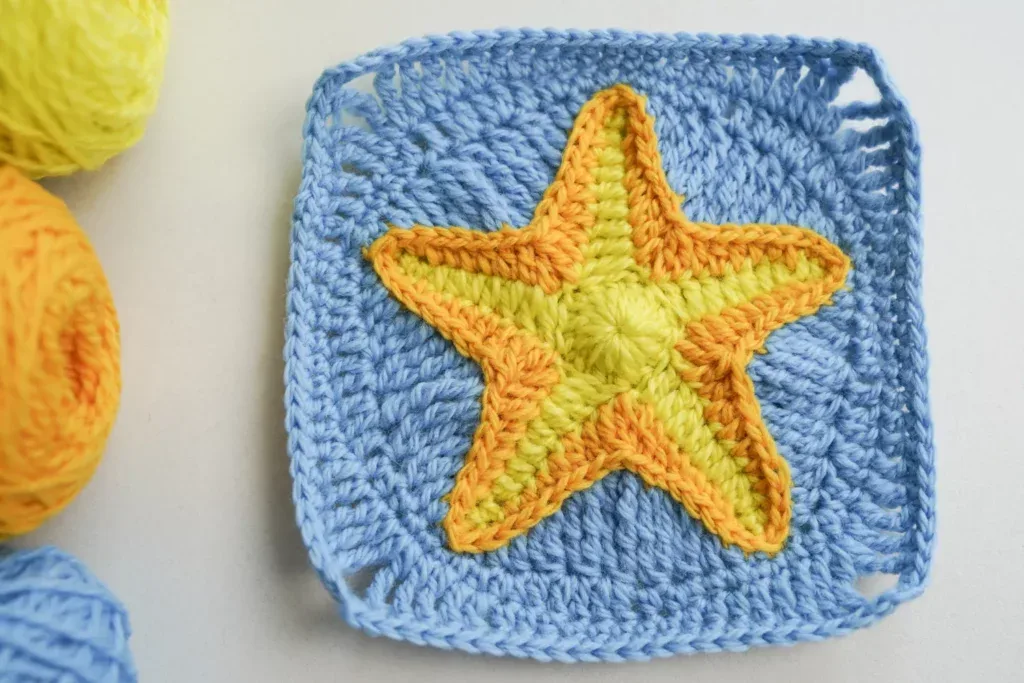
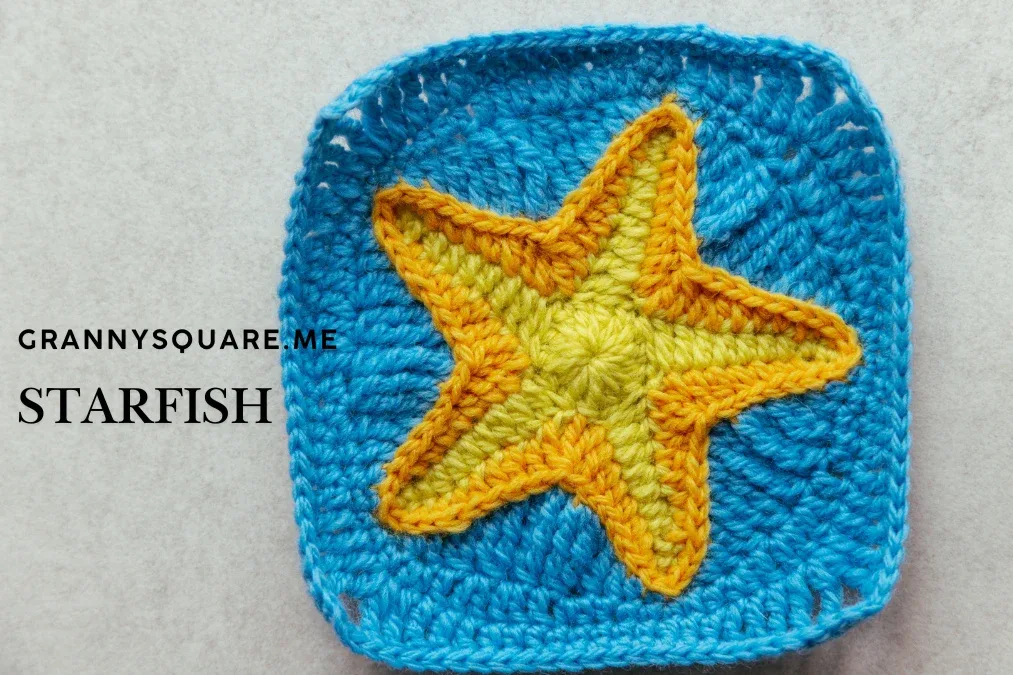
This Starfish Granny Square turns a classic crochet block into a little piece of the seashore. Over seven rounds, a five-armed starfish blooms from a magic ring at the center, and the outer rounds gently square it off so it slots neatly into any granny-square project. What makes it special is the three-color gradient: the starfish shifts from a lighter shade to a deeper one before the background color frames it. It's perfect for crocheters who love coastal decor, are planning a beach blanket, or are building a themed square collection
You'll work a magic loop to start, then build each starfish arm by chaining out and working back down the chain in back loops only, followed by a front-loop round and a third-loop round of graduated tall-stitch clusters, changing color between rounds to create the fade. Squaring off the star uses graduated stitch heights with ch-2 corners, finished with a neat single crochet border. The pattern uses quite a variety of different stitches, so I'd call it a confident-beginner to early-intermediate project: nothing is hard on its own, but keeping the five arms evenly spaced and the gradient tidy takes a little attention. Expect roughly one to two hours per square once you've made your first
The finished square measures approximately 5.51 x 5.51 inches (14 cm), with a pleasingly raised starfish that stands out from its background. The fabric is soft but structured, so the square holds its shape beautifully in blankets, cushion covers, tote bag panels, or even framed as wall art for a beach house. A set of nine makes a gorgeous baby blanket, while a single square becomes a lovely coaster or mug rug. They make heartfelt handmade gifts for anyone who dreams of the ocean
Variations
I'll be honest, I have a weakness for granny squares with a picture hiding inside them, and this starfish is one of my favorites I've ever made. The magic ring start gives you a perfectly closed center, and then watching the five arms appear round by round is genuinely exciting. You go from a small circle to a recognizable starfish in just a few rounds, and every time I finish the arm round I hold it up and grin. The gradient is what really sold me. By changing color on each starfish round, you get that sun-faded, real-seashell look without any fancy technique, just simple color changes and a few extra ends to weave in. I also love how the squaring-off rounds work: the corner chain spaces settle neatly between the arms, so the star never looks squished or lopsided the way some shaped squares do. And because it's only seven rounds, I can finish one during an evening show. Lay a few side by side and you have an instant ocean floor. It's relaxing, satisfying, and the results look far more complicated than they are
Common mistakes
- A loose or gaping magic ring at the center of the starfish
- After completing round 1, pull the tail firmly until the hole closes completely, then work round 2 before weaving the tail in. Weave it back and forth through the first round stitches at least twice so the ring can't reopen after washing. If your yarn is slippery, wrap the ring twice around your fingers for a double-strand center that grips better
- Starfish arms that come out uneven or lopsided
- This almost always comes from miscounting stitches or chain spaces in the first three rounds, where every stitch matters. Count at the end of each round before moving on, and place a stitch marker at the tip of each of the five arms as soon as they form. When you work the squaring-off rounds, the markers also show you exactly where the corners should sit between the arms
- Messy, bulky color changes that spoil the gradient
- Change colors by completing the very last yarn-over of the final stitch in the round with the new color, or fasten off cleanly and rejoin with a standing double crochet in the next round. Never carry long floats of the old color behind the work; on a flat square they show through and pull the fabric. Leave 6-inch tails and weave each one in along the same-colored round so it disappears
- The square pulling in and distorting the starfish
- If the corner chain spaces on the outer rounds are worked too tightly, the square cinches and the star looks squashed. Keep your corner chains slightly loose, and if you're a tight crocheter, go up half a hook size for the last two rounds only. A light wet block at the end will also coax the edges straight without flattening the raised starfish
- Skipping blocking and ending up with curling arms
- The clusters that form the starfish arms are denser than the background, so the square often cups a little straight off the hook. Pin it out to 5.5 x 5.5 inches on a foam mat, mist with water, and let it dry fully. For acrylic, a gentle steam held an inch above the fabric relaxes it without killing the texture


Confident Beginner
Materials
- Yarn of your choice- 3 color
- Crochet hook
- Darning Needle
- Scissors
Main Pattern
- Round 1Magic loop, ch3(count as dc)+14dc in the loop, sl st to the top of the first ch3.Step by step: Start with a magic loop. ch3 as a standing st (count as dc). dc in the loop; 13dc in the loop; Pull the tail tightly. sl st to the top of the first ch3, round 1 finished.
- Round 2[ch10, BLO, from 9th ch to 1st ch: 2sc, 4hdc, 3dc, sk2, sl st to the next st] repeat 5 times, fasten off.Step by step: ch10. BLO, start from the BL of the 9th ch to the BL of the 1st ch, make 2sc, 4hdc, 3dc, sk2, sl st to the next st. [ch10, BLO from 9th ch to 1st ch: 2sc, 4hdc, 3dc, sk2, sl st to the next st] repeat 4 times, fasten off. Round 2 finished.
- Round 3New yarn in FL of the 2nd ch of a ch-10 group, ch3(count as dc), (FLO: dc, 4hdc, 2sc), sc in the 10th ch, 2sc, 4hdc, 2dc, dc2tog, [(FLO: 2dc, 4hdc, 2sc), sc in the 10th ch, 2sc, 4hdc, 2dc, dc3tog] repeat 4 times, sl st to the top of the first ch3, fasten off.
Step by step: Add new yarn in FL of the 2nd ch of a ch-10 group. ch3 as a standing st (count as dc). dc in the next FL, hdc in the next 4 FL, sc in the next 2 FL, sc in the 10th ch, sc in the next 2 sts, 4hdc, 2dc, dc3tog. [(2dc, 4hdc, 2sc in the next 8 FL, sc in the 10th ch, (2sc, 4hdc, 2dc in the next 8 sts), dc3tog across the following 2 sts and FL of the next 1st ch] repeat 4 times, sl st to the top of the first ch3, fasten off. Round 3 finished.
- Round 4Third loop(tl) only, [sl st, sc, hdc, dc, tr2tog, dtr2tog, trtr2tog(sk 1 tl between), dtr2tog, tr2tog, dc, hdc, sc] repeat 5 times, sl st to the first sl st.Step by step: Third loop(tl) only for this round. Work sl st in this tl. sc, hdc, dc, tr2tog, dtr2tog, trtr2tog(skip 1 tl between), dtr2tog, tr2tog, dc, hdc, sc. [sl st, sc, hdc, dc, tr2tog, dtr2tog, trtr2tog(skip 1 tl between), dtr2tog, tr2tog, dc, hdc, sc] repeat 4 times, sl st to the first sl st. Round 4 finished.
- Round 5ch1+sc, sc, hdc, hdc inc, dc, 2 dc inc, dc, hdc inc, hdc, 2sc, [2sc, hdc, hdc inc, dc, 2 dc inc, dc, hdc inc, hdc, 2sc] repeat 4 times, sl st to the first sc.Step by step: ch1 as a standing st, sc in the same st, sc in the next st, hdc, hdc inc, dc, 2 dc inc, dc, hdc inc, hdc, 2sc. [2sc, hdc, hdc inc, dc, 2 dc inc, dc, hdc inc, hdc, 2sc] repeat 4 times, sl st to the first sc. Round 5 finished.
- Round 6ch2(count as hdc), 2hdc, 5sc, 3hdc, 2dc, 2tr, dtr+ch2+dtr, 2tr, 2dc, [3hdc, 5sc, 3hdc, 2dc, 2tr, dtr+ch2+dtr, str, 2dc] repeat 3 times, sl st to the top of the first ch2.Step by step: ch2 as a standing st(count as hdc). 2hdc, 5sc, 3hdc, 2dc, 2tr, dtr+ch2+dtr, 2tr, 2dc. [3hdc, 5sc, 3hdc, 2dc, 2tr, dtr+ch2+dtr, str, 2dc] repeat 3 times, sl st to the top of the first ch2. Round 6 finished.
- Round 7ch1+sc, 14sc, sc+ch2+sc in corner, 6sc, [15sc, sc+ch2+sc in next corner, 6sc] repeat 3 times, sl st to the first sc, fasten off.Step by step: ch1 as a standing st. sc in the same st, 14sc, sc+ch2+sc in the next corner space, 6sc. [15sc, sc+ch2+sc in the next corner space, 6sc] repeat 3 times, sl st to the first sc, fasten off. Round 7 finished.
Important notes
💡 Gauge: the completed starfish granny square measures approximately 5.51 x 5.51 inches. The designer doesn't specify a hook size, so start with the hook recommended on your yarn label and make a test square. If it comes out smaller, go up half a hook size; if it's larger, drop down half a size. The exact size only matters if you're joining many squares together
💡 Color combination suggestion from the designer: the sample starfish flows from sunny yellow at the center through warm orange to the tips, contrasted against an ocean blue background. Try coral pink starfish fading to deep rose on turquoise backgrounds for tropical reef charm, or go elegant with purple starfish gradients on seafoam green for mystical ocean depths. The gradient technique works beautifully in any beach-inspired color palette you love
💡 Clip stitch markers to the tips of all five starfish arms as soon as they appear. They keep your arm stitches from drifting, and on the squaring-off rounds they help you place the four corners evenly in the spaces between arms, which is the trickiest part of the whole square
💡 Plan your gradient before you start. Lay the three colors side by side and decide whether the starfish fades from light at the center to dark at the tips or the reverse. The designer's sample puts the lightest shade (sunny yellow) in the middle and warm orange at the tips, which reads most like a real starfish
💡 Since every round of the starfish can be a new color, wind small mini-balls for the first colors instead of working from full skeins. It keeps your lap tidy and makes the color changes quick. Weave in ends after every two rounds rather than saving them all for the end
💡 Make sure the final starfish color has strong contrast with your background color. If the last gradient shade and the background are too close in value, the arms blur into the square. Photograph the two colors together in black and white on your phone to check the contrast instantly
💡 When joining squares for a blanket, make sure every starfish points the same way, or deliberately rotate each square a quarter turn for a playful scattered-shells effect. Join-as-you-go on the last round or a simple whip stitch through the back loops both work beautifully with this block
More photos
FAQ
How big is the finished starfish granny square?
The designer's completed square measures approximately 5.51 x 5.51 inches (about 14 cm). A lighter yarn such as DK with a smaller hook gives you a smaller square, while chunky yarn produces a noticeably larger block, so make a test square if size matters for your project
Do I really need three colors, or can I make it in fewer?
The pattern calls for three colors to create the gradient starfish plus the background, but you can absolutely simplify. Two colors, one for the starfish and one for the square, still gives a clear, bold design. A single-color version works but the starfish becomes a subtle texture rather than a picture
Is this pattern suitable for beginners?
It's a great first shaped square for a confident beginner. You'll need to be comfortable with a magic loop, working into back loops, front loops and the third loop, tall stitches like treble and double treble worked together, and changing colors between rounds. The seven rounds are short, so if you make a mistake it's quick to rip back and try again
How many starfish squares do I need for a blanket?
5.5 inches each, 36 squares in a 6 x 6 layout make a 33-inch baby blanket, and 80 squares in an 8 x 10 layout give you a roughly 44 x 55-inch throw. Add a border of two or three granny rounds to the finished blanket for a few extra inches
Will the starfish lie flat once the square is finished?
Yes, with even tension and a light blocking the square lies flat, while the clustered arms sit slightly raised for lovely texture. If your square cups or ripples, check that your corner chain spaces aren't too tight and pin it out to size while damp
Made your own square?
This site belongs to every crocheter. Share your design with the world — we’ll math-check the counts, polish it up, and publish it free for everyone, credited to you.
🧵 Share your pattern →
0 / 0 rounds