
Free Pattern
Step-by-Step
Crochet
Granny SquaresTextured Flower Granny Square – Free Crochet Pattern
Learn to crochet a textured granny square with raised flower petals in 4 colors. This free 5-round pattern makes a 4-inch square perfect for blankets
Level EasyTime 1-2 HoursYarn DK
About This Pattern
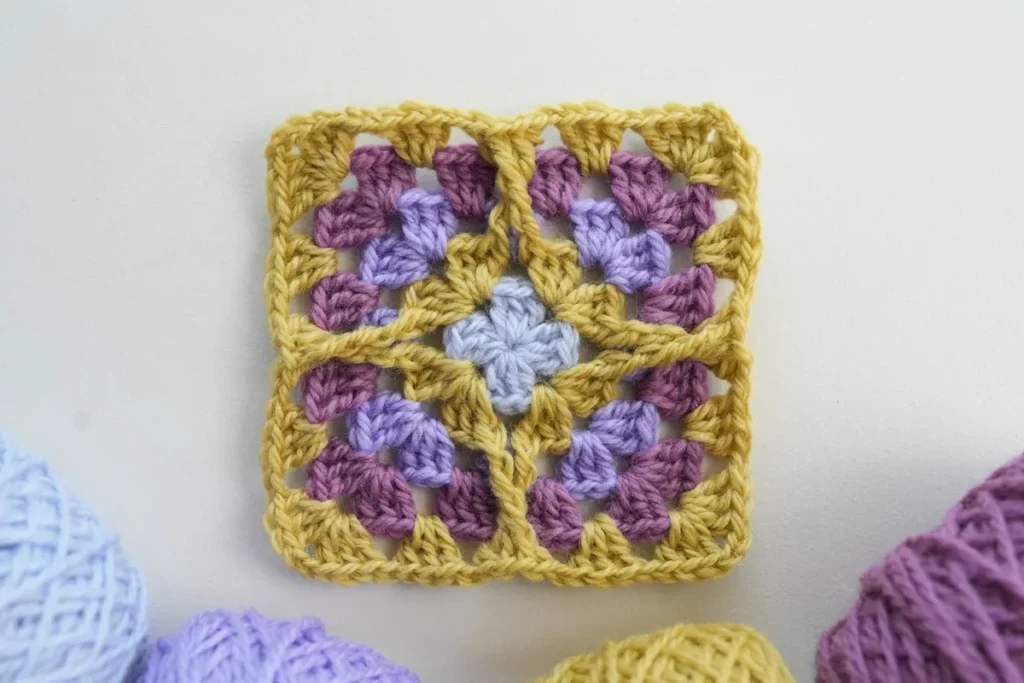
This pattern turns the humble granny square into a little garden. Over just five rounds, a bright center blooms into layered raised petals, all framed by a classic granny-cluster border that squares everything off to a neat four inches. It is the basic granny square you already love, with one delicious twist of texture in the middle. It is perfect for blanket-makers who want motifs with real personality, stash-busters staring down a basket of DK leftovers, and anyone who finds flat squares just a little too quiet
Skill-wise, this sits comfortably in confident-beginner territory. If you can chain, double crochet, and work into a chain space, the only new trick is the petal rounds, where grouped stitches lift toward you to form a dimensional bloom — much easier done than said. You will change colors at the end of each round, four colors total in the sample, which makes this square wonderful low-stakes practice for clean color joins. Expect roughly an hour per square once you have made your first one or two
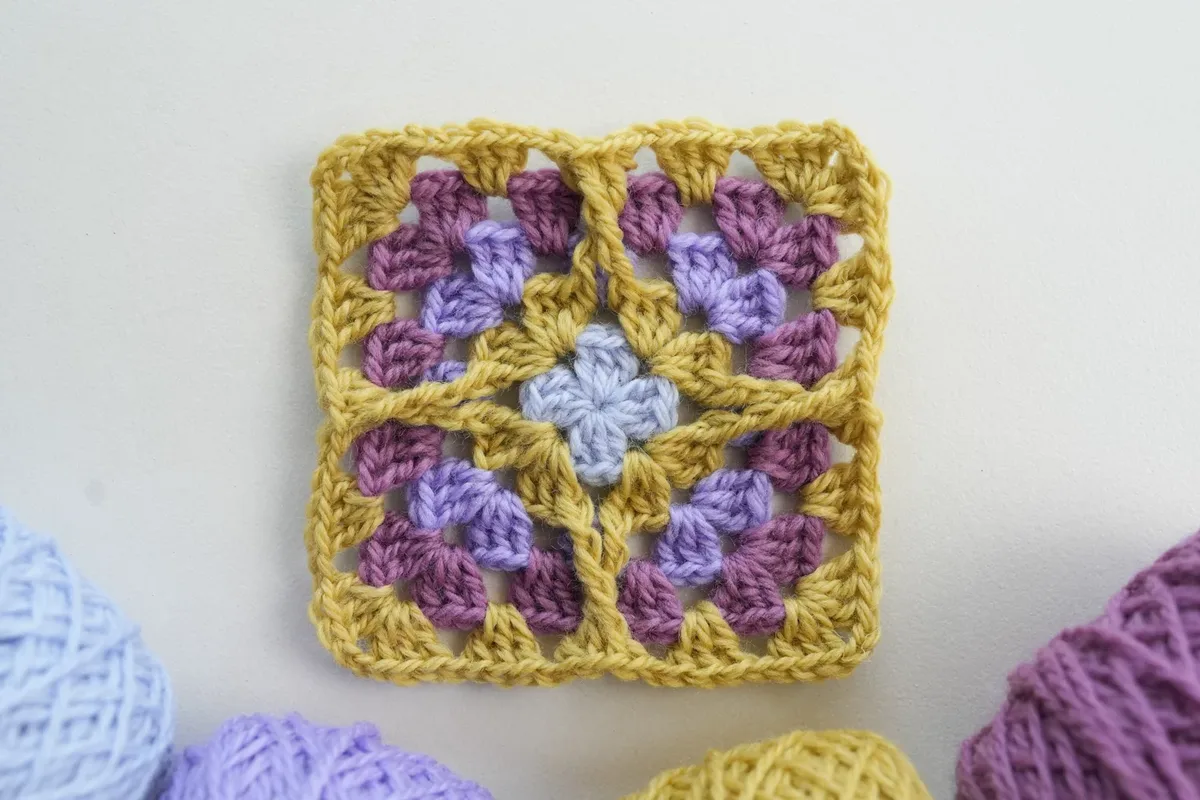
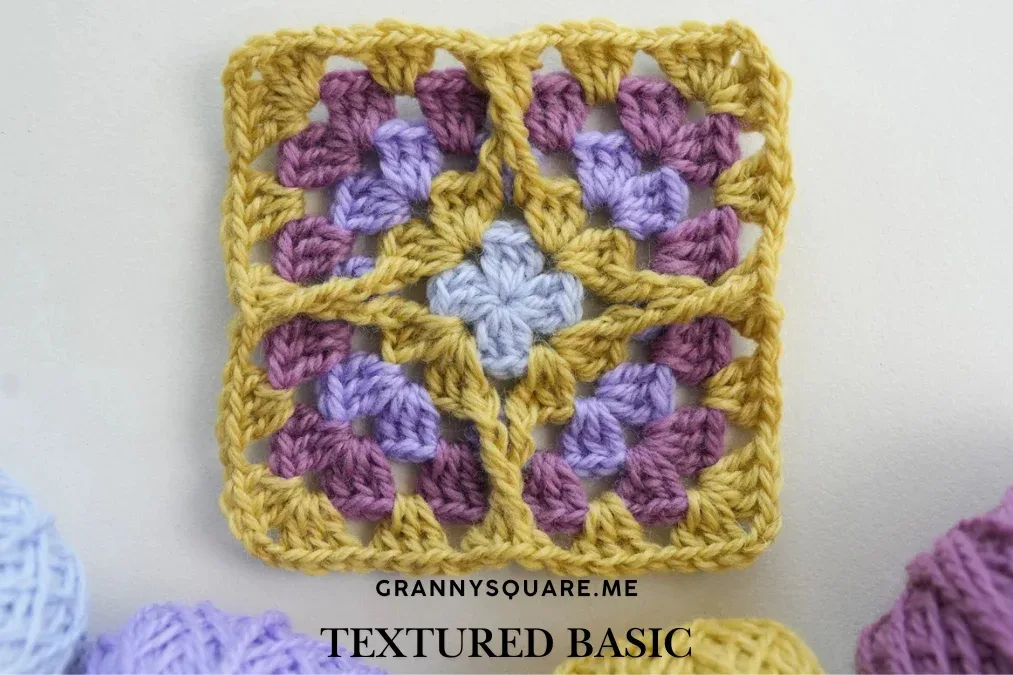
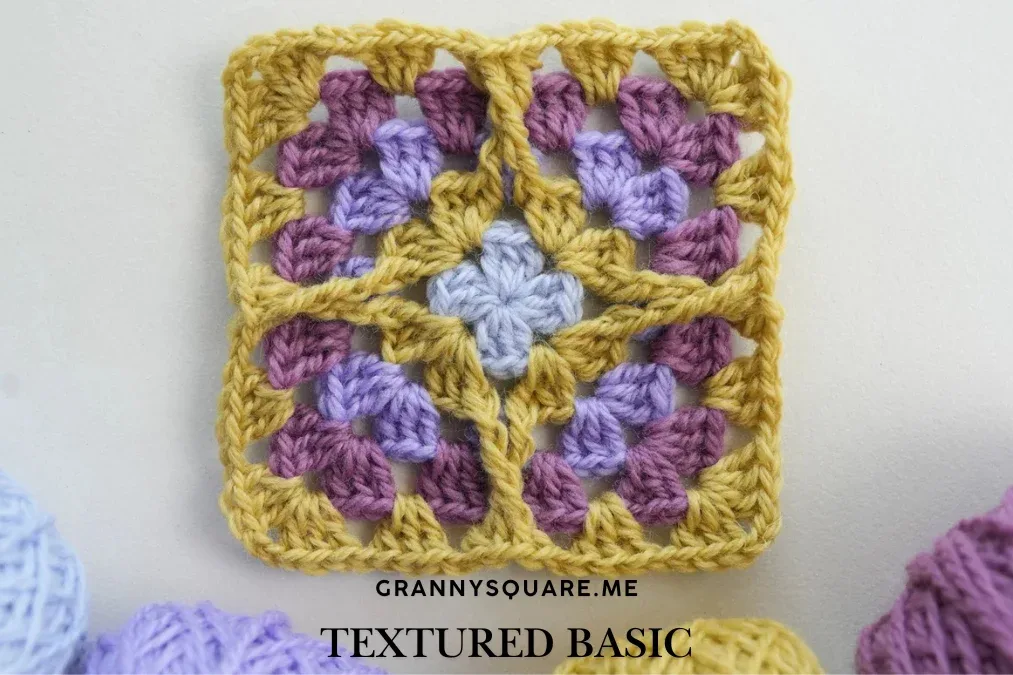
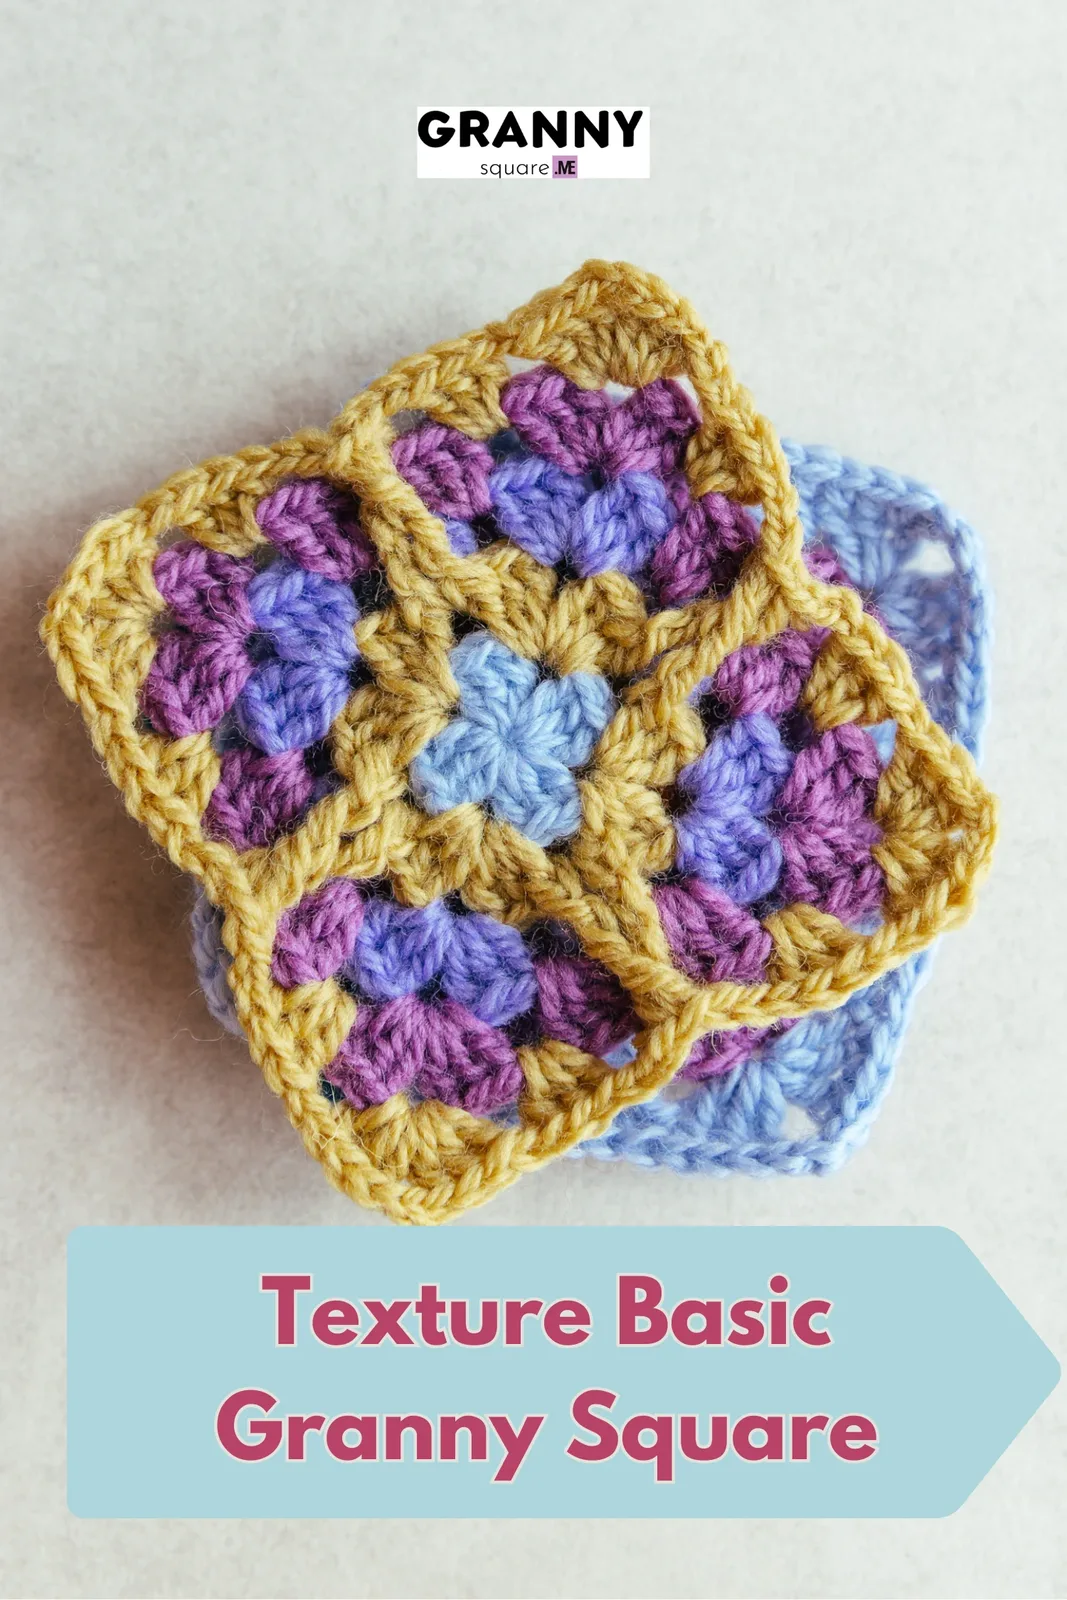
The finished square measures about 4 by 4 inches in DK-weight yarn, with a plush, dimensional flower at the center and a smooth, flat border that joins beautifully. Run your thumb across it and you can feel the petals lift right off the fabric — that texture is exactly what makes a whole blanket of these irresistible. Sew a batch into an heirloom throw, back a single square for a pillow front or pincushion, or gift a rainbow stack tied with ribbon to a crochet friend
Variations
The four-color structure of this square — center, middle petals, outer petals, border — is basically an invitation to play. My favorite combination comes straight from the designer's own suggestion: a white center, pale pink middle petals, coral outer petals, and a sage green border, which reads as a soft rose or peony. For an autumn throw, try a mustard center and burnt-orange petals over rust, framed in deep chocolate brown. A fresh spring version works beautifully with a sunny yellow center, white petals, and a grass-green border, like a scattering of daisies across your lap. For a wintry look, go icy: silver-grey center, two shades of pale blue for the petals, and a snowy cream border. Yarn-wise, the sample uses DK sport, and workhorse acrylics like Stylecraft Special DK, Paintbox Simply DK, or Scheepjes Colour Crafter give you enormous palettes on a budget. Swap in a cotton such as Paintbox Cotton DK for crisper petal definition, or move up to worsted weight with a 5mm hook and each square grows to roughly 5 inches — fewer squares per blanket and a faster finish. To resize without changing yarn, stop after round 4 for a smaller motif, or simply continue in the granny-cluster border pattern: each extra round adds one 3-double-crochet cluster group per side and about three-quarters of an inch of width, so two extra rounds gives you a generous 5.5-inch square. And for a subtle, modern take, work all five rounds in a single color and let the texture do all the talking
I have made more granny squares than I can count, but this one keeps pulling me back to my hook. The magic happens in the middle rounds, when those petals suddenly lift off the fabric and the flat little circle in your hands becomes an actual blooming flower. It is the kind of payoff that makes you want to make just one more — and then it is midnight and you have nine. I also love how the four-color structure does the designing for you: a bright center, two rounds of petals, and that calm final border that frames everything like a tiny picture frame. Because each square takes only about an hour in DK yarn, it is my favorite take-along project; the whole thing fits in a sandwich bag with a hook and scissors. It is also a brilliant stash-buster — those lonely half-balls left over from bigger projects are exactly enough for a center or a petal round. Fair warning: once you see these joined into a blanket, you will be planning color palettes in your sleep
Common mistakes
- Pulling the starting ring closed too
- Keep the center ring relaxed and make sure every stitch of round 1 fits comfortably before you snug it up. Count your stitches at the end of the round — if the center cups, rip back and loosen the ring rather than hoping it blocks out later
- Working the next round into the tops of
- Fold the finished petals toward you as you work the following round, so you can clearly see where your hook should go behind them. The petals should stay free and lift off the fabric — if a petal feels pinned down, you have caught it with a stitch
- Missing or misplacing the corner chain
- Drop a stitch marker or scrap of yarn into each corner space as soon as you make it. Before fastening off, count the 3-double-crochet cluster groups along each side — all four sides should match exactly
- Crocheting the round behind the petals
- The rounds worked behind raised petals need a bit of extra ease. Loosen your tension deliberately on those rounds, or go up half a hook size just for them, then return to your normal hook for the border
- Cutting the yarn too short at each of
- Leave at least a 6-inch tail every time you fasten off a color, and weave each end in two different directions through the wrong side of the stitches. With four colors per square, weaving ends as you finish each round keeps the job from piling up
- Skipping blocking, so edges ripple and
- Pin every square to a true 4-by-4-inch measurement and steam gently, holding the iron above the fabric. Never press down — flattening the petals undoes the best part of this pattern


Easy
Materials
- Yarn of your choice- 4 colors, the sample is made with DK sports
- Crochet hook
- Darning Needle
- Scissors
Main Pattern
- Round 1Magic ring, inv standing st(count as dc), 2dc, ch2, [3dc, ch2] rep 13 times, tighten tail, slst to top of 1st inv standing st, fasten off.Step by step: Start with a magic ring. Now, let’s make an invisible standing st: ch1 as standing st of invisible dc.Then, make 1 sc; insert your needle into the left post of the first sc to complete the second sc. This is an invisible standing stitch (count as 1dc).Make another dc; dc, ch2; [3dc, ch2] repeat 3 times; tighten the tail; slst to top of first invisible standing st, fasten off. Round 1 finished.
- Round 2Join new color yarn in any ch-sp, (an inv standing dc+2dc+ch2+3dc) in same ch-sp, ch1, [(3dc+2dc+ch2+3dc) in next ch-sp, ch1] rep 3 times, slst to top of 1st inv standing st, fasten off.Step by step: Join new color yarn in any ch-sp.Make an invisible standing st (count as dc); dc in same ch-sp; (dc+ch2+3dc) in same ch-sp, then make ch1. Now we formed first shell stitch.[(3dc+ch2+3dc) in next ch-sp, ch1] repeat 3 times, slst to top of first invisible standing st, fasten off. Round 2 finished.
- Round 3Join new color yarn in any corner sp, (an inv standing dc+2dc+ch2+3dc) in same ch-sp, ch1, 3dc in next ch-sp, ch1, [(3dc+2dc+ch2+3dc) in next ch-sp, ch1, 3dc in next ch-sp, ch1] rep 3 times, slst to top of first inv standing st, fasten off.Step by step: Join new color yarn in any corner space; make an invisible standing st (count as dc); dc in same ch-sp; (dc+ch2+3dc) in same ch-sp, ch1, 3dc in next ch-sp, ch1[(3dc+2dc+ch2+3dc) in next ch-sp, ch1, 3dc in next ch-sp, ch1] repeat 3 times, slst to top of first invisible standing st, fasten off. Round 3 finished.
- Round 4Join new color yarn in any corner sp, note: in this round we make all dc in ch-sp: (an inv standing dc+2dc+ch2+3dc) in same ch-sp, ch1, [3dc, ch1] rep 2 times, [(3dc+2dc+ch2+3dc) in next ch-sp, ch1, *(3dc, ch1) rep* 2 times] rep 3 times, slst to top of 1st inv standing st, fasten off.Step by step: Join new color yarn in any corner space. Note: in this round we make all dc in ch-sp.Make an invisible standing st (count as dc); dc in same ch-sp; (dc+ch2+3dc) in same ch-sp, ch1, [3dc in next ch-sp, ch1] repeat 2 times[(3dc+2dc+ch2+3dc) in next ch-sp, ch1, *(3dc in next ch-sp+ch1) repeat* 2 times] repeat 3 times, slst to top of first invisible standing st, fasten off. Round 4 finished.
- Round 5Join new color yarn in corner sp, note: make all dc in ch-sp: (inv standing st+2dc+ch2+3dc) in same ch-sp, ch1, ch1, dc, In round 2: (FPdtr in 2nd shell's 1st inv standing dc, FPdtr in 1st shell's last inv standing dc), ch1, 3dc, ch1, [(3dc+2dc+ch2+3dc) in next corner sp, ch1, 3dc, ch1, dc, In round 2: (FPdtr in 2nd shell's 1st inv standing dc, FPdtr in 1st shell's last inv standing dc), ch1, 3dc, ch1], slst to top of 1st inv standing st, fasten off and weave in ends.Step by step: Join new color yarn in corner space. Note: in this round we make all dc in ch-sp.Make an invisible standing st (count as dc); dc in same corner space; (dc+ch2+3dc) in same corner space, ch1, 3dc, ch1, dcInsert your needle from front to back to front of second shell's first invisible standing dc st of round 2; make FPdtr in second shell's first invisible standing dc st of round 2Insert your needle from front to back to front of first shell's last dc st of round 2; make FPdtr in first shell's last dc st of round 2; ch1, 3dc, ch1[(3dc+2dc+ch2+3dc) in next corner sp, ch1, 3dc, ch1, dc, In round 2: (FPdtr in 2nd shell's 1st invisible standing dc, FPdtr in 1st shell's last invisible standing dc), ch1, 3dc, ch1], slst to top of 1st invisible standing st, fasten off and weave in ends.
Now we finished a texture basic granny square.
Important notes
💡 Gauge: the completed granny square measures approximately 4 inches by 4 inches
💡 DK yarn pairs best with a 3.5–4mm hook for this square. If your granny clusters tend to be loose, drop down half a size so the finished motif holds its crisp 4-inch measurement
💡 Treat your first square as your gauge swatch: measure it after round 5, and adjust your hook before starting a big batch so every square in your blanket comes out identical
💡 With four color changes per square, wind off small bobbins of each shade before you start a batch — it keeps your project bag tidy and saves untangling time mid-round
💡 Fold the petal rounds forward and hold them out of the way while you work the round behind them; this keeps the texture popping toward the front where it belongs
💡 Place a stitch marker in each corner chain space during the border rounds, and move it up as you go — squint-free corners make joining dozens of squares painless
💡 If an abbreviation ever feels ambiguous, trust your stitch counts: each side of the finished border should have the same number of cluster groups, and the square should measure evenly corner to corner
More photos
FAQ
What size is the finished granny square?
Worked in DK-weight yarn with a suitably matched hook, the square comes out at approximately 4 by 4 inches. Your personal tension matters, so measure your first square and adjust your hook size up or down if needed
Can I make this square with fewer than four colors?
Absolutely. Two colors — one for the flower rounds and one for the border — looks striking, and a single-color version lets the raised petal texture shine on its own. You can also use three tonal shades of one color for a gradient bloom
What yarn works best for this pattern?
The sample uses DK sport-weight yarn, and any smooth DK acrylic or cotton will show the petal texture nicely. If you substitute worsted weight with a 5mm hook, expect a slightly larger square of around 5 inches
Why won't my square lie flat?
The most common culprit is tight tension on the rounds worked behind the raised petals, which makes the square cup. Loosen up on those rounds or go up half a hook size, and finish with a gentle steam block pinned to 4 inches square
How many squares do I need for a blanket?
4 inches per square, a 6-by-8 layout of 48 squares makes a sweet 24-by-32-inch baby blanket. For a full lap throw around 40 by 48 inches, plan on 120 squares in a 10-by-12 grid, plus a simple border if you like
Made your own square?
This site belongs to every crocheter. Share your design with the world — we’ll math-check the counts, polish it up, and publish it free for everyone, credited to you.
🧵 Share your pattern →
0 / 0 rounds