
Free Pattern
Step-by-Step
Crochet
Granny SquaresWatermelon Granny Square – Free Crochet Pattern
Crochet a sweet watermelon granny square with puff stitch seeds and a magic loop center. This free pattern includes color tips, fixes, and FAQs
Level IntermediateTime 1-2 HoursYarn Worsted
About This Pattern
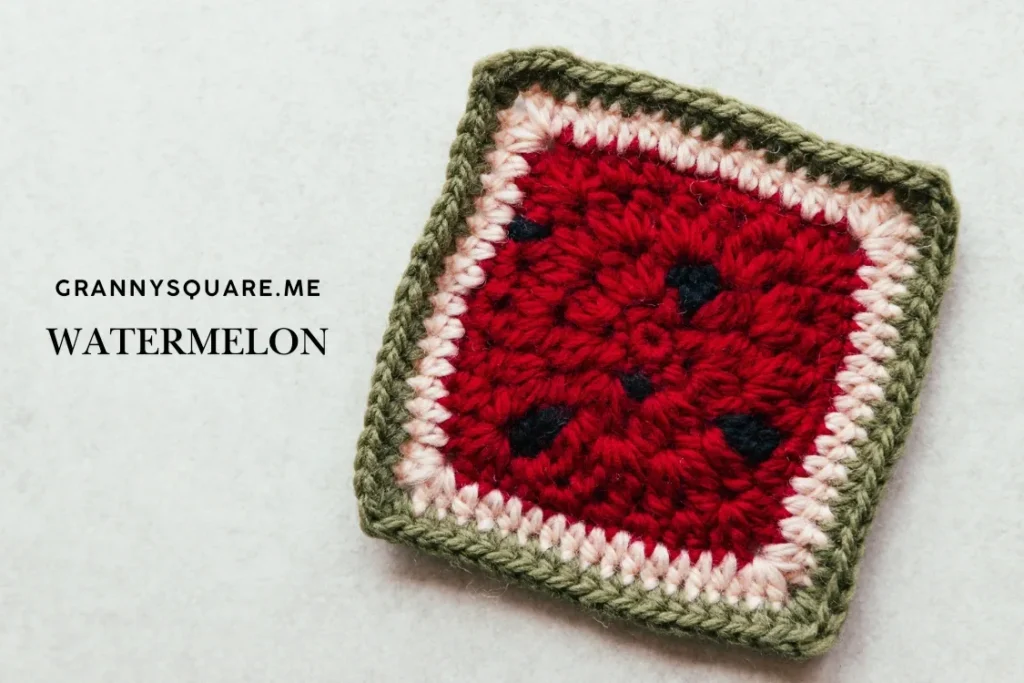
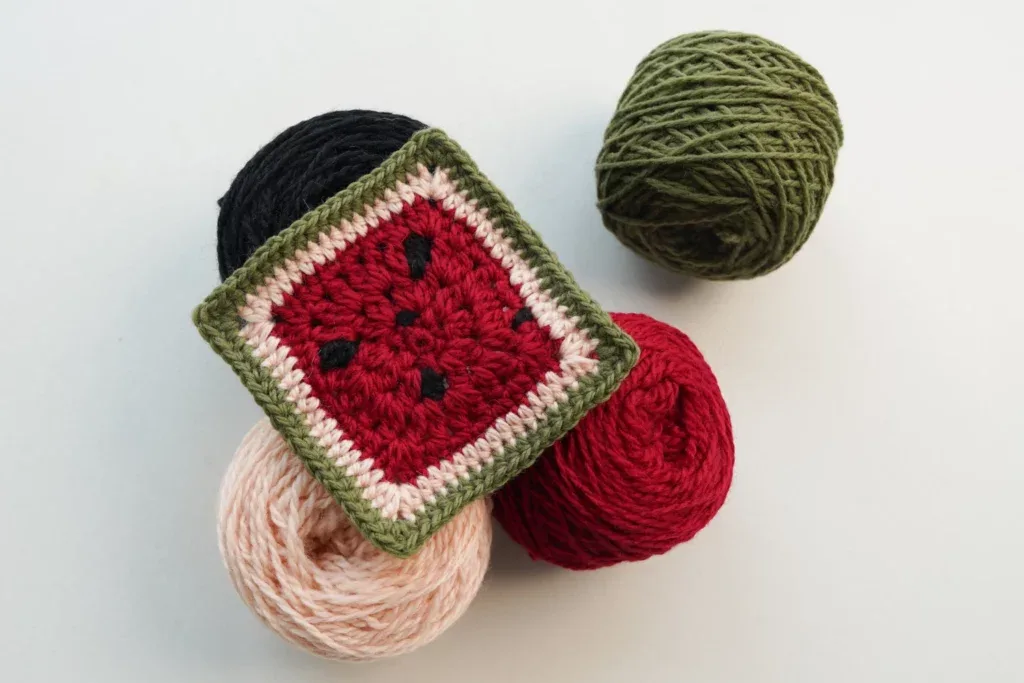
This free pattern turns four simple colors of yarn into the most cheerful little slice of summer you'll ever crochet: a watermelon granny square, complete with a cherry-red center, soft pink flesh, a crisp green rind, and plump puff-stitch seeds that actually pop off the fabric. The bobbles create a juicy, dimensional texture — when you run your fingers over them, they really do feel like little watermelon chunks. It's a wonderful pick whether you're planning a picnic blanket, a set of coasters, or a single square to brighten a tote bag
The square is worked in seven rounds from the center out, starting with a magic loop and six single crochets, then moving into the star of the show: the 2-hdc puff stitch. The seeds use a clever mid-stitch color change — you build two incomplete half double crochets in black, then yarn over with red and pull through all five loops so each seed sits cleanly inside the red center. These squares are surprisingly beginner-friendly despite their impressive appearance, and they work up quickly
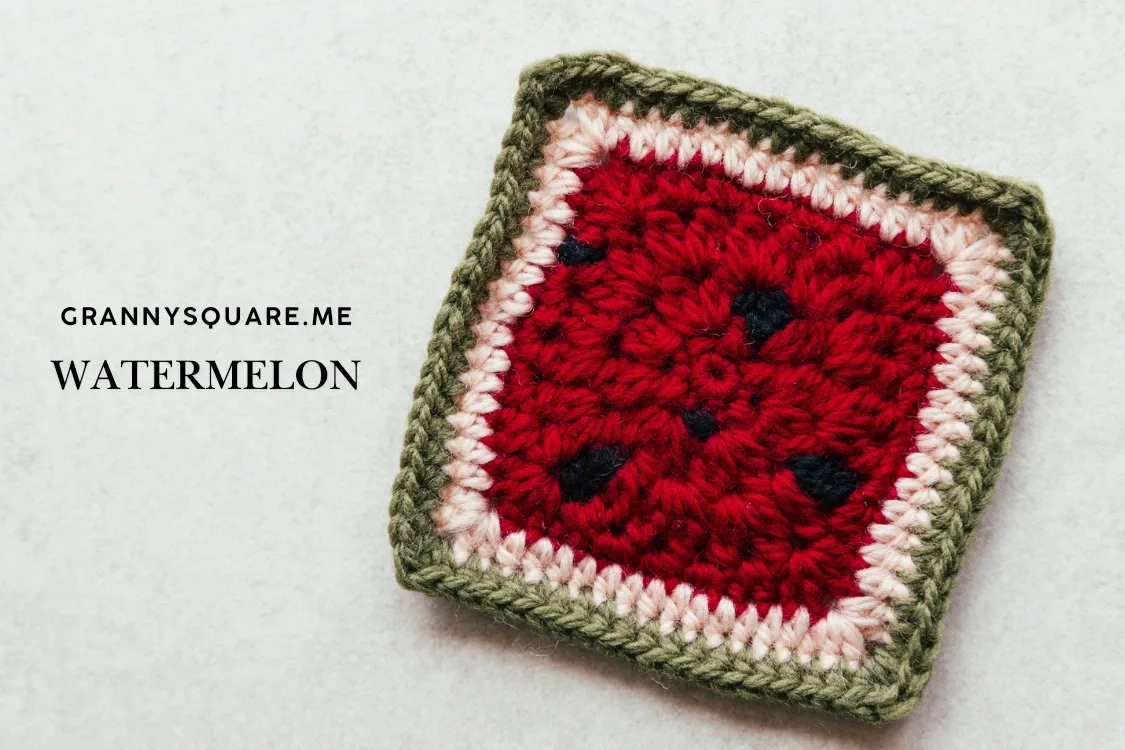
The finished square measures approximately 3.74 by 3.74 inches — that sweet, practical size that joins beautifully into blankets, pillow fronts, and bags. The puff-stitch seeds give it a dimensional, almost embroidered look, while the green rind rounds frame everything like a true watermelon slice. A stack of these tied with ribbon makes a delightful handmade gift, and a full blanket of them is pure summer-picnic joy for anyone who loves fruit-themed makes
Common mistakes
- Leaving the magic loop loose after
- After working your 6 single crochets into the loop, pull the tail firmly until the center closes completely, then slip stitch to the top of the first sc. Weave the tail in early and knot it discreetly — a magic loop can relax and reopen later if the tail is left unsecured, and it's much harder to fix once the square is finished
- Finishing the black seed puffs
- The seeds only look crisp because of the mid-stitch color change: make your two incomplete half double crochets in black until you have 5 loops on the hook, then yarn over with RED and pull through all 5 loops. If you complete the puff in black, the top of the seed bleeds into the round above and the seeds look smeared rather than neatly embedded
- Forgetting that the beginning chain
- In round 2, the starting chain stands in for the first half of your opening 2-hdc puff. If you treat it as just a turning chain and add two full incomplete hdc after it, your puffs will have too many loops and your stitch count will creep up. Count 5 loops on the hook before the final pull-through of the seed puffs, and check that you end the round exactly where the first puff began
- Skipping the chain-1 between puff stitches
- Every 2-hdc puff in round 2 is followed by a chain 1, and those little spaces are what the next round works into. Miss them and the round tightens, the puffs crowd together, and the circle starts to cup like a bowl. If your center won't lie flat, count your ch-1 spaces first — there should be one after every single puff
- Pulling up uneven loops inside the puff
- Each time you yarn over and insert your hook for the puff, pull the loop up to a consistent height — roughly the height of a half double crochet — before repeating. Loops pulled up short strangle the puff flat, while wildly tall loops make floppy seeds. Slow down for the first few and the rhythm settles in quickly
- Cutting and knotting yarn at every
- Plan your changes: complete the last stitch of a round with the old color up to the final yarn over, then pull through with the new color for a clean transition. Carrying the yarn loosely between color changes keeps the red-to-pink gradient smooth and natural. Use a short separate length of black just for the seeds so you aren't dragging it around the round, and work over your tails as you go — with four colors per square, ends multiply fast


Intermediate
Materials
- Yarn of your choice- 4 color
- Crochet hook
- Darning Needle
- Scissors
Main Pattern
- Round 1Magic loop, ch, 6sc, pull the tail tightly, sl st to the top of the first sc, round 1 finished.Step by step: start with a magic loop; ch as a standing st; sc in the loop; 5sc in the loop; pull the tail tightly; sl st to the top of the first sc, round 1 finished.How to make a 2 half double crochet puff stitch [2-hdc-puff]: (Yo, insert hook in st or space and pull up a loop) repeat 2 times, yo and pull through all loops on hook.
- Round 2ch(count as incomplete hdc), another incomplete hdc in this sc to form a 2-hdc-puff, ch, 2-hdc-puff+ch in next sc, make 2 incomplete hdc(black yarn) in the same sc, now 5 loops on your hook, yo(red yarn), pull through 5 loops to form a 2-hdc-puff, ch, [2-hdc-puff+ch]rep 3 times, sl st to the first puff, round 2 finished.Step by step: ch as a standing st (count as incomplete hdc), make another incomplete hdc in this sc, form a 2-hdc-puff, ch; 2-hdc-puff+ch in next sc, with black yarn make 2 incomplete hdc in the same sc, now 5 loops on your hook; with red yarn: yo; pull through 5 loops to form a 2-hdc-puff; ch, [2-hdc-puff, ch] rep 3 times, sl st to the first puff, round 2 finished.
- Round 3sl st to the next ch-sp, ch2(count as incomplete dc), another incomplete dc to form 2-dc-bo in this ch-sp, ch, 2-dc-bo+ch in this ch-sp, *2-dc-bo+ch, 2-dc-bo+ch in next ch-sp* rep 3 times, 2-dc-bo+ch, 2 incomplete dc(black yarn) in this ch-sp, yo(red yarn), pull through all loops to form 2-dc-bo, ch, (2-dc-bo+ch, 2-dc-bo+ch), sl st to the top of the first bo, round 3 finished.
Step by step: sl st to the next ch-sp, ch2 as a standing st (count as incomplete dc); make another incomplete dc to form 2-dc-bo in this ch-sp, ch, 2-dc-bo+ch in this ch-sp; *2-dc-bo+ch, 2-dc-bo+ch in next ch-sp* rep 3 times, make 2-dc-bo+ch in next ch-sp, switch to the black yarn, make 2 incomplete dc in this ch-sp; switch to the original red yarn, yo, pull through all loops on the hook to form 2-dc-bo; ch, (2-dc-bo+ch, 2-dc-bo+ch) in next ch-sp, sl st to the top of the first bo, round 3 finished.
- Round 4sl st to the next ch-sp, ch2(count as incomplete dc), another incomplete dc to form a 2-dc-bo in this ch-sp, ch, 2-dc-bo+ch in the same ch-sp, ch, *(2-dc-bo+ch, 2-dc-bo+ch)in next ch-sp* rep 11 times, sl st to the top of the first bo, round 4 finished.Step by step: sl st to the next ch-sp; ch2 as a standing st (count as incomplete dc); make another incomplete dc to form a 2-dc-bo in this ch-sp, ch, 2-dc-bo+ch in the same ch-sp; *(2-dc-bo+ch, 2-dc-bo+ch) in next ch-sp* rep 11 times, sl st to the top of the first bo, round 4 finished.
Note: the 1st-bo of the third group and the 2nd-bo of the sixth group repeat step 3-4 of round 3.
- Round 5sl st to the top of the first ch, ch, sc inc in this ch-sp, sc inc, *2 sc inc, hdc inc, hdc+dc+ch2+dc+hdc in the next ch-sp, hdc inc, sc inc* rep 3 times, sl st to the top of the first sc, fasten off, round 5 finished.Step by step: sl st to the top of the first ch-sp; ch as a standing st; sc inc in this ch-sp, sc inc, hdc inc, hdc+dc+ch2+dc+hdc in one ch-sp, hdc inc, sc inc; *2 sc inc, hdc inc, hdc+dc+ch2+dc+hdc in the next ch-sp, hdc inc, sc inc* rep 3 times; sl st to the top of the first sc, fasten off, round 5 finished.
- Round 6new yarn in corner space, ch2(count as in complete hdc), hdc+ch2+2hdc in this corner space, 14hdc, *2hdc+ch2+2hdc in next corner space, 14hdc*rep 3 times, sl st to the top of the first ch2, fasten off, round 6 finished.Step by step: add new yarn in any corner space; ch2 (count as hdc); hdc+ch2+2hdc in this corner space, 14hdc; *2hdc+ch2+2hdc in next corner space, 14hdc* rep 3 times; sl st to the top of the first ch2, fasten off, round 6 finished.
- Round 7new yarn in any corner space, ch2(count as hdc), dc+hdc in this corner sp, 18hdc, *hdc+dc+hdc in next corner sp, 18hdc* rep 3 times, sl st to the top of the first ch2, fasten off, round 7 finished.Step by step: add new yarn in any corner space; ch2 (count as hdc); dc+hdc in this corner sp, 18hdc; *hdc+dc+hdc in next corner sp, 18hdc* rep 3 times; sl st to the top of the first ch2, fasten off, round 7 finished.
Important notes
💡 Gauge: the completed watermelon granny square measures approximately 3.74 × 3.74 inches. If your puff stitches look loose and gappy, go down half a hook size — puffs need a slightly firm tension to hold their rounded seed shape
💡 Place a stitch marker in the top of your very first single crochet (and later, the first puff of round 2). The standing chain start makes the join spot easy to lose, and a marker guarantees your slip stitch lands in the right place every round
💡 Color guide: for the classic watermelon look, use bright cherry red for the center, light pink for the middle, grass green for the rind, and black for the seeds. Carry the yarn loosely between color changes to keep the red-to-pink gradient smooth and natural
💡 Block your finished squares before joining. A light steam or wet block sharpens the corners, evens out the rind rounds, and makes seaming a watermelon blanket dramatically easier — the puff seeds bounce right back afterward
💡 If these squares are destined for a blanket, leave a 12-inch green tail when you fasten off. It's exactly what you'll need for whip-stitching or slip-stitch joining later, and it saves attaching new yarn at every seam
More photos
FAQ
What is a 2-hdc puff stitch, and is it hard to learn?
It's two incomplete half double crochets worked into the same stitch — (yo, insert hook in the stitch or space and pull up a loop) repeated 2 times, ending with 5 loops on your hook, then yarn over and pull through all of them at once. It sounds fussier than it is; most crocheters get comfortable after two or three seeds. Just keep your pulled-up loops even in height
Can I make the watermelon square bigger or smaller?
Absolutely. The easiest lever is yarn weight — super bulky yarn with a large hook yields a bigger square, while fingering weight makes a tiny appliqué slice. You can also add an extra round or two of green rind before the final round to grow it slightly without changing the design
Why is my center circle cupping instead of lying flat?
Nine times out of ten it's missing chain-1 spaces between the puff stitches in round 2, which shrinks the round's circumference. Tight tension can also cause cupping — try going up half a hook size. Count your puffs and ch-1 spaces before moving on to round 3
Do I have to cut the yarn every time I change colors?
Between full rounds (red to pink, pink to green), yes — cut and change at the final pull-through of the last stitch for a clean join. Within round 2, though, use one short strand of black for all the seeds and carry it loosely across the back between them rather than cutting after each one — carrying the yarn loosely between color changes keeps the gradient smooth and natural
What can I make with the finished squares?
roughly 3.74 inches, they're perfect building blocks. Join a dozen or more for a summer-themed picnic blanket, use them for pool tote bags or kitchen hot pads, use four for a pillow front, back a single square for a coaster, or sew one onto a plain tote or beanie as an appliqué. You can also turn them into fun summer accessories like cushion covers
Made your own square?
This site belongs to every crocheter. Share your design with the world — we’ll math-check the counts, polish it up, and publish it free for everyone, credited to you.
🧵 Share your pattern →
0 / 0 rounds