
Free Pattern
Step-by-Step
Crochet
Granny SquaresWild Pansy Flower Granny Square – Free Crochet Pattern
Crochet a delicate wild pansy flower granny square in 5 easy rounds. Free pattern with 3-color petals, a sunny center, and a tidy 2.36-inch finish
Level Easy-IntermediateTime 45-60 MinutesYarn DK
About This Pattern
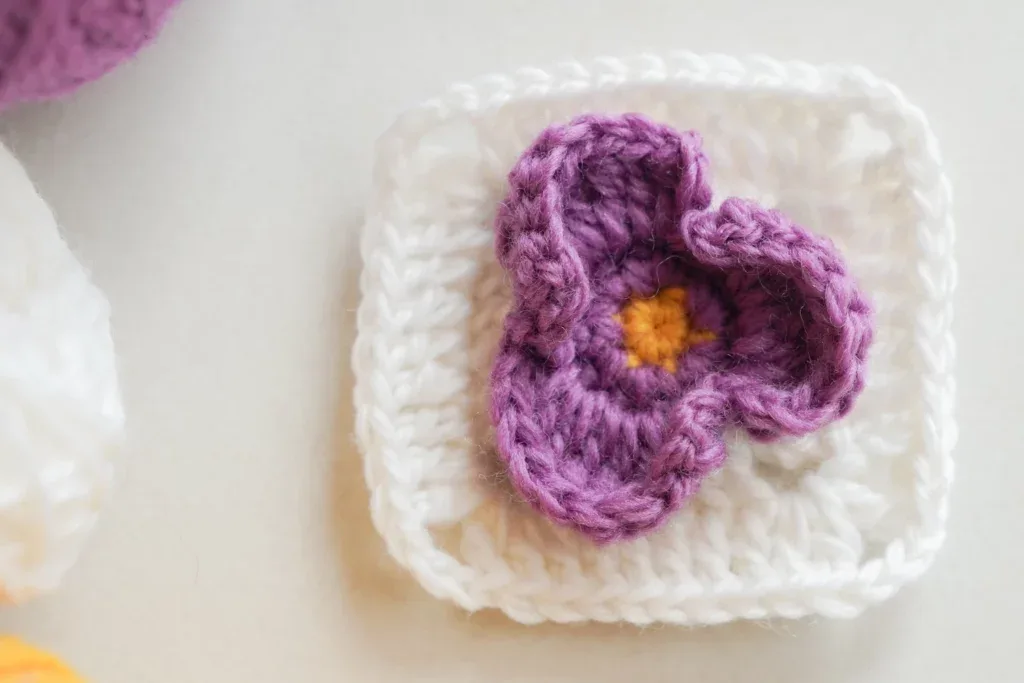
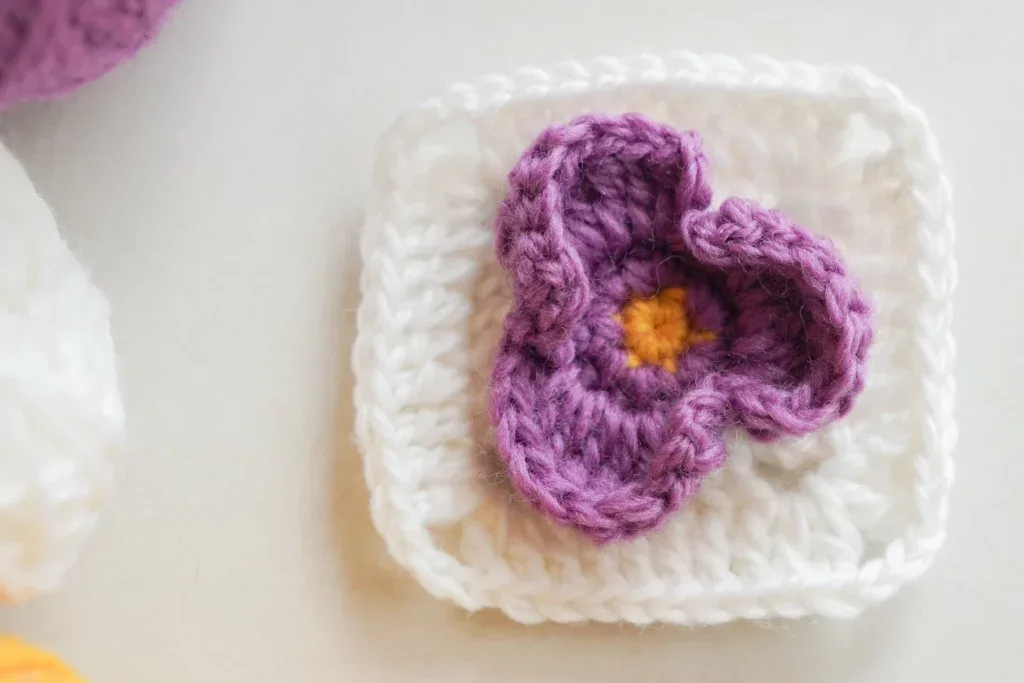
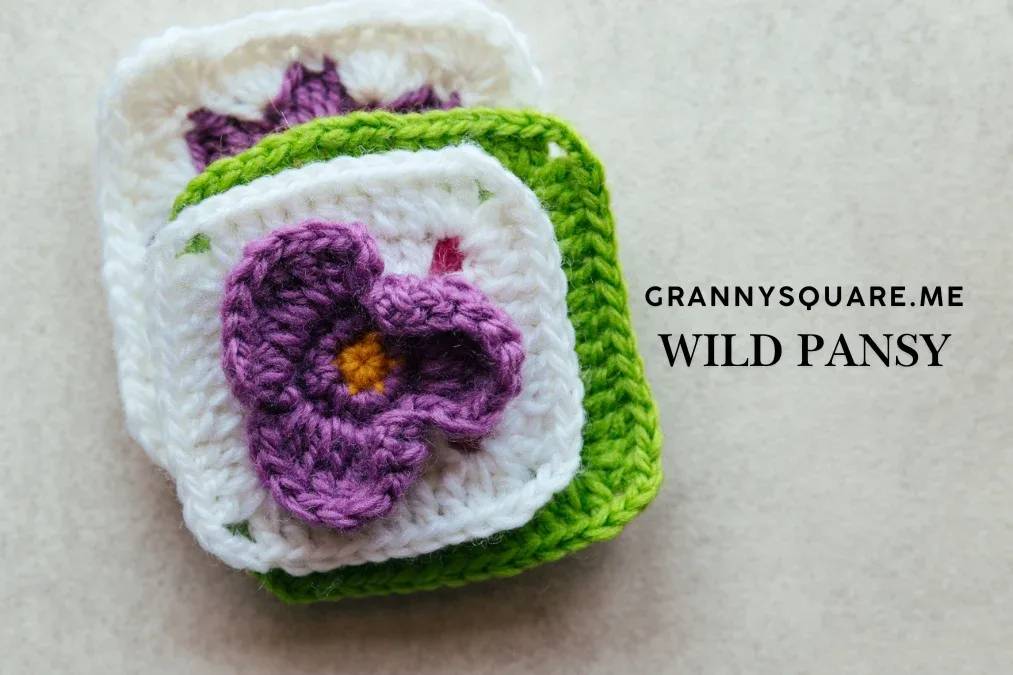
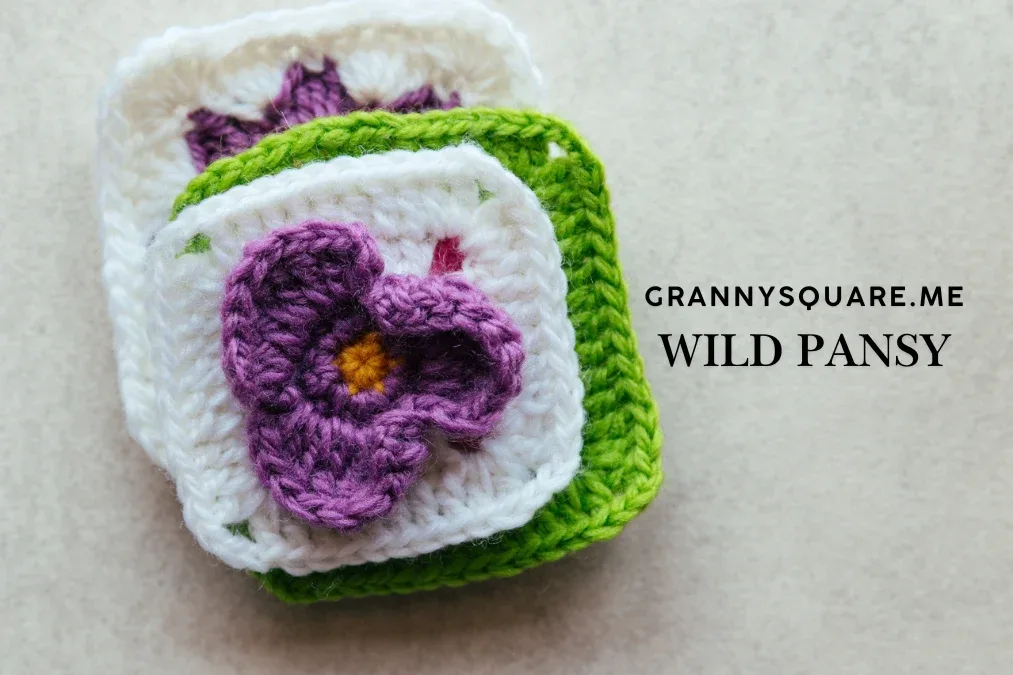
This adorable wild pansy granny square captures the sweet, delicate beauty of real pansies. It features a gorgeous purple flower with a sunny golden center, beautifully framed by crisp white petals and border. Worked in just five rounds, it builds from that flower center outward through shaped petals and finishes with a clean square border, so the bloom sits framed like a pressed flower. It is made for crocheters who love small, satisfying motifs and want a floral square that actually reads as a pansy rather than a generic puff of petals
This pattern is surprisingly simple to create, using basic double crochet and chain stitches. Plus, strategic back loop only (BLO) and front loop only (FLO) work makes the pansy petals naturally curl and lift, giving incredible dimension and lifelike texture. The trickiest part is simply keeping your tension even as the petals fill the middle of the square, and squaring off those final corners neatly. Most crocheters finish a single square in about 45 to 60 minutes once they have worked through the rounds one time, and the second square goes noticeably faster
The finished square measures approximately 2.36 x 2.36 inches, which makes it a small, dense little motif with real presence. The petals sit slightly proud of the background, giving the square a soft, dimensional feel under your fingers, while the square edges keep it easy to join. Stitch a dozen and you have a coaster set, a sachet front, or a bunting garland; stitch fifty and you have a spring blanket that looks like a wildflower meadow spread across a bed
Variations
Color is where this pansy really comes alive, so start there. Try a classic violet and yellow combination with deep purple petals and a bright lemon center for traditional pansy charm. Or create a romantic version with soft pink petals, cream center, and sage green accents, which is perfect for vintage-inspired baby blankets or spring home decor. For a moody, modern square, go with charcoal petals, mustard center, and oatmeal background. And for a true wild pansy look, use two closely related purples so the petals have subtle depth instead of a flat block of color. Yarn weight is your easiest size dial. The pattern's 2.36 inch finish comes from a light yarn and small hook; swap to a worsted weight like Vanna's Choice or Soft with a 5.0mm hook and the same five rounds will land closer to 3.5 to 4 inches, which is a much faster blanket. Cotton like Paintbox Cotton DK or Scheepjes Catona gives crisp petal definition and a stiffer square that blocks beautifully for coasters. Going the other way with lace weight and a 2.5mm hook produces tiny pansies perfect for brooches and earrings. Want a bigger square without changing yarn? Add one plain round after the final round, working three stitches into each corner space and one into each stitch along the sides, which will add roughly half an inch per added round while keeping the pansy centered. For themed sets, work autumn pansies in rust, gold, and moss, or make a monochrome white-on-white version for a wedding blanket where the flower shows through texture alone
I fell for this square the moment the center round closed up and that little sunny eye appeared in the middle. There is something deeply satisfying about watching a pansy take shape in the round, because the petals do not arrive all at once. You build the center, you change color, and suddenly the flower unfurls right in your hands in a single round. That is such a good feeling for a small project. I also love how forgiving the square border is. Even if your petals sit a touch loose or a touch tight, the final round pulls everything back into a crisp, joinable square. And because the whole thing is only five rounds with three colors, it is the perfect stash project. I keep a pile of mini skeins beside me and just keep swapping petal colors, so no two squares in my pile match. At barely over two inches finished, these squares are addictive in the best way. You tell yourself you will make one, and forty minutes later there are four pansies on the table
Common mistakes
- Working the first round into a loose
- Pull the starting tail firmly closed before you sl st to the first sc, then weave that tail in tightly rather than trimming it short. A gaping center is the single most common thing that makes a pansy look unfinished, because the eye of the flower is the first thing anyone looks at. If the hole still shows after weaving, thread the tail through the back of the center stitches a second time and cinch gently
- Cutting yarn at every color change and
- This square only has three colors but you will make many squares, so ends add up fast. Rounds 1 and 3 both end with fasten off, so plan for those tails: lay the old color's tail along the top of the round and crochet over it for the first several stitches of the next round, so it is secured as you go and needs only a snip at the end. Weaving as you go beats facing a pile of ends later
- Pulling the petal round too tight
- Round 3 packs dc and tr increases into a small space, so tight tension there makes the motif dome upward instead of lying flat. Consciously loosen your grip through the petals and keep your working loop a touch taller than feels natural. If a square already cups, wet block it: soak it, pin it flat and square on a towel or blocking board, and let it dry completely before joining
- Missing the front loop or back loop
- Round 3 is worked FLO and round 4 is worked BLO into the leftover back loops, and that pairing is exactly what makes the petals curl forward and lift off the background. Work either round through both loops and the pansy flattens into a plain flower. Check the first stitch of each of those rounds before you settle into the repeat, because catching it one stitch in is far easier than frogging the whole round
- Letting the petals twist or fold
- Petals that sit proud of the fabric will naturally want to flip. As you work round 4 and round 5, hold each petal down flat with your non-hook thumb so you are working around it rather than pulling it upward. A light steam block at the end will also persuade the petals to lie in the right direction, though avoid direct heat on acrylic yarn or the petals will go limp and shiny
- Making squares across different
- Tension drifts over days, especially on a motif this small where a fraction of an inch shows. Keep your very first square as a reference and hold each new one against it before adding it to the pile. If a square is running small, go up half a hook size for that square; if it is running large, drop down. Sorting stragglers out as you go is far easier than trying to join mismatched squares later


Easy-Intermediate
Materials
- Yarn of your choice- 3 colors
- Crochet hook
- Darning Needle
- Scissors
Main Pattern
This pattern is surprisingly simple to create, using basic double crochet and chain stitches. Plus, strategic back loop only (BLO) and front loop only (FLO) work; the pansy petals naturally curl and lift, giving incredible dimension and lifelike texture. Rounds 1 and 2 build the flower center, round 3 is worked FLO to form the petals, round 4 is worked BLO into the same stitches to start the background, and round 5 squares everything off.
- Round 1ch1+6sc in a magic loop, sl st to the first sc, fasten off (6).Step by step: Start with a magic loop; ch1 as a standing st; sc in the loop; 5sc in the loop; Pull the tail tightly; Sl st to the first sc, fasten off. Round 1 finished.(6)
- Round 2New yarn in any st, ch1+2sc, [2sc in next st] repeat 5 times, sl st to the first sc (12).Step by step: Join new yarn in any st; ch1 as a standing st, sc in the same st; Another sc in the same st; [2sc in the next st] repeat 5 times, sl st to the first sc. Round 2 finished.(12)
- Round 3FLO. ch3, dc inc, 2 tr inc, dc inc+ch3, sl st to the same FL, [ch3, dc inc, 2 tr inc, dc inc+ch3, sl st to the same FL] repeat 2 times, fasten off (17).Step by step: Front loop only for this round; ch3; dc inc, tr inc, tr inc, dc inc+ch3, sl st to the same FL; [ch3, dc inc, 2 tr inc, dc inc+ch3, sl st to the same FL] repeat 2 times, fasten off. Round 3 finished.(17)
- Round 4BLO. New yarn in BL of the first dc inc st, ch3(count as dc)+dc, 2 dc inc, ch3, [3 dc inc, ch3] repeat 3 times, sl st to the top of the first ch3 (24).Step by step: Back loop only for this round; Add new yarn in BL of the first dc inc st of round 2; ch3 as a standing st (count as dc); dc in the same st, 2 dc inc, ch3; [3 dc inc, ch3] repeat 3 times, sl st to the top of the first ch3. Round 4 finished.(24)
- Round 5ch3(count as dc), 5dc, 2dc+ch2+2dc in next corner, [6dc, 2dc+ch2+2dc in next corner] repeat 3 times, sl st to the top of the first ch3, fasten off (40).Step by step: ch3 as a standing st (count as dc); dc in the next 5 sts, 2dc+ch2+2dc in the next corner space; [6dc, 2dc+ch2+2dc in the next corner space] repeat 3 times, sl st to the top of the first ch3, fasten off. Round 5 finished.(40)
Important notes
💡 Gauge: the completed wild pansy granny square measures approximately 2.36 x 2.36 inches. Work one square and measure it before committing to a full project, since yarn weight, hook size, and tension will all shift that finished measurement
💡 Color combination suggestion: try a classic violet and yellow combination with deep purple petals and a bright lemon center for traditional pansy charm. Or create a romantic version with soft pink petals, cream center, and sage green accents, which is perfect for vintage-inspired baby blankets or spring home decor
💡 Hook size matters more than yarn brand on a motif this small. Aim for a hook slightly smaller than your yarn's label suggests so the petals stay dense and defined rather than lacy and gappy. If your first square comes out much larger than 2.36 inches and you want to match the original, drop half a hook size and try again before adjusting anything else
💡 Wind small yarn butterflies or use mini bobbins for each of the three colors instead of dragging full skeins around. With a square this small you only need a few yards per color, and three full skeins tangling on your lap will slow you down far more than the crocheting itself takes
💡 Place a stitch marker in the first stitch of every round. Five rounds sounds easy to track, but the petal round distorts the shape enough that finding your join point by eye becomes surprisingly hard. Move the marker up as you begin each new round and you will never miscount a corner
💡 Weave your ends in as you finish each square, not at the end of the project. A blanket of fifty pansy squares means well over a hundred ends, and facing that pile all at once is how projects end up abandoned in a basket. Two minutes per square keeps it painless
💡 Block the squares before joining, not after. Wet blocking each little square to a true 2.36 inch measurement makes joining dramatically easier because every edge has the same stitch spacing. Pin them in a grid on a foam board, spritz until damp, and leave overnight
💡 Keep the background color consistent across an entire project even when you vary petal colors. The shared background is what makes a multicolored pile of squares read as one intentional design rather than a jumble, and it gives your joining round something uniform to grab onto
More photos
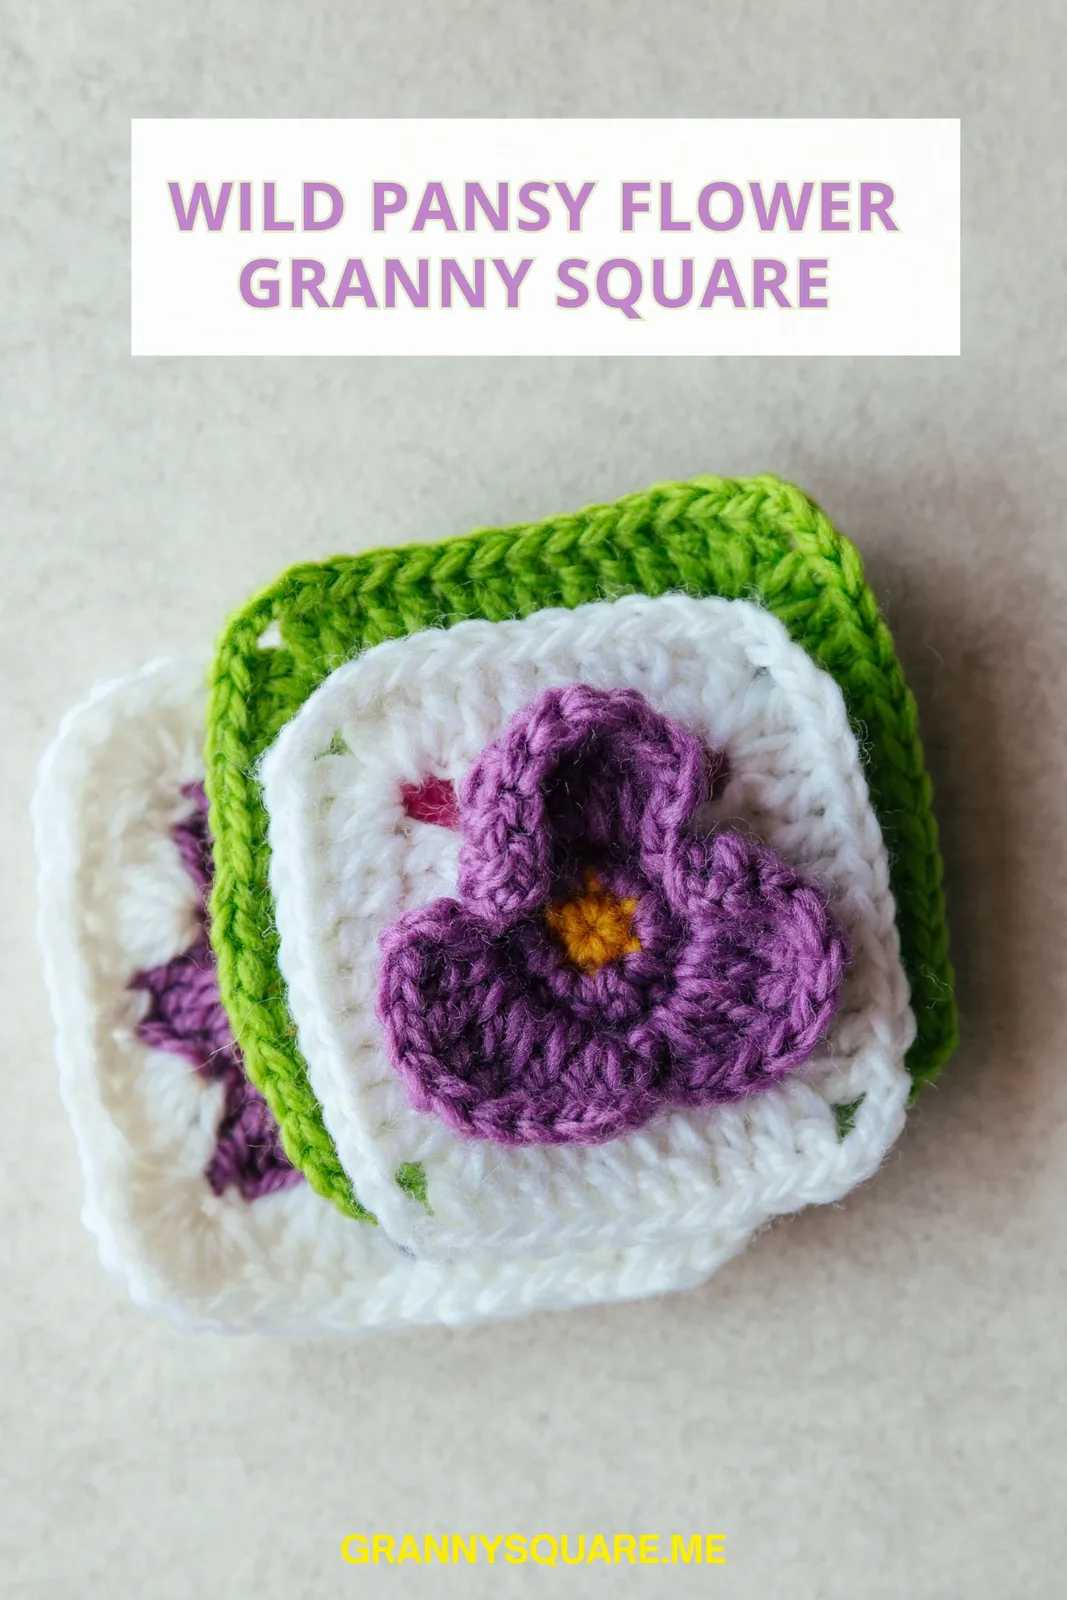
FAQ
How big is the finished wild pansy granny square?
The completed square measures approximately 2.36 x 2.36 inches when worked as written. Your exact size will vary with your yarn weight, hook, and tension, so make one square first and measure before committing to a full project
Can I use just two colors instead of three?
Absolutely. The most common two-color version uses one color for the flower center and petals together and a second for the square background, which gives a softer, more subtle bloom. You lose a little of the pansy's signature contrast, but it still reads beautifully as a floral motif
Is this pattern suitable for a beginner?
It is a great step-up project for an advanced beginner. If you can work in the round, change colors, and follow a stitch count, you can make this square. Round 3, the FLO petal round, takes the most concentration, so work your first one somewhere quiet and the rest will feel routine
What is the best way to join these squares together?
Because the pansy petals sit slightly raised, a flat join works best so the seam does not compete with the flowers. A slip stitch join through the back loops or a whipstitch in the background color keeps the seam nearly invisible. Join-as-you-go also works well and saves you from a mountain of assembly at the end
Made your own square?
This site belongs to every crocheter. Share your design with the world — we’ll math-check the counts, polish it up, and publish it free for everyone, credited to you.
🧵 Share your pattern →
0 / 0 rounds